Welcome back to Cnuteneering, where the possible is made more difficult by bone headed ignorance, overenthusiasm and pointy metal things being brought together.
It’s been a while – you may want to refresh your memory on the project in:
| Part 1. | Part 2. | Part 3. | Part 4. |
| Part 5. | Part 6. | Part 7. | Part 8. |
| Part 9. | Part 10. | Part 11. | Part 12. |
| Part 13. | Part 14. | Part 15. | Part 16. |
| Part 17. | Part 18. | Part 19. | Part 20. |
| Part 21. | Part 22. | Part 23. | Part 24. |
| Part 25. | Part 26. | Part 27. | Part 28. |
| Part 29. | Part 30. | Part 31. | Part 32. |
| Part 33. | Part 34. |
Design goals:
Fast as possible on offroad; too big to have on roads. I will set a target speed of 50mph.
4 WD.
Must be able to reverse, and brake.
Unbreakable, or as close to.
Must be able to mount GoPro or similar camera on it.
Cheap as possible.
And here we are again. It has been a little sporadic on the Cnuteneering side of things, I still have no Shed Of Powah and Tegs is playing hard to get with The Key to The Art Cupboard. I have just about unpacked all my tools and unpacked all my spares etc and I did manage to take the Cnutmobile out for a little canter.
I have sorted out the TelePi, mounted it on the Cnutmobile, and tested it in place.
Rolling it along my back lawn one of the wheels is stuck again and we can see why:

Once again, I take it to pieces, salvage what I can and replace the part. This appears to be a recurring theme in Cnuteneering…

Next up, let’s get the motor running so to speak. The engine fails to start, and this is why:

Compare and contrast with a new one:

Fixed and brrrrrrm! I am clearly putting way too much oil in the mix I think. At the minute I am doing 25/1 fuel/oil mix, perhaps I need to drop to 32/1.
I utterly failed in finding the RC transmitter after the house move so long ago, so banggood.com came good in a swift 8 day delivery time.

I have already bitten the bullet and accepted that the electric brakes and reverse gear are going to have to be removed from the design. It works – ish – but the electric motor really doesn’t have the grunt to brake the car at full speed and it’s going to be more dangerous than it needs be if the Cnutmobile can’t stop in a hurry. I could solve the problem by putting a bigger motor in but that is a big step up in investment; I would need to get a chunkier motor, a very expensive ESC and probably a new battery as well.
The sorrow and navel gazing at not hitting one of my self imposed goals pass quickly; this is Cnuteneering dammit and we take our cuts and lumps and keep a stiff upper lip throughout.
I might as well get the gubbins out and lose some weight on the car. The problem is of course that the Rx needs a 5v voltage supply which normally comes from the ESC, which I am planning on removing.
First I need to get the underbelly off the car, this is part Perspex in one section then part aluminium where the lower half of the gearbox is mounted.

If I remove the aluminium plate, a lot of the gearbox will come with it. This was always known about when I designed it that way, but I was not expecting to have to remove the electric motor.
Getting the motor mount off is somewhat difficult. I can recall there being problems getting the bracket on so there are doubtless going to be problems getting it off. So to speak.

And here it begins. The 3 nuts you see there, I cannot get access to the heads of the bolts on the other side. As there is a motor in the way. Which I can’t get off because I’ve threadlocked the bolts to hell and back and can’t get a decent size screwdriver in there. I can get access but that’d mean removing the entire bottom half of the gearbox.
When I get the spanner on them, the nuts come loose, then the bolts start spinning. I try to hold them still with a bit of metal between the motor and the bolt head, but they still just spin and do not come undone. I need to be able to hold the bolt still while undoing the nut.
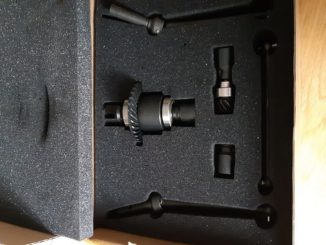
Trusty Dremel to the rescue!
I grind a channel through the nut and bolt, which means I can hold the bolt still and turn the nut.

The bottom plate came out very easily, and here is the motor on its mount, sitting on the plate with the ESC.

So now I just need to plug the BEC (battery elimination circuit) into the battery and I can feed the Rx off that.

How the hell you’re supposed to solder these plugs I have no idea.
The plastic surround just melts before the metal tongue is hot enough to take the solder from the cable from the BEC. I give up and buy a plug that has cables already soldered on, splice the feed so I can run the TelePi from it as well.
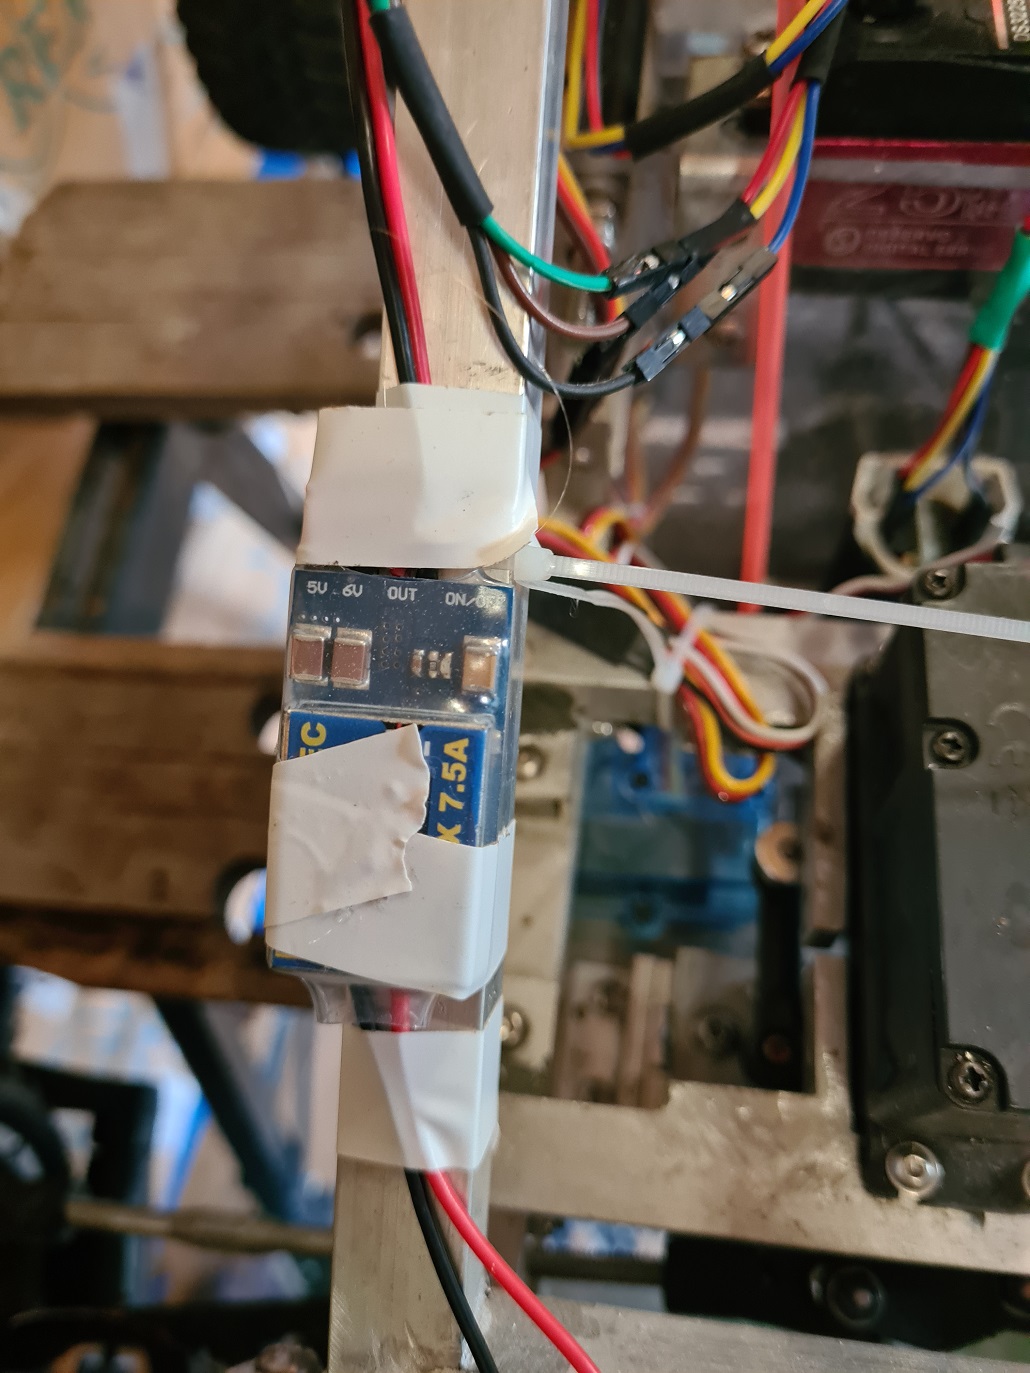
All fitted and taped to the frame.
Next up is to fit the brakes.
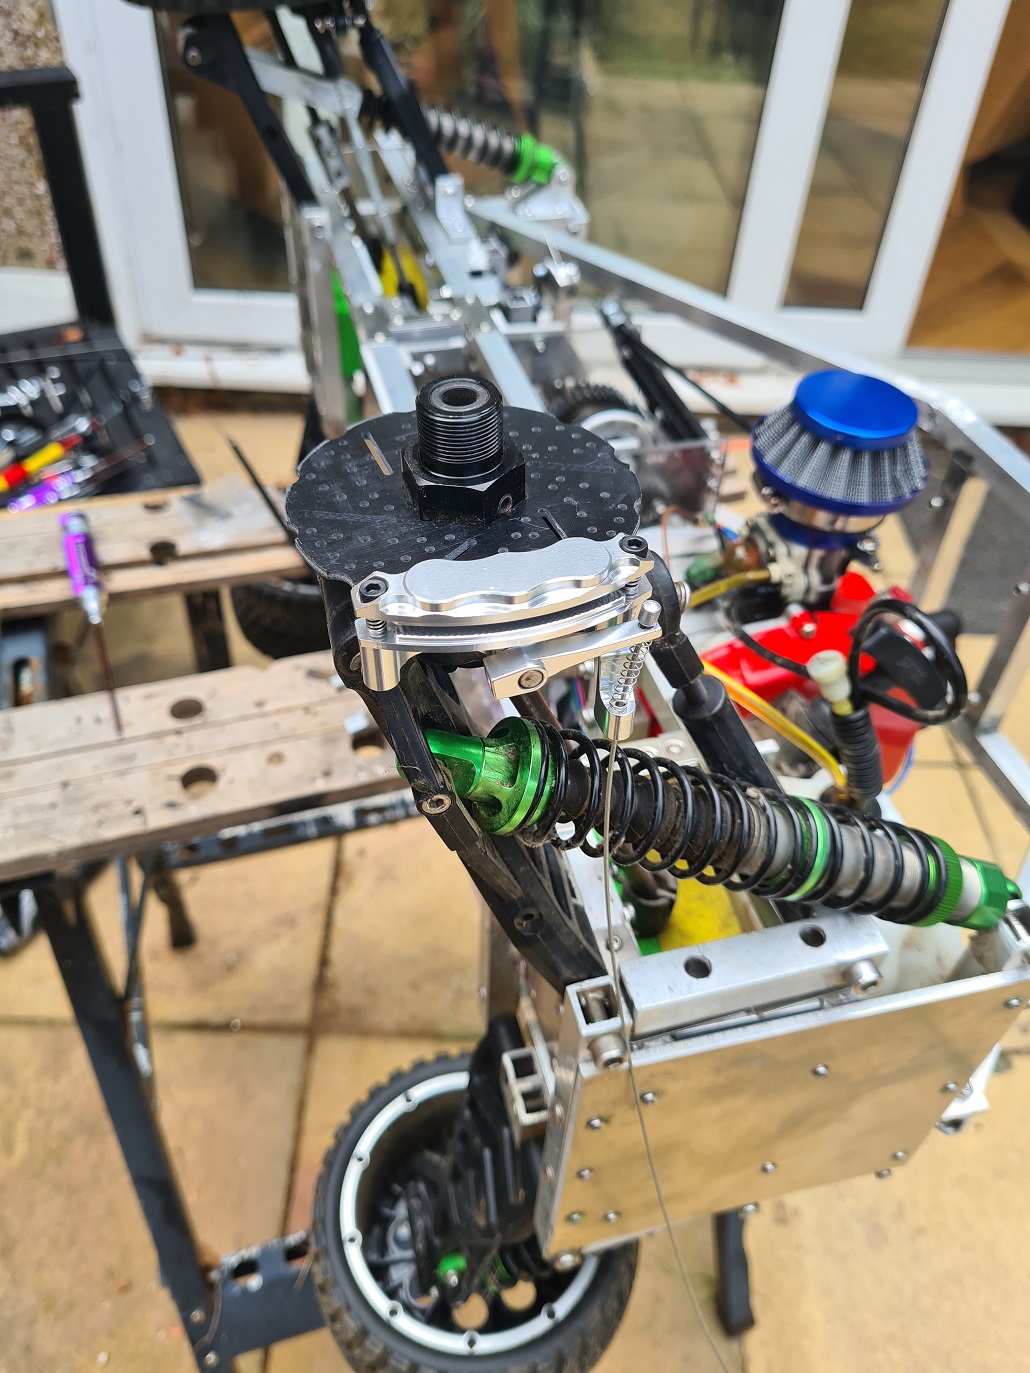
The silver aluminium is both the brake shoe and the mounting point. Fortunately, the suspension arms on the back wheels are of a standard size and everything fits just so.
The brakes are pulled by a cable very similar to a bicycle brake cable, and I fashion a bracket for the cable to go through:

In the picture above you can see the throttle servo on the right with the double headed horn on, so when the throttle is pulled the brake cable goes slack, then when the brake is pulled the throttle cable is slack.
In this pic you can see where the cable from the servo comes from on the left, into the silver aluminium splitter. The left cable pulls a yoke, which pulls both brake cables on the right, which go to the brake calipers.

Routing through the body of the car is a bit tricker than I would like as straight cables don’t add friction that the throttle servo has to overcome.

The outdoor garage is a little bigger but less sumptuous than the previous, at least.

The TelePi is mounted and there a lot more cables than before.

In circle 1, there is the connector to the battery, in 2 is the BEC itself, 3 is where the cable is split to feed the TelePi and the Rx, and 4 is the feed to the Rx unit.
I finally am ready for the first re-run since I moved house! I manage a few hundred yards, and then the engine peters out and it’s game over.

I think it is due to some kind of leak at the grommet that protects the fuel pipes as they go into the tank.
There is further bad news; the PTFE shim on the gearchanger has shattered as well.
![]()

As you can see, at least half of the PTFE has come off. Now, the history of the PTFE is that this was when I just had a Perspex guide to shift the gears. I can probably live without it, but we shall see in the next episode of Cnuteneering.
This is the gearbox in action, under electric power only. Note that I have to ease off the throttle a bit to get the gear change completed.
So now I need to work out how to patch the fuel tank so that it does not leak air. I recall this is how fuel is pumped into the carburettor – the tank is pressurised by a backfeed from the engine, so it pushes the petrol into the engine. It is possible that the pressure release valve on the tank is faulty – the pressure build up and an until it forces its way out of the grommet. Otherwise I think epoxy resin glue will do to fix the tank.
For the PTFE rings, I think if I fill the holes in the gear wheel with epoxy and then sand it smooth then it should be OK. The PTFE was only there when I had a friction based caliper that moved the gearchanger; now there are bearings that butt up to the gear.
The throttle/brake servo is probably too weak as well so I should uprate that as well. As I am moving stuff around the shed I find the Tx for the Cnutmobile. So now, sadly, I have a Tx/Rx radio set, a spare motor and ESC and I will shortly have a spare steering servo. AliExpress is such a temptress….

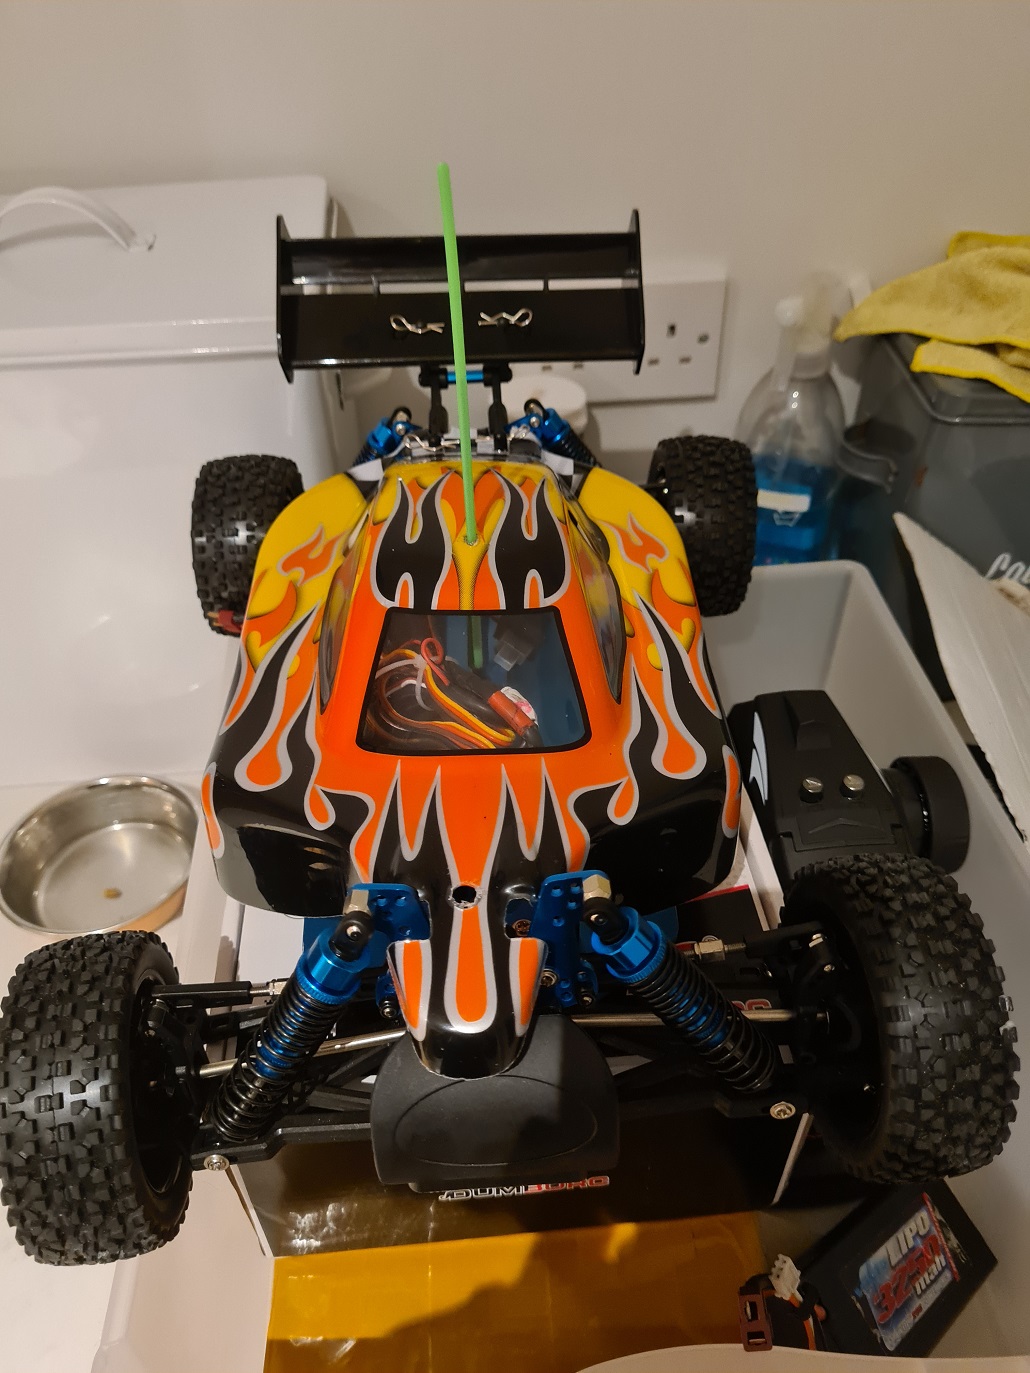
I sell this to MBWK as an “opportunity to bond with my son” as we built it together from mostly spares left over from the Cnutmobile and a cheap as hell (~£65) roller (basic car – frame, suspension and wheels) kit.
The brake cable is not happy being bent at such an angle so I may have to move the bracket closer to the servo and get one of those 90 degree bike brake cable bracket thingies that reduce friction.
And as ever, it is all dependent on the weather as the SHED OF POWAH is still full of crap that hasn’t been sorted out after we moved. And it not chucking it down when I try to test. But ‘twas ever thus, the way of the Cnuteneer is one of cold, skinned knuckles and yet another disappointment on the engineering front.
Still waiting for:
Nothing as yet…
Still left to do / think about
End point adjustment for servos and control mechanisms Dumbo RC setup
Body shell
Affix fuel tank so it does not bounce about
Move gearchanger to 3 position switch on Tx
Look at how Root superchargers work
Pics, vids, words and music © El Cnutador 2022