Welcome back to Cnuteneering, where the possible is made more difficult by bone headed ignorance, overenthusiasm and pointy metal things being brought together.
It’s been a while – you may want to refresh your memory on the project in:
| Part 1. | Part 2. | Part 3. | Part 4. |
| Part 5. | Part 6. | Part 7. | Part 8. |
| Part 9. | Part 10. | Part 11. | Part 12. |
| Part 13. | Part 14. | Part 15. | Part 16. |
| Part 17. | Part 18. | Part 19. | Part 20. |
| Part 21. | Part 22. | Part 23. | Part 24. |
| Part 25. | Part 26. | Part 27. | Part 28. |
| Part 29. | Part 30. | Part 31. | Part 32. |
Design goals:
Fast as possible on offroad; too big to have on roads. I will set a target speed of 50mph.
4 WD.
Must be able to reverse, and brake.
Unbreakable, or as close to.
Must be able to mount GoPro or similar camera on it.
Cheap as possible.
We left the last episode of Cnuteneering with more field tests and logging data, some work needed to sort out the sensors but mostly mechanically sound. In the interim, I half heartedly put together this episode, desperate to get something working properly before I moved house, and capture that all important GPS signal telling me how close I am to the magic 50MPH.
There was some work on the sensor reflector, refer to Ep 32 on why this is – I am trying to present a flat rather than curved reflector back to the laser sensor.
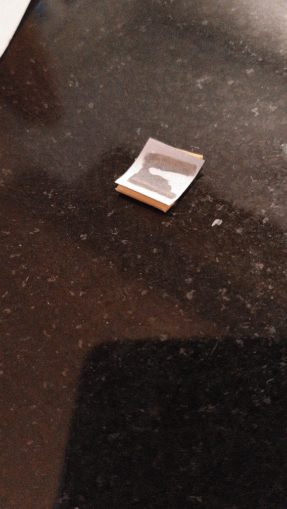
Some cut up cocktail sticks and 60 second glue seem to do the job.
I faff with the sensor housings a bit as well to get them fitting a little better by trimming the length down somewhat.
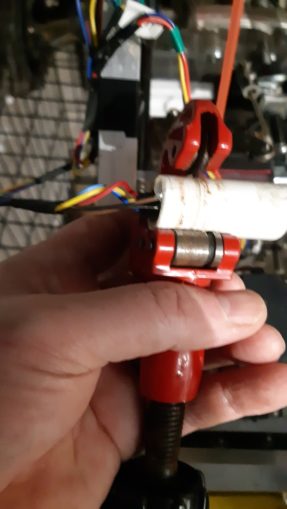
The gear changer PTFE had come loose so needed the application of some special glue and clamps to hold it together.
And now – ready to race! Tank filled, batteries charged and off to my luxuriantly appointed test track.
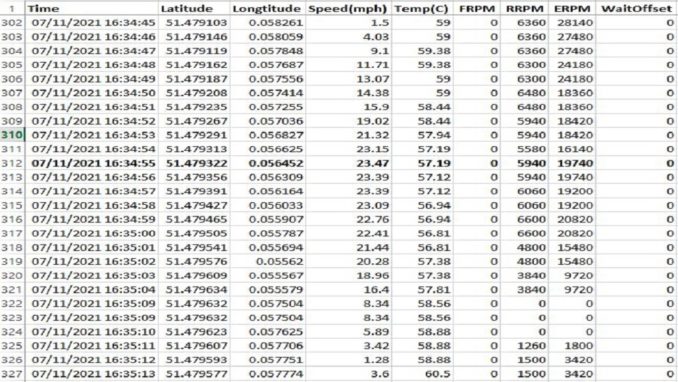
Stats working quite nicely, although I am still only getting to 23 MPH in first gear.
It turns out the gear changer rod had become detached so no second gear change was available. A quick tighten of the bolt and then I am ready to go again. I decide to start in 2nd gear, the car is slow to move and needs a little help along the way but it stays in gear and I think I am seeing some faster speeds.
I check my VNC display on my phone and nearly cry when I see the result – the GPS unit is malfunctioning and no speed was records. There are no tears in Cnuteneering, only learning experiences I tell myself.
Moving date is fast approaching so I need to get my skates on if I want to run any more tests before I will have to pack my life into trucks and all of a mile down the road. In this sunny upland I have a massive shed to build and a 100ft garden to run the Cnutmobile around.
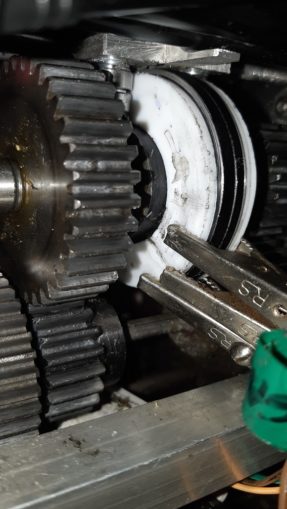
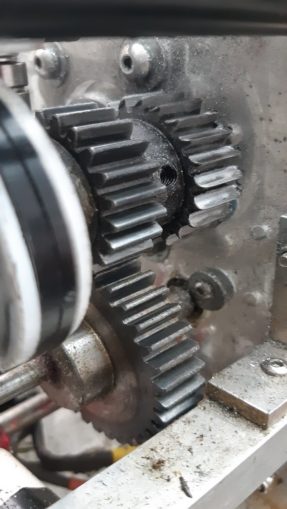
While I still have my top end garage laboratory I take stock of the Cnutmobile and see some signs of wear. I will need to replace that gear sooner rather than later I fear, and work out why it is wearing so poorly.
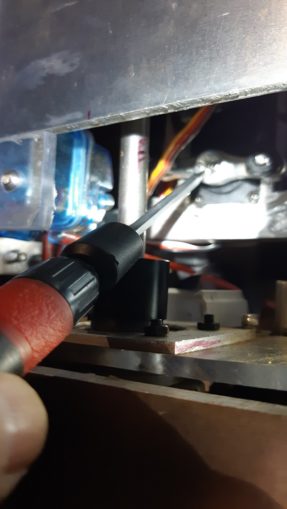
Maintenance of the steering mechanism is in fact bloody awkward, what stupid cnut designed the access to the steering yoke / servo bolt in this way?
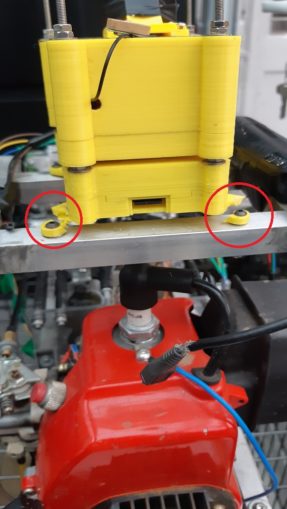
And here we meet disaster. Being unfamiliar with the strength of ABS plastic, I have come unstuck. Looking at the Pi, the mounting lugs are shot to pieces and will need to be fixed. This, as well as the broken GPS, will need to be addressed before I can take the car out again and moving date is HABBENING.
To fix the TelePi, I have to remove it and disassemble it.
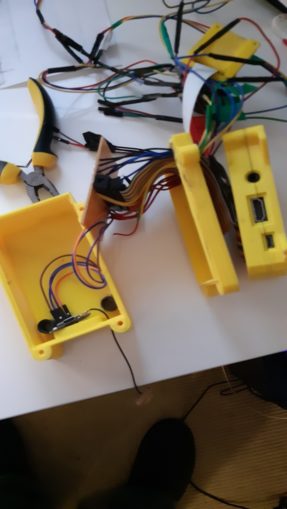
And here we have the culprit, some poor soldering on the veroboard has come loose.
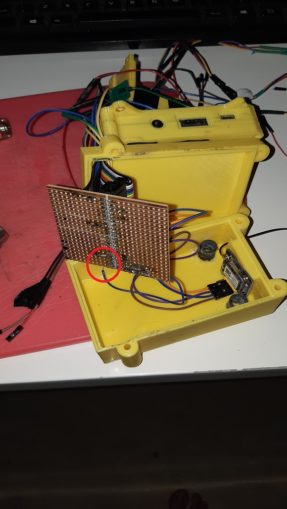
All fixed up, veroboard checked for any other weak joints and then it’s time to pack up ready to move.
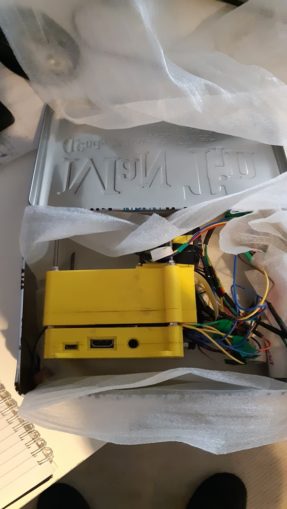
Months pass, the top end garage laboratory is boxed and arranged carefully in the ramshackle shed of the new house. Or at least, that was what happened in my head, in reality I have a shed stacked with probably 80 boxes, all identical and poorly labelled.
After taking care of Christmas, rewiring the front of house lights, plumbing in a new feed for the dishwasher, there is a period of calm where I can go through boxes and find all the parts and tools I need.
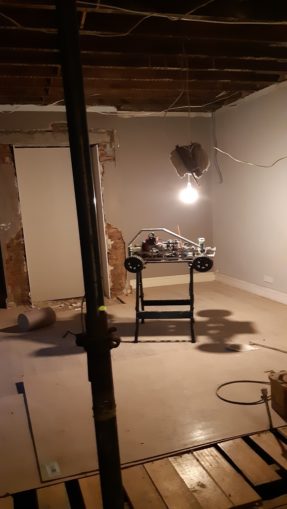
And then the builders start taking out walls, hollowing out chimney breasts, and taking out ceilings and floors. This is not an environment suited to cnuteneering in any way, but you can’t keep a good cnuteneer down, and nor should you try!
On the plus side I can briefly move my state of the art garage lab into what will hopefully be my kitchen at some point.
Whilst out looking at yet more fucking bathroom tiles this piqued my interest:

However, looking over the cnutmobile before I start sorting out the TelePi, I see that the cotter pin in the CV joint has come loose and has started eating the front wheel mount again. I disassemble the suspension, pull out the shaft and find the JB Weld.
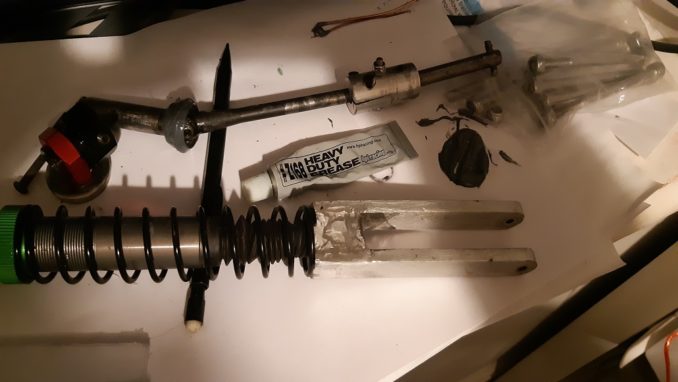
Same principle again, wrap the socket with a bit of cable tie and glue it on. Hopefully it will hold this time, the other side seems to be OK.
In the meantime, I decide to do some background research.
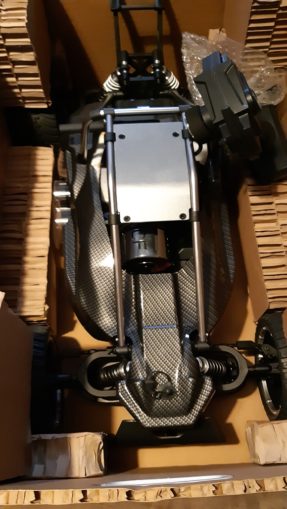
This is the FS Racing buggy
And with the body shell removed:
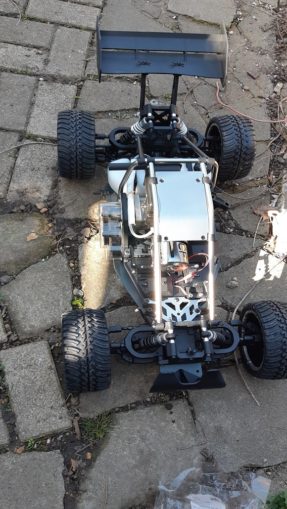
A period of running in now begins, 2 tanks of oil rich fuel to run through and I can take it out and full throttle it. It is the first RC car I have that has only rear wheel drive, but it is upgradeable to 4WD with a conversion kit. Curiously the conversion kit is exactly the same as what I bought to make the Cnutmobile’s front and rear diff / drive shaft assemblies.
Notably, the engine is mounted 90 degrees across from the way the Cnutmobile so that the engine driveshaft is across the car rather than lengthwise. This is interesting as to how the weight distribution is managed.
One thing though, the 2WD driving experience is not much fun on rough ground. You have to feed the power in much, much more slowly or the car just fishtails, even with a full tank of petrol.
I buy the 4WD drive conversion kit and again, it is back to my favourite pastime, waiting for stuff from Chy-Na. I also weaken and buy some prebuilt brakes that will fit the Cnutmobile as well. I am so far off resurrecting any kind of engineering capacity at the minute and I worry the next time I take the car out I will need brakes. From testing so far, the electric braking I had originally designed is just not powerful enough.
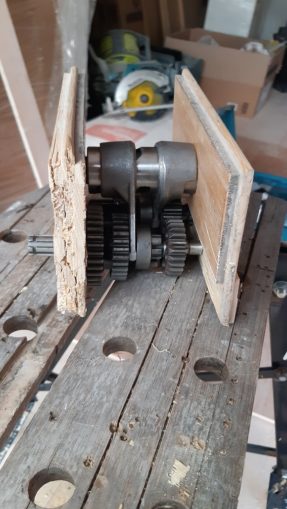
While all of this is going on I am minded to look at the gearbox again. Looking on EBay I see I can get a gearbox from a Honda Cub 50cc motorbike for 45 quid so I get one so I can study its habits.

Taped together with a little paper between the gears in order to provide a little spacing, so I can measure the distance between shafts.
A reminder of the use it or lose it maxim – I have almost totally forgotten how to use FreeCad, but at least I can knock together a simple 2d cutting diagram.
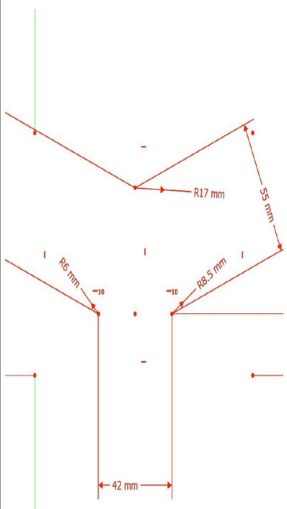
And here we have it made – the gearbox part Next Generation. I am unsure if this is going to work, as the gears are shifted using the four pointed star thingy, which I reckon I can get a servo to push. What I don’t understand is how the gears are to mesh together so I can get an idea of the ratios involved. As ever in Cnuteneering, more research required.
Further episodes of Cnuteneering will be sporadic until I get my garagelab back up and running.
Still waiting for:
Brake assembly
Replacement gear for the worn main drive gear
New spark plugs for the Cheatmobile
New uprated exhaust for the Cheatmobile
4WD conversion for the Cheatmobile
Still left to do / think about
Repair TelePi base so it can be re-attached.
Reattach the front wheel driveshaft
Sort out sensor aim
Sort out some actual working brakes
End point adjustment for servos and control mechanisms Dumbo RC setup
Body shell
Affix fuel tank so it does not bounce about
Move gearchanger to 3 position switch on Tx
Move electric motor off throttle channel
Look at how Root superchargers work.
Pics, vids, words and music © El Cnutador 2022