This one goes up to eleven!
Welcome back to Cnuteneering, where the possible is made more difficult by bone headed ignorance, overenthusiasm and pointy metal things being brought together.
You may want to refresh your memory on the project in:
Part One.
Part Two.
Part Three.
Part Four.
Part Five.
Part Six.
Part Seven.
Part Eight.
Part Nine.
Part Ten.
Design goals:
Fast as possible on offroad; too big to have on roads. I will set a target speed of 50mph.
4 WD.
Must be able to reverse, and brake.
Unbreakable, or as close to.
Must be able to mount GoPro or similar camera on it.
Cheap as possible.
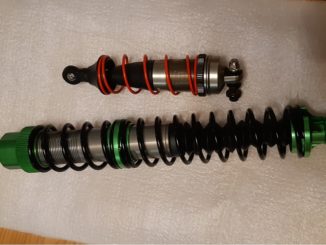
We left the last episode of Cnuteneering at the beginning of actual construction.
We have the jointing of the bars largely sorted, and the brazing rods have arrived. I just need to cut the pieces to size and braze them up.
The sizing is not complete as yet but it was the weekend and the rods had arrived, so I got ready to do some testing.
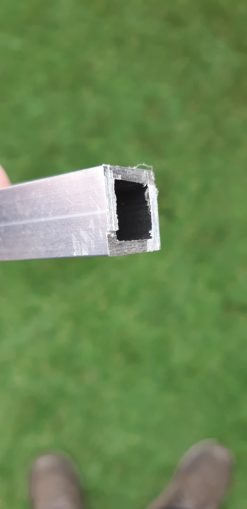
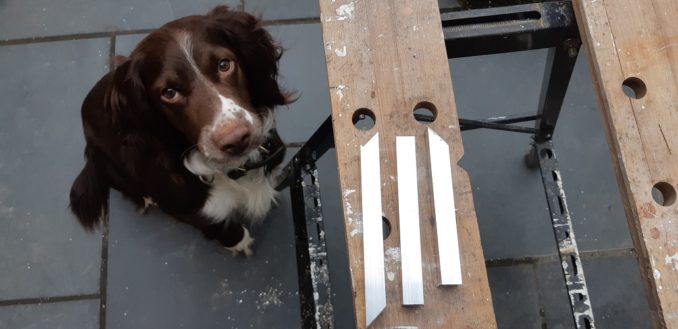
First, I need to cut some aluminium. The bars are 15x15mm, 2mm thick so not too chunky.
I am however, very bad with a hacksaw.
I have seen videos where people are using a mitre saw to cut aluminium so I checked my saw and saaw the blade was not rated for metal. Tenner off ebay and a few days wait and I have a shiny new blade for replacing the non metal cutting one, which had Tungsten Carbide teeth.
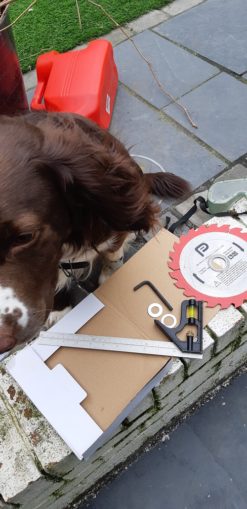
Blade changed and the table trued to 45 degrees horizontal, 90 degrees vertical and we are ready to cut. El Woofador is placed firmly behind a closed door.
The cutting went well, is nicely on 45 degrees but there was a little bit of burring from the saw. This can be filed off easily.
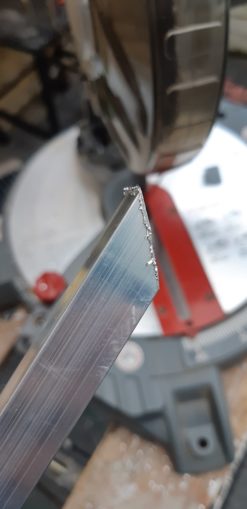
I now have some pieces cut, 2 at 45 degrees and one at 90 ready for brazing. Lots of tiny little aluminium flakes about the place to tidy up too; don’t want a vets bill cramping funds.
And I appear to have an apprentice. Who was placed behind a closed door again once the dangertoys were in use.
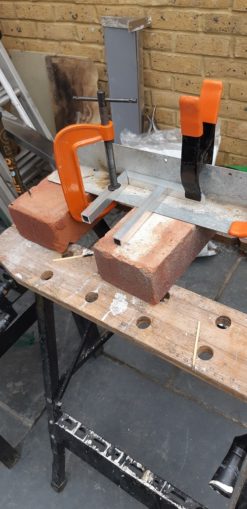
The pieces are filed on the edges and set on to my custom state of the art brazing table ready to go.
I am using a mixture of propane and butane in my torch which I have read will burn hot enough to warm the aluminium so it is the joint that melts the brazing rod, rather than just melting the brazing rod with the torch directly in a gooey mess over the joint.
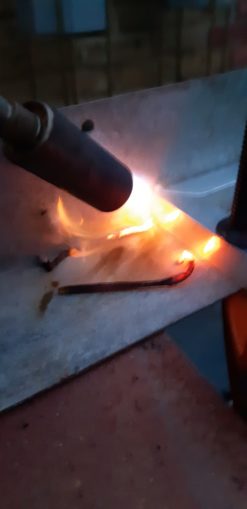
Despite having a spare gas canister, the torch keeps going out before the aluminium gets warm enough to melt the brazing rod.
We will chalk this one up to the fail column and move on. Fifty quid for a MAP PRO torch which burns hotter than propane/butane and you guessed it, more waiting until I can try again.
In the meantime my interest in CAD modelling has been piqued, the design of the CnutMobile can certainly use some 3D goodness so I can visualise the end product and spot any issues beforehand.
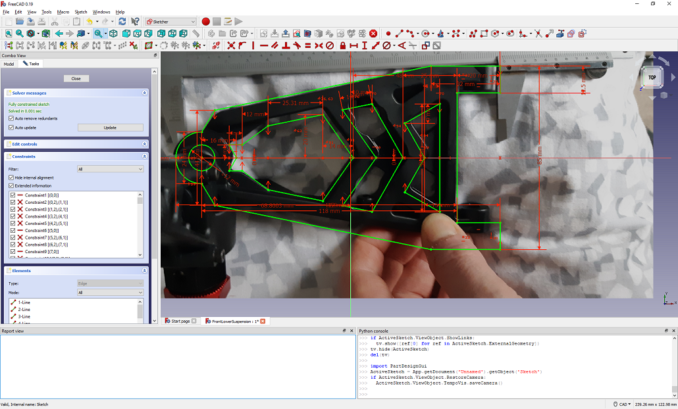
I am using the free as in beer FreeCad which while a little clunky has exactly what I need to design the CnutMobile.
First I need to design myself up some parts to assemble rather than just drawing free hand what the car looks like.
Luckily FreeCad allows you to set a background photo to trace around, which is what I am doing in these pics.
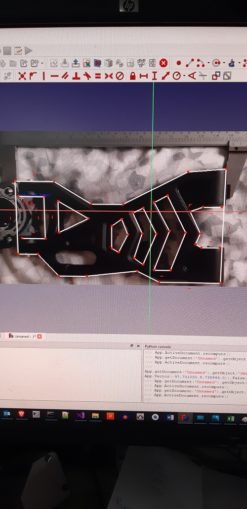
Once I have drawn the outline, I can correct it for aspect ratio caused by the angle of the camera based on measurements taken from the parts themselves:
Repeat ad nauseam for all the other parts and we eventually get to the point of having something that looks a bit like a car, only with no place for a fuel tank as yet.
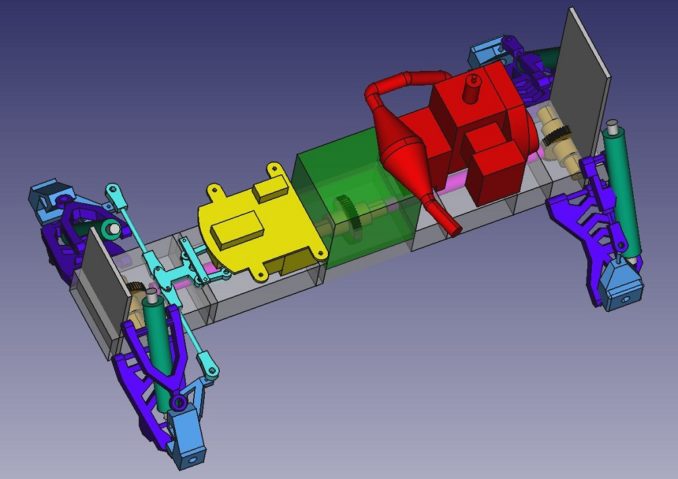
We can also have some lovely 3D rotation to get a better look at things, too.
And here we have it, another fail to add to the growing list of failures. Not only is the exhaust from the engine over more of the gearbox than I’d hoped, precluding the positioning of the fuel tank above the gearbox, the steering mechanism and rear mount of the engine are right in the way of the #FF pink driveshafts.
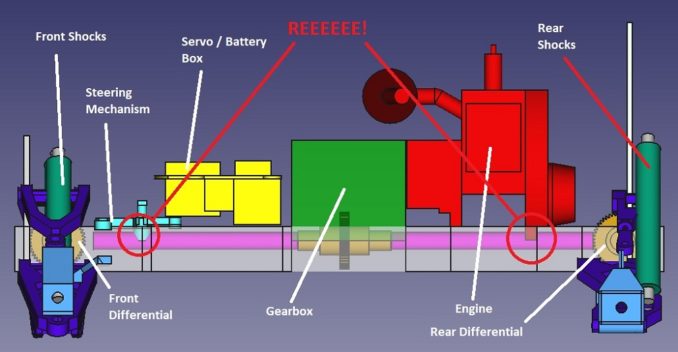
What I have now had to do is to recreate my Braheelian mate’s mock up of the gearbox as his is in some proprietary industry format, and re-measure the engine more precisely so i can move things about a bit in order that they fit.
It also means I can cut the top box section for the chassis with a degree of confidence it will be the right length, for the first time in the history of this Cnuteneering project.
This is considerably more ugly than I would have liked; the roll cage is functional rather than attractive, but at least it will protect the car when I inevitably roll it.
And so, back to the most popular part of the project – waiting.
Awaiting delivery
Grinder jig
MAP PRO gas torch
Still to be designed
Reverse gear
Drive shafts from central diff to front / rear diffs and from front / rear diffs to wheels.
Pics, vids, words and music © El Cnutador 2021
The Goodnight Vienna Audio file