A Holographic Camera
Standard photography uses a lens system to focus an image onto a film or an electronic sensor. If you recall from part one, Dennis Gabor had a problem with his electron microscope’s magnetic lenses not being able to focus properly. The lenses suffered from something called spherical aberration.
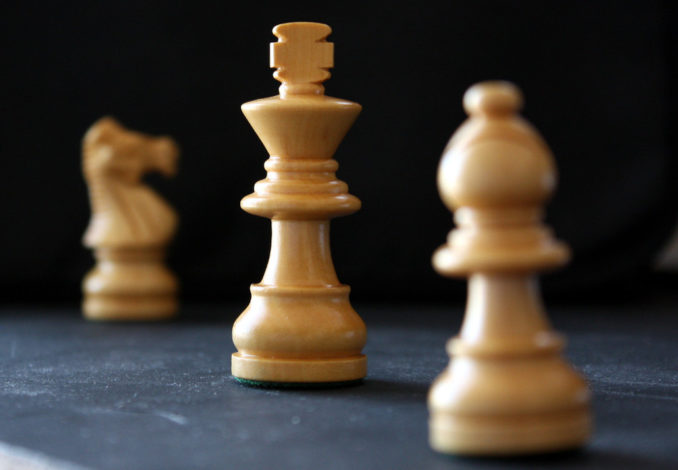
A simple way to simulate this problem is to take a low f-stop photograph. In the image, above, I’ve focused a camera onto a chess piece, a king. The bishop and knight are out of focus as they are not at the focal point of the lens. This effect is called DOF or Depth Of Field. A nice effect for photography, not so much for microscopy.
(Technical note: Spherical aberration is NOT the same as DOF which assumes that all of the light rays converge to a point along a single, central, optical axis. No lens is perfect. I’m trying to show the problem that Dennis had. Put simply, some of the electrons were focusing where the bishop and knight are rather than where the king is.)
Holography does not use a lens to focus an image onto a film and therefore does not suffer from DOF or spherical aberration. All of the points in a hologram are in focus regardless of their distance from the film.
To record a holograph you simply place the object(s) in front of (or behind) the holographic film during their exposure, capturing all of the light rays. Lens-less photography, if you like.
It’s strange to think about at first – a camera without a lens but you could think of it like this: a lens acts as a filter. You click the shutter and it records a single viewpoint. You then see that viewpoint at the time the photograph was made.
A holograph is the opposite: there is no filter. You click the shutter and it records every viewing angle. You then select (or see) a viewpoint after the holograph was made. That is probably why viewing a hologram is called a reconstruction – you recreate a camera’s multiple viewpoints.
It’s as if you’d taken thousands of two dimensional photographs of an object and then put them onto a single piece of film. Just by looking at different angles you can see the individual photographs and therefore every perspective. You have a true three dimensional image.
Holographic Film
Before you can make a holograph you need a very high resolution film. Holographic film comes in two different formats: plastic sheets or glass plates. Both are almost completely transparent.
Unlike computer monitors or digital cameras, chemical film cannot be measured in X/Y pixels to determine its resolution. Film emulsion is made from tiny silver halide crystals called grains. The smaller they are the higher the film’s resolution but the lower the sensitivity or ISO. These grains are spread randomly over the surface of the photographic film.
Film resolution can be measured in lines per millimetre. The basic film that I’m using has a resolution of about 3000 lines per millimetre. Ultra fine grain film can go as high as ten thousand lines per millimetre!
I purchased my film from Integraf. Their prices are very reasonable (for such a specialist product) and their customer service is excellent. The only downside comes from the shipping cost to the UK as they are based on the west coast of America.
This is the most basic kit that you can order from them:
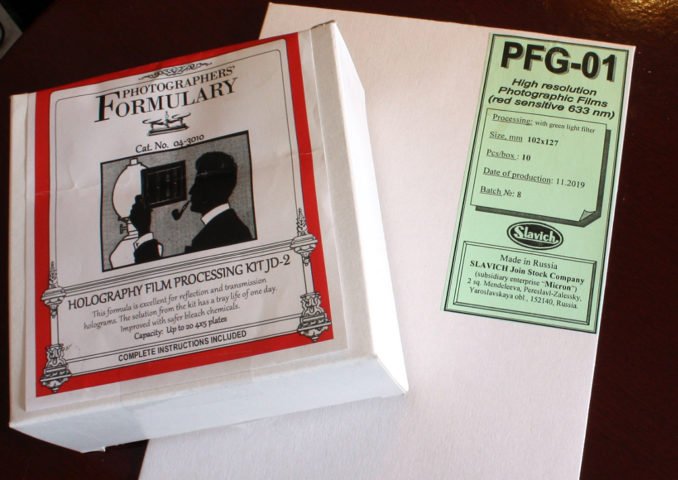
You get ten plastic film sheets that you can easily cut with scissors and you’ll also need the developer kit. The contents of which looks like something that a drug mule might carry!
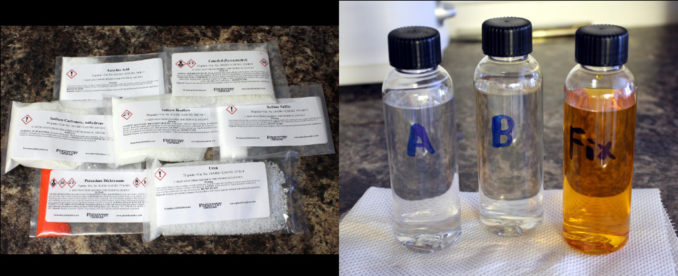
You mix the developer chemicals to make the three bottles on the right. When you are ready to develop your film you simply mix equal parts of bottles A and B in a dish. In a separate dish you put some of the fixer. All the instructions are included and the kit makes enough developer for twenty sheets of 4″ X 5″ film.
The Choice Of A Dark Room
Unless you’ve got a dedicated dark room you cannot make a hologram during daylight hours, especially if you have other family members roaming around the house.
You need somewhere quiet, where one can concentrate. Where a man can escape the insanity of the world to be with his own sensible and logical thoughts. Where some of the world’s greatest ideas have emerged. Of course I’m speaking of the water closet, the restroom, yes – the bog. I am of the firm belief that Thomas Crapper only invented the ballcock so that he had somewhere to go and think!
A bathroom does make an ideal darkroom and has pretty much done so since the beginning of amateur photography. PFG-01 film is red sensitive and so it cannot be exposed to white light. Unless you’ve got some funny lighting arrangement in your bathroom you will need a ‘safety lamp’. As you can just about see in the photo above, it says to use a ‘green processing’ light.
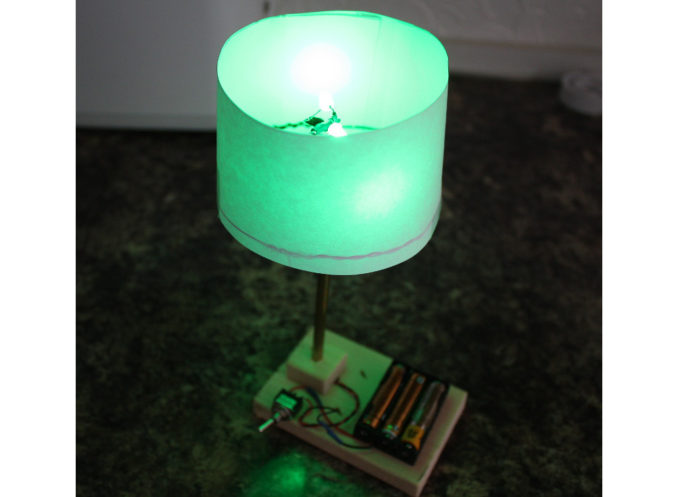
Here, I’ve made a simple green LED safety lamp powered by three AAA batteries and it’s about eight inches tall. It makes not only cutting the film but also developing it much easier. As we’ll see, the holographic film is cut and then ‘sandwiched’ between two glass plates to keep it flat. It’s then placed in a light proof bag, taken to the holographic table, exposed, developed and then dried. You don’t want to be doing all of that in the complete dark. A little green lamp is definitely your friend.
In the next part we’ll look at a simple dual beam optical system to make holograms.
© text & images Doc Mike Finnley 2020
The Goodnight Vienna Audio file