
Some you win, some you lose. Modelling, like life isn’t a smooth, seamless journey without problems or setbacks.
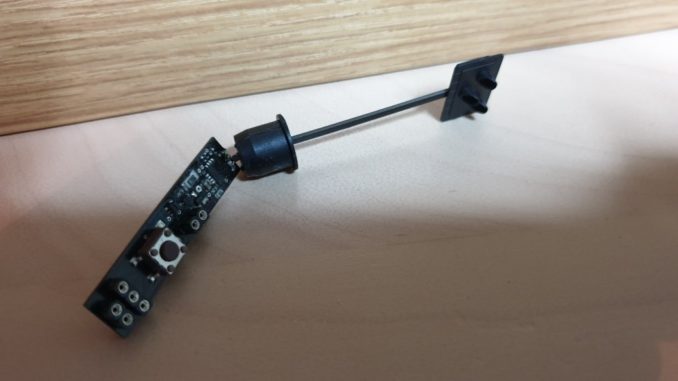
Ok that’s a bit dramatic. We left this saga at the point where most of the layout had been dusted off, broken wires re-soldered and I was looking at automating the level crossing. The crossing light had been happily working when somehow the electronic board that sticks below the surface snapped – bugger, now that’s only good for the bin.
So the challenge is to have four crossing gates, which are not designed to move, turn by 90 degrees all simultaneously and to have a mechanism that will do so in a slow and realistic manner and not take up a lot of room below decks as it is getting a bit cramped down there.
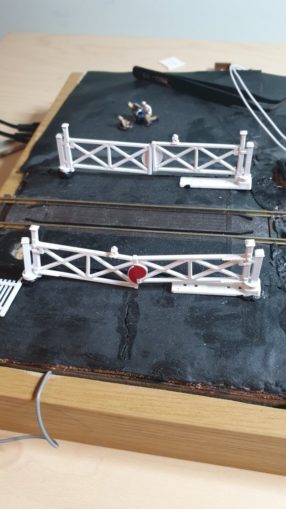

Can you cheat and just buy a crossing that just works? Maybe but I’ve not seen one suitable that’s not prohibitively expensive, other than those that are rather poor spring based ones that lower barriers when the weight of a train passes over. Besides I’ve one already to work with and have a stepper motor that was bought to power an uncoupler.
The plan is this. Have a mechanism under the board with four axles and wheels, connected by crossover elastic bands (so they all move in the right directions), connected to the motor, hoping that it will move enough to open and close the barriers.
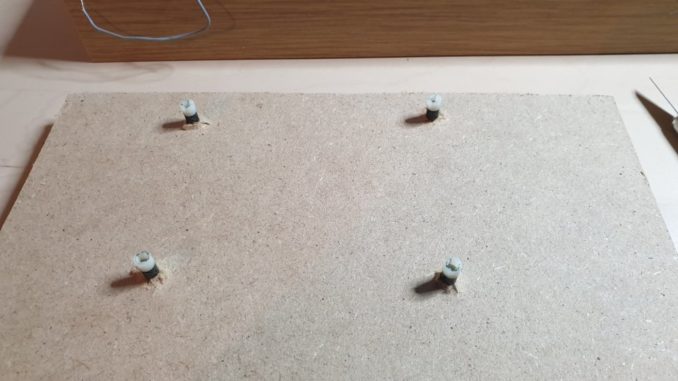
How to make a start? Think.. first of all, about what I have, that could be used. It needs something with an axle long enough to go through the board, so about 1cm minimum, plus a wheel below the board and something above that stops it dropping down into the base while also supporting the gates.
Best to try to make a prototype rather than hack about on the board, which itself really really should be fixed to the base with a couple of hinges. At the moment I prop it up and just hope it doesn’t slide backwards to destruction, which was probably the reason for the broken lights. One of those jobs I’ll get round to…
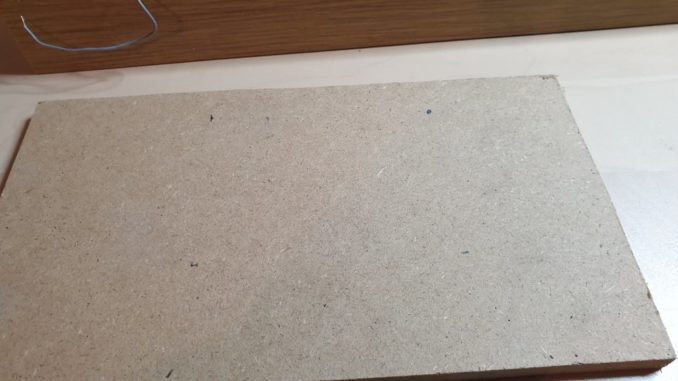
So, find a bit of wood in the garage that’s roughly the same thickness and mark the location for the four posts.
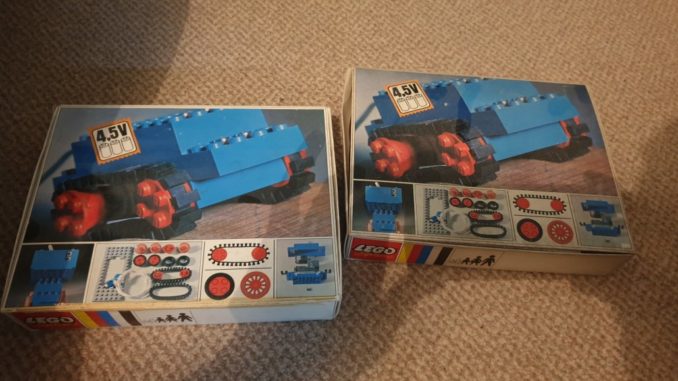
What to use for an axle? Something came to mind, that of the axles used in lego and the lego motor. Somewhere I have the lego motor of my childhood, one of those parcels you get when going home as Grandma has a ‘clear out’. Why she’s held on to it for all these years, well they just do. A long search of the loft… and it’s found under a bed instead.
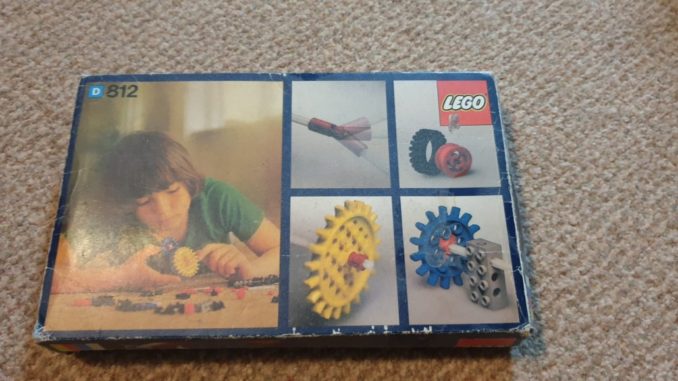
I even found a second motor box, presumably bought in a jumble sale to try and combine to make a working set.

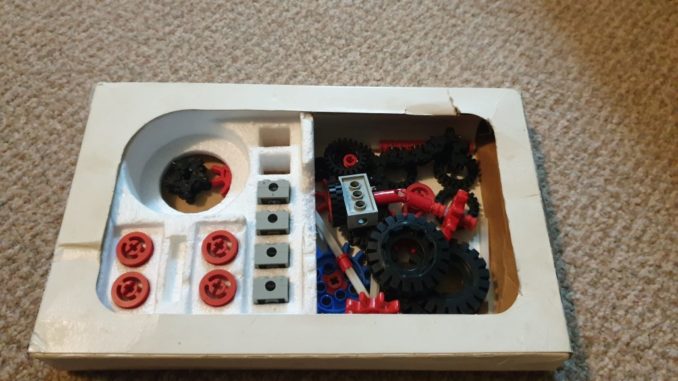
I have axles and wheels from the cog set, so why the motor? Inside the motor are four axle components that let you plug a wheel in place.
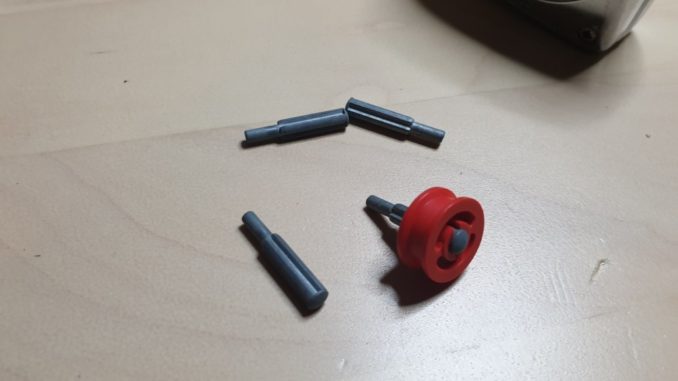
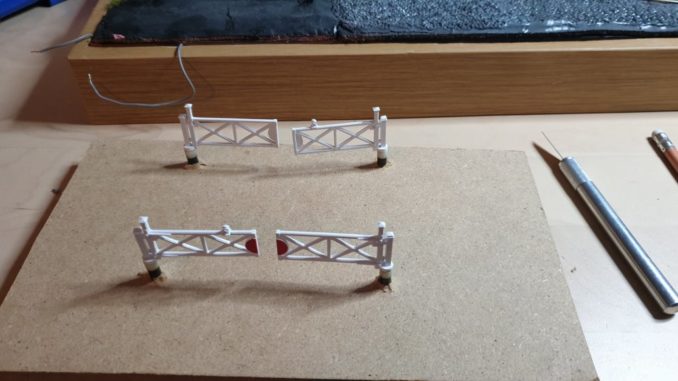
They hold them with sufficient grip to hold on to a wheel, but let you remove them when needed. I took apart one of the motors and managed to source four of these things – slightly wider than the axle and a double bonus, the top end being a square hole that fitted exactly with the gates!
That component then solves two problems – holding the axle up so it doesn’t drop into the base and the perfect connection for the gates.
Drill four holes matching the axle at roughly the right spots and put it all together.
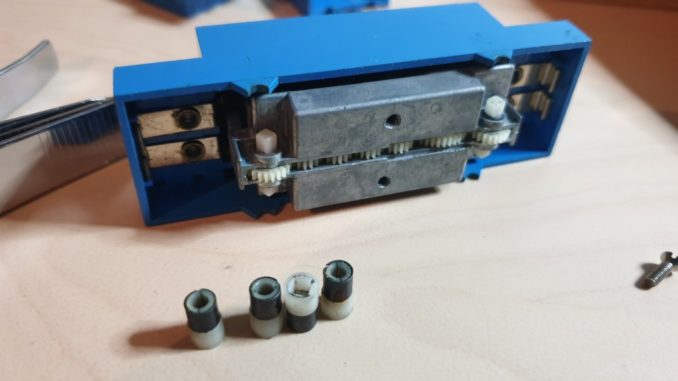
Let’s look at the motive power – it is made up of a stepper motor and gearbox, switch and electronics.
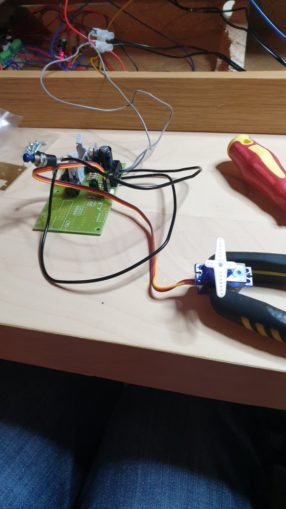
Wire them all up and each time you press the button, it slowly turns by 90 degrees, pauses and returns. It’ll need to be mounted onto the board and see if it is strong enough and has a big enough throw to do the business.
Before then, let’s get the gates to turn manually. Adding four elastic bands isn’t ideal – first time they all turn the same direction – oops – cross the bands and they turn as they should but.. initial tests show that the amount of resistance of the axles in the wood is too great for a rubber band to overcome. I may need to go back to the drawing board and find a sleeve for the axles to let them move more freely, though it might simply be a case of drilling bigger holes!
© text & images Sweaty Dave 2020
The Goodnight Vienna Audio file
