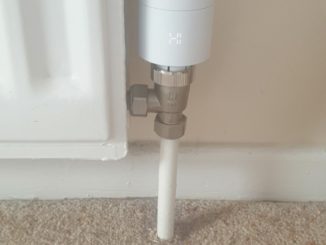
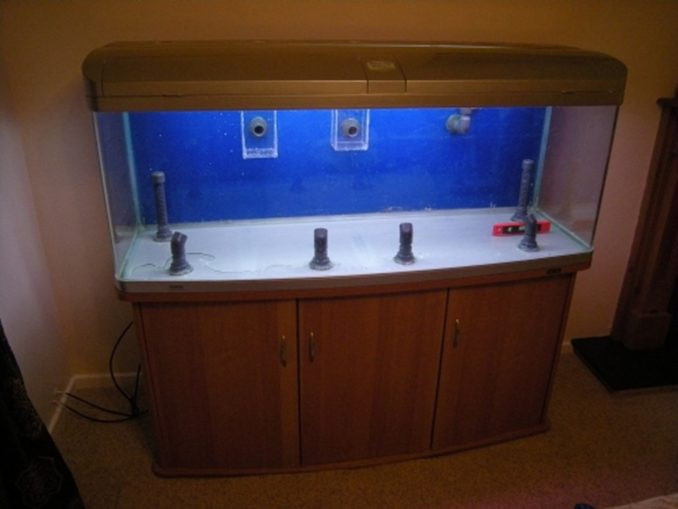
With the sump and the closed loop all in place and tested the aquarium was ready to go.
Placing it was ok – the floor had been strengthened, the helpers careful not to drop anything, all the joints reattached as planned. Getting it level was essential – if it was as much as 2mm out the stresses could crack the glass. One end did need some assistance, through judicious use of a couple of coasters, with one per middle foot to ensure it didn’t sag in the middle.
As I’ve said cleanliness and water purity is everything – all the pipework and valves were food grade PVC, no metal within the water anywhere, even the routine of washing your hands before doing anything with the thing had to change – to not use any form of soap.
Naturally the water itself couldn’t come straight from the tap, it had to pass through a Reverse Osmosis machine from www.Ro-man.com – this is a device that simply uses water pressure to force increasingly small amounts of water through a four stage process of a pre-filtration sediment filter, catching anything larger than 5 microns; a carbon block filter and a coconut carbon filter (no idea!) then finally the osmosis membrane itself. As well as that device, I bought a plastic dustbin to which was added a float valve, so the machine could fill a decent reservoir of R/O water – a process that took most of a day then would shut off. The machine would produce 100 gallons in a 24 hour period, taking some 300 gallons to do so – not good when you have a water meter.
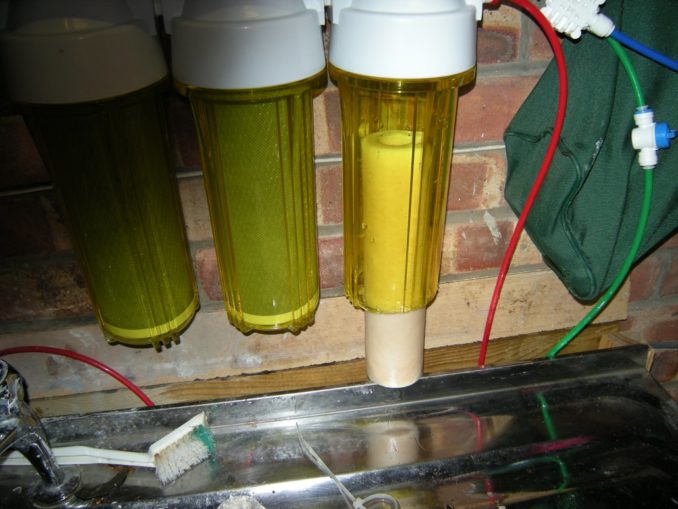
As you can see from the image, the machine wasn’t completely faultless – it seems it was susceptible to water hammer – the shock wave created through the house pipework when a valve such as a toilet or tap turns off quickly. Luckily it was only the garage that got wet.
The tank was filled with R/O water over two days or so, with the plastic rock racks in place and not much else. The heaters were added and circulation started to mix the water. A lot of salt also went in – around 30kg of aquarium salt to head towards the correct salinity. You measure that with a delightful old fashioned device called a Salinity Refractometer – you place a drop of the water onto a glass surface, shine light through it and the refraction alters depending upon the amount of salt dissolved in the water. For coral, you aim for a reading of 1.025
Once it was at the right salinity, it was left to settle for a day with pumps running.
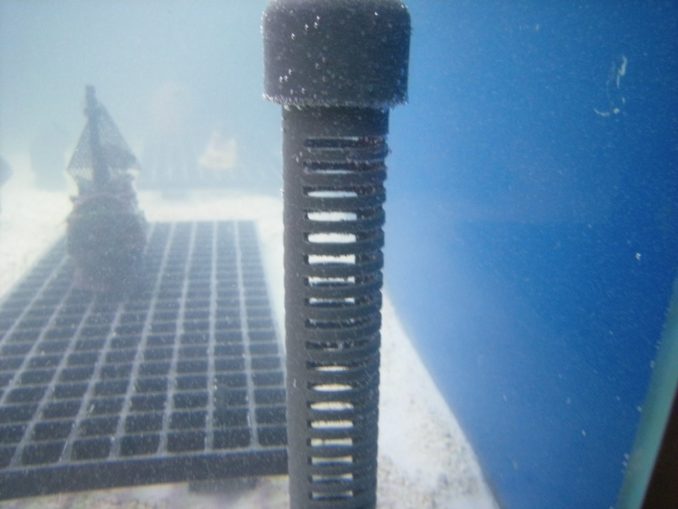
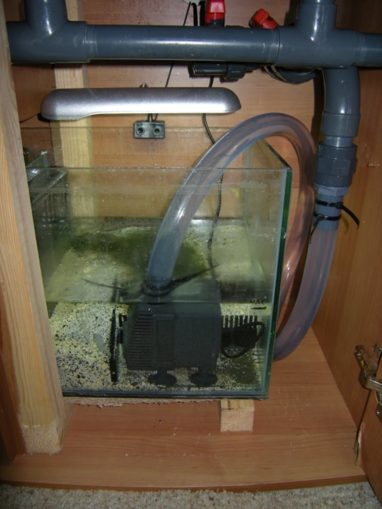
This was the first acid test of how noisy the tank was going to be – and it was awful, like having a generator running in the corner of the room. The noise was from the two pumps, despite their padded mountings. After some research I found the solution – to immerse the waterproof pumps within the sump, using a circular loop of flexible pipe for both input and output to remove any vibration, and to keep the pumps cool and quiet.
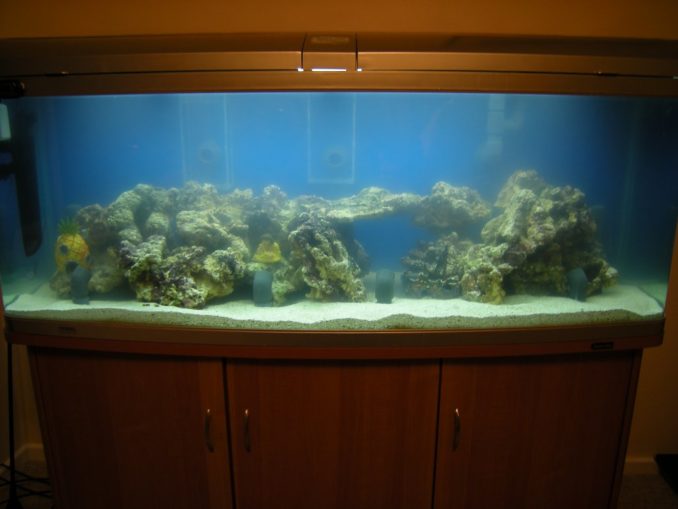
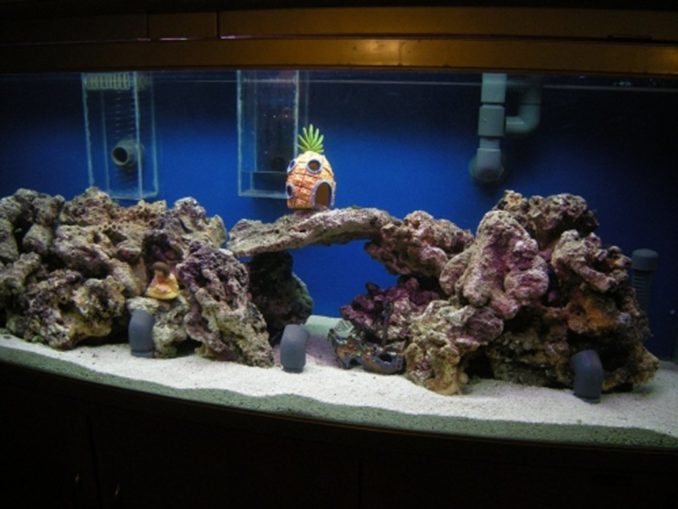
Once quietened down, a 2cm deep bed of coral sand was added for decoration only, and a lot of live rock. The family started to show some interest by now as it was becoming real – Spongebob’s house and a Dora the explorer joined the tank.

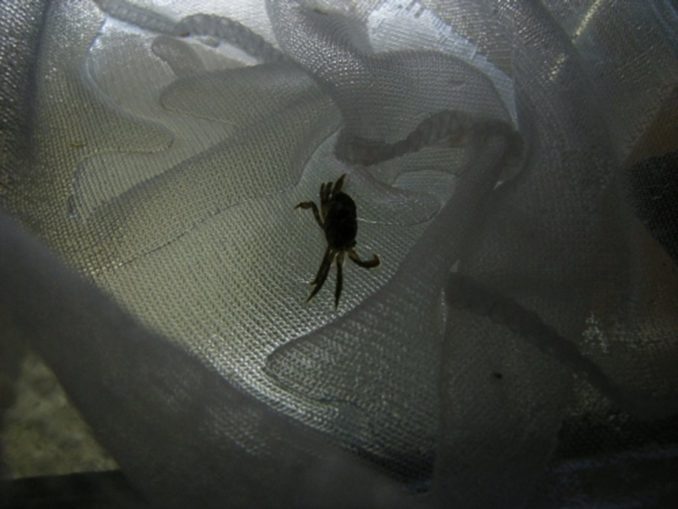
Live rock is part of the filtration system of an aquarium – it is made of bits of washed up coral reef that have broken off in storms. They are collected and air freighted, in sea water at the right temperature to prevent the living organisms within the rock from dying off. This means it is expensive – currently £12 per kilo in the local shop. The rock looks great, is the basis for the reef and should take up around 20% of the volume of the tank. With a ratio usually of 1/2kg or 3/4kg of rock per gallon of water, this tank needed 80kg! Buying at that sort of bulk brings savings, but still cost a lot. The rock brings with it many interesting creatures, mainly in seed or egg form that hatches over time. Most are benign, but there is the risk of crabs or even bristleworms that will attack the occupants you are trying to care for. Checking the tank late at night for such invaders meant I managed to catch and dispatch a number of crabs that were having a go at the corals. The sump was also given a deep bed of sand for further filtration.
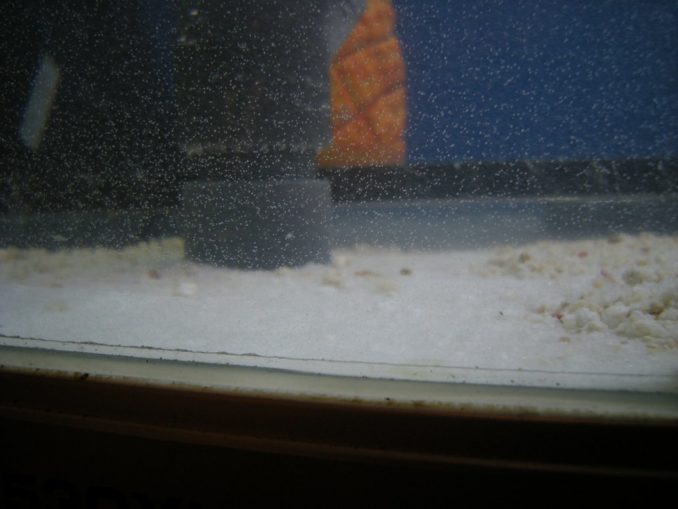
Once the rock had been placed in to make a pleasing vista, it was then a waiting game to allow the tank time to stabilise. This took a number of weeks, waiting for the water to test clear for ammonia and nitrate before fish and crustaceans could be added. This wasn’t too disappointing as it looked good as it was and growth and creatures that came with the rock started to show. When a red algae/lichen started to spread on the rock, this was a good indication of purity.
One topic that has had at least one reader very exercised is humidity – keeping the room bearable with this bath of water in it. The previous owner had a couple of options – he had taken off the supplied top and used a light bar strung above the tank from the ceiling – this held a formidable combination of two fluorescent tubes and two 200w Halogen lights – the sort of thing used for outdoor security lights.
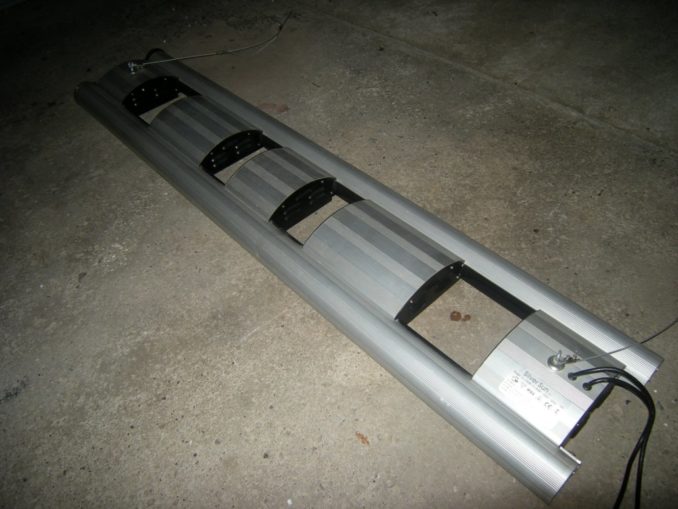
Not only did this setup just about require its own power station it also meant a lot of moisture was being given off from the tank. I opted to use the original hood, which was more of a sealed unit, and beef up the lights in that – four fluorescent tubes. LEDs were in their infancy at this time and now would be a much better and stronger alternative. With the setup I had I was unable to grow hard corals, simply soft ones that require a lower level of lighting. The four tubes were paired up, set up on timers to come on half an hour apart, giving the impression to the inhabitants of sunrise and sunset. The use of the hood combined with the size of the room meant we never had a problem with excess humidity that is so common with this hobby.
© text & images Sweaty Dave 2018
Audio file