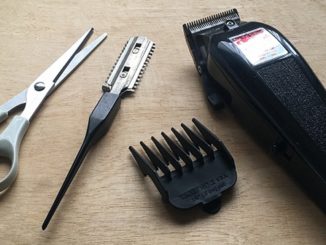
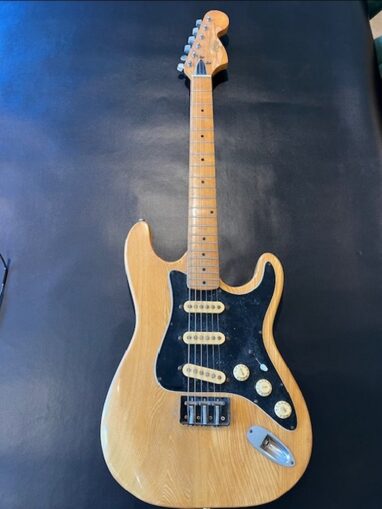
This weekend I decided to take on what I’d convinced myself should be a simple upgrade — swapping the bridge on my Strat copy. Of course, in the real world, whenever I’m involved with power tools, there’s no such thing as simple.
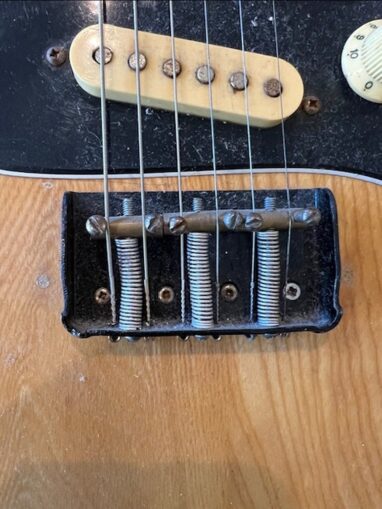
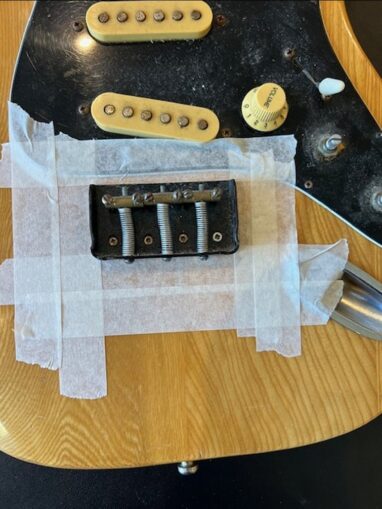
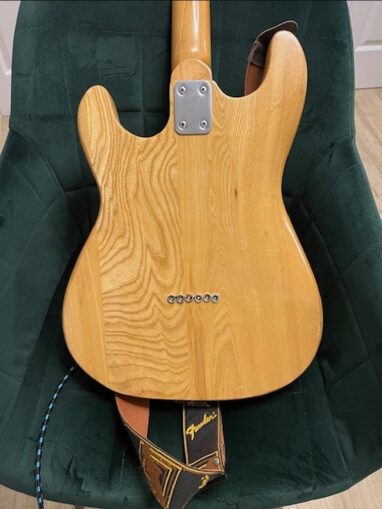
The guitar’s original bridge had clearly been replaced at some point in its chequered past. It only had three saddles, each responsible for two strings, and wasn’t a through-body design. Worse still, the height-adjustment bolts stuck up like tiny thumbtacks, forever digging into my hand whenever I tried to palm-mute. As a middle-aged (cough) returning guitarist, I’d rather inflict the pain on the audience than on myself.
The Plan
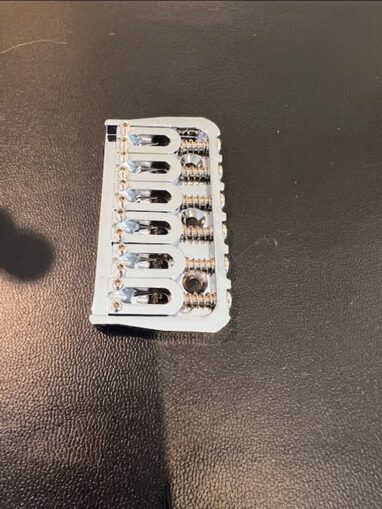
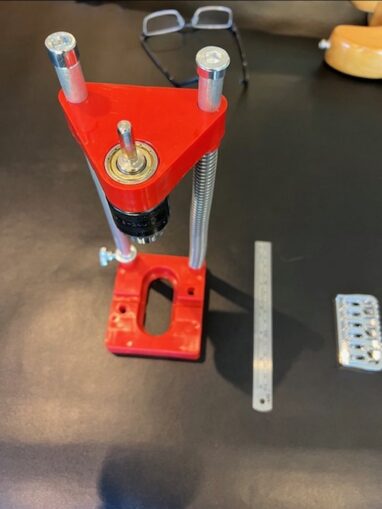
After a bout of optimistic late-night browsing, I ordered a stainless-steel through-body bridge from eBay. It looked sturdy, shiny, and — importantly — cheaper than most top-loading alternatives. Even after buying a budget Chinese pillar-drill jig for my hand drill, I was still quids in (at least in theory).
Before removing the old bridge, I taped off the body with masking tape and carefully marked both the bridge position and saddle line. That bit of preparation, I hoped, would make aligning the new bridge a little less nerve-wracking later.
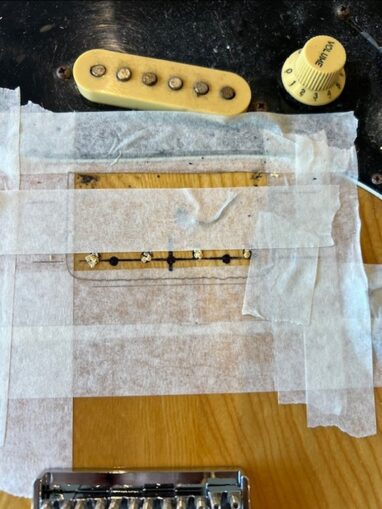
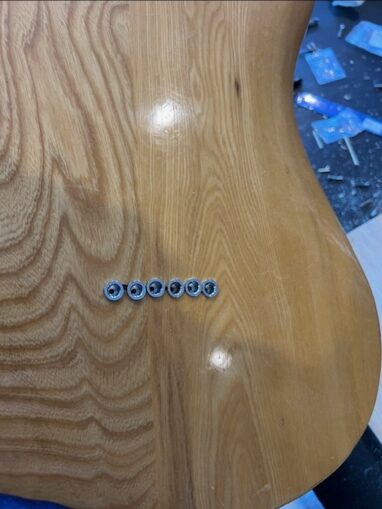
Once the old bridge came off, I filled the screw holes with toothpicks — an old luthier’s trick I found online — to help stabilise the wood and prevent cracking when fitting the new screws. It looked ridiculous, but oddly professional at the same time.
Drilling Begins (and Anxiety Sets In)
Because the original bridge wasn’t a string-through design, I had to drill right through the body. What could possibly go wrong?
Armed with my shiny new pillar-drill jig, I marked out the holes, took a deep breath, and began. They weren’t perfectly straight. In fact, the final result landed somewhere between looking like they’d been drilled by a drunken monkey on a ship in heavy seas, and an enthusiastic DIY luthier with more ambition than skill or knowledge.
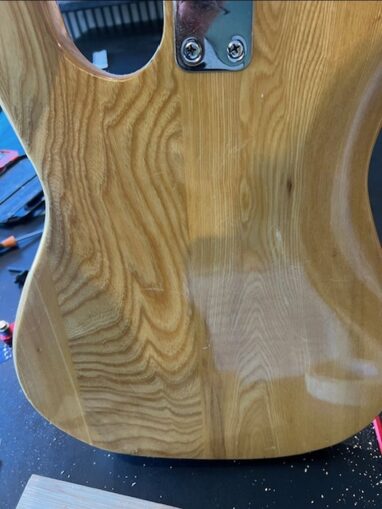
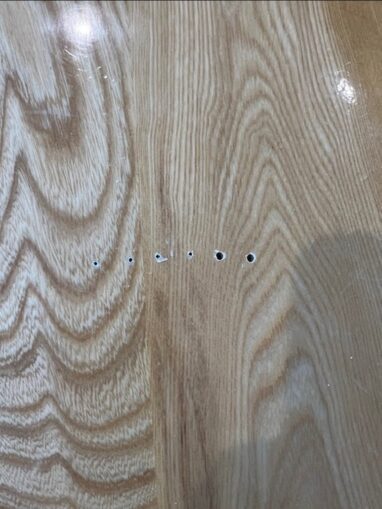
Thankfully, the ferrules on the back helped disguise my handiwork — and by slightly widening the exit holes, I managed to realign things just enough that the strings passed through where they were supposed to. I’ll call that a win.
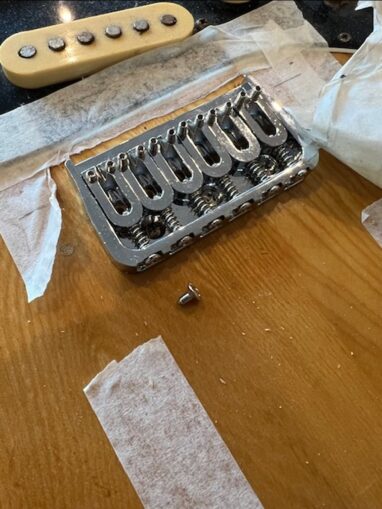
The Screw Incident
With the holes done, I fitted the new bridge and began screwing it down. Naturally, one of the screws sheared off halfway in. There’s nothing quite like the sound of a metal screw snapping flush with the body — part disbelief, part despair, and pure rage.
Lacking both a screw extractor and the will to make things worse, I left it there. Fortunately, the remaining screws held firmly enough to continue.
Setting It Up
Once the strings were on, I adjusted the bridge height to eliminate fret buzz. Then came intonation — and that’s when the real patience test began. Every string was sharp at the 12th fret, meaning they all needed lengthening.
What followed was half an hour of detuning, nudging saddles back, retuning, checking, and repeating — a ritual dance between frustration and triumph. By the end, some saddles were pulled almost as far back as they could go. That really would have been a bridge too far.
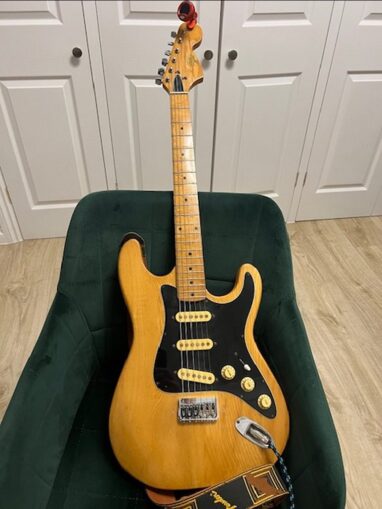
Still, it was worth it. For the first time in over thirty years, I’d properly set up a guitar — and to my amazement, it worked. The action was lower, the tuning stable, and the new bridge felt smoother under my hand.
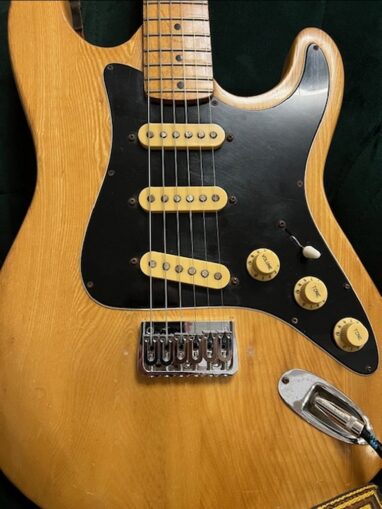
The Outcome
Despite the drama — the slightly wonky holes, the broken screw, and my questionable drilling technique — the result was surprisingly good. The guitar looks better, feels better, and even seems to sustain a little longer.
Best of all, I celebrated by recording a new outro lick for a track I’d been working on — proof that even “close-enough” engineering can sometimes lead to something musical.
So no, not quite a bridge too far!
© WayneeWeedee 2025