It is the Easter holidays. The Missus is at work for the day, so I’m not being dragged around the shops, the kids are revising/ generally avoiding dad. I’ve pottered for a day or so and have decided to set aside today to do a quick project.
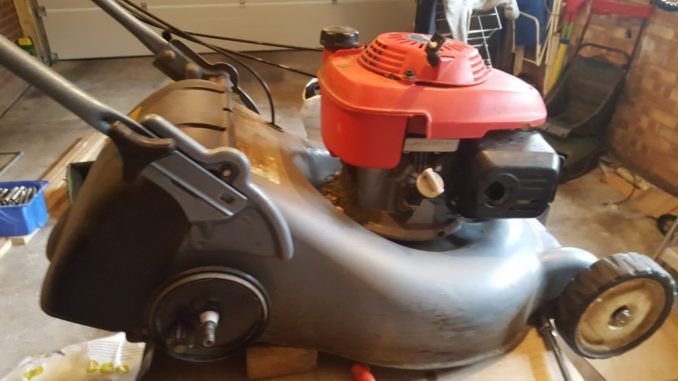
With the grass finally starting to grow, the mower was dug out of the back of the garage. A Honda I2Y, bought new about 16 years ago, no rear roller but 18in cut, so slightly larger than the base model. It also has the essential powered drive so just follow it around rather than fight it over the lawn.
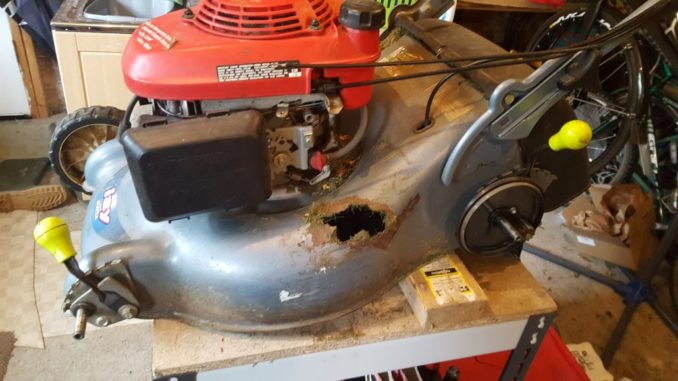
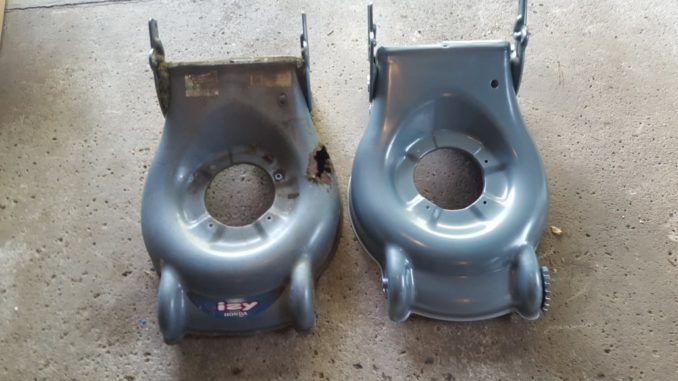
The engine and other components are bulletproof – excellent reliability, the engines being used for microlights which to me says they are built to keep going. The fatal flaw with the mower is the steel deck. It has rusted through – with a hole the size of your fist.
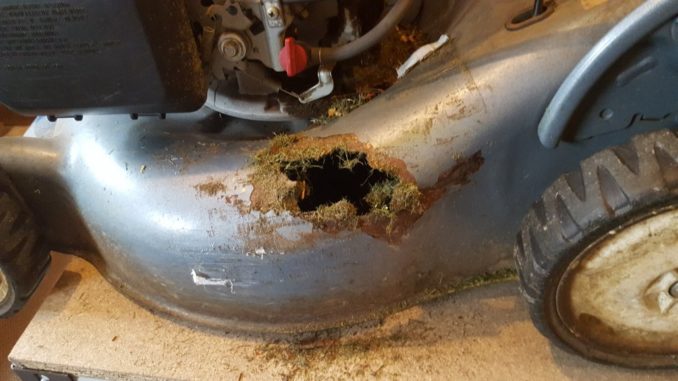
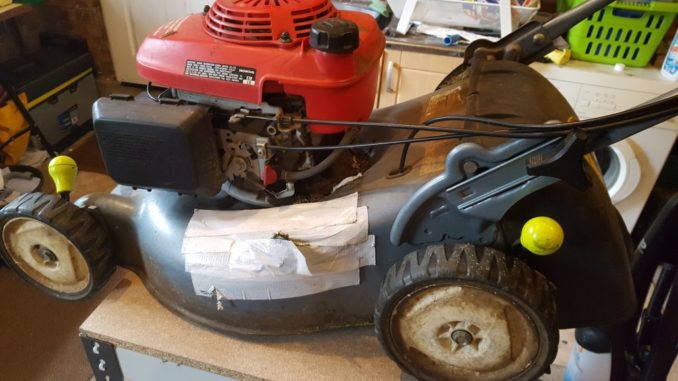
It limped through the end of last season with layers of duct tape holding in most of the contents. The widening hole was meaning it more and more likely to escape and a stray pebble or pine cone could be fired out like an airgun pellet through paper.
Rather than risk injury or a broken window it was time to remedy the situation. There are many new mowers available from as little as £150 (not powered drive – gotta check!), the latest equivalent I2Y is on sale around the £450 mark. With really only one component being at fault I managed to find a local specialist had the body in stock – £130. I would guess this is a common problem with the mower, hence availability. Yesterday I headed off to the original supplier, Gateshead Lawnmower centre with a shopping list – the deck: Honda Izy HRG465 SD/SDE Chassis / Cutter Housing
a service kit (oil, air filter, spark plug) and a new pull start handle, the last one having broken over the years. Total cost just under £150.
The shop is in an industrial unit, but been there forever – I bought the mower there all those years ago. The order was handwritten onto copy paper receipt with the VAT worked out on a calculator as he went.
Most of my projects and manual work is DIY – property stuff like decorating, woodwork, occasional electrical (when you were allowed), rudimentary plumbing. Having spent too long watching Wheeler Dealers, I wanted to work on powered machines, though not the family car- that’s too expensive to fix and sort of needed.
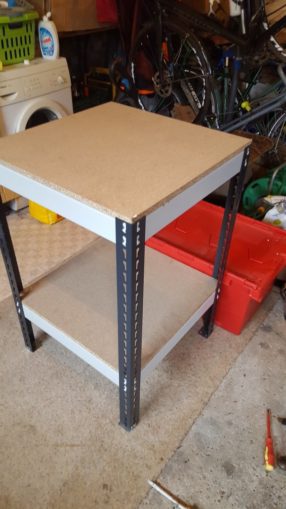
The garage is ideal for the job but no workbench… there is a pile of junk that could be tidied away and space made for such an item. Luckily a friend at www.abis-uk.com had a 600mm square workbench going cheap.
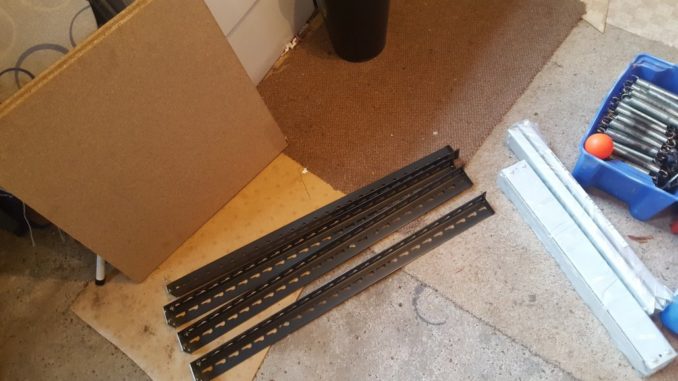
With the missus safely off to work, I made a start, clearing a space in the garage and unpacking the workbench. It was a simple affair of steel frame and chipboard shelves. It all pushed together, though did require a certain amount of hammering with a rubber mallet – not best appreciated by teenager in the room above, despite being well after 8.30am – it got him up to revise so no harm done. Building took around 30 minutes so time for a cuppa.
As with every imaginable topic under the sun, there are a few youtube videos explaining how to repair Honda mowers, so I’d watched one or two and had a fairly good idea of what was needed.
The mower was low on petrol (good), the sparkplug removed just to prevent any unplanned starts while having hands in the blades, and the oil drained. This was the first time in two or three years it had been done – as expected thick and black. The sparkplug was also blackened but clean.
After that it was a case of patiently unbolting, unscrewing or easing off the various components, making a careful mental note of where they went pairing up nuts and bolts, and keeping them all in a big container.
The front wheels were simple bolts, the rear ones looked like there was the danger of needing to remove circlips (split washers that can ping anywhere in a 10ft radius, never to be found), but after further study, the rear drive mechanism all came out with the circlips still in place.
Despite the age there was very little rust on anything other than the deck, a squirt of releasing oil meant all the bolts came away easily and without damage.
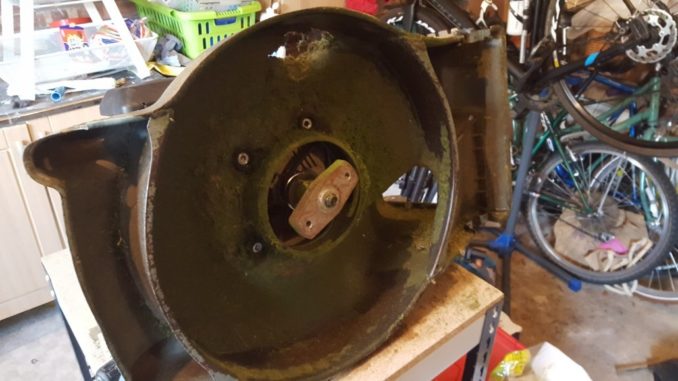
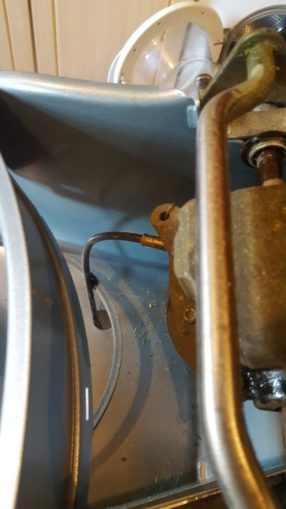
The trickiest bit was that rear drive – much of it hidden deep within the body, with springs and the belt to contend with.
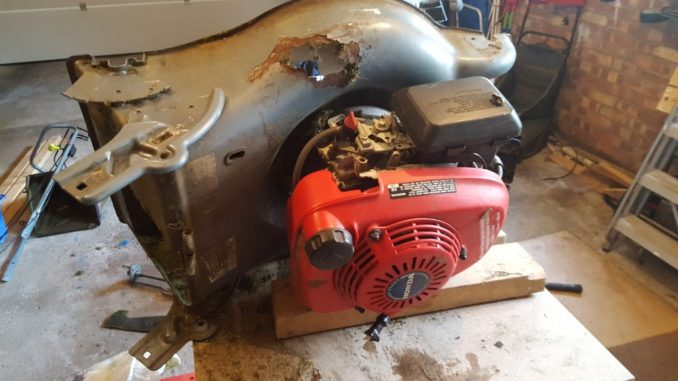
After three hours the mower was in a lot of bits all over the floor. Now the tricky part – try to make something of this pile of parts.
First job was to clean anything covered in mud and grass – the base of the engine and plastic shields in particular. Strangely the engine wasn’t the heaviest part, it was remarkably light, probably around 10kg, the body and handle weighed considerably more.
After lunch I continued with the rebuild – the only issues being that complex rear drive, having to disassemble it two or three times to get the right spring in the right place or the belt at the correct side of the clutch cable and the spring mechanism for the rear flap.
Oh and do not put the handle on upside down as the cables are the on the wrong side!
Springs that are always in tension, particularly ones that twist rather than extend can be difficult to fit. After some fettling I found the correct place for the spring to hold that rear flap closed, but getting it in tension was a challenge. Various shaped pliers were unsuccessful – too large. In the end I dug out an aluminium tent peg and used that to twist the spring into the correct shape and slot it into place – to much relief.
With the blade off the engine I took the opportunity to sharpen it a little, though it was remarkably good condition considering I routinely use the mower as an outdoor vacuum – to pick up hedge clippings, even on the path.
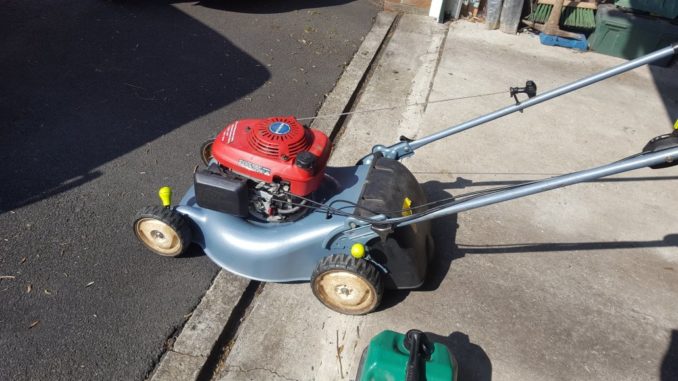
Once wheels, drives, handle and of course the engine had been placed onto the chassis, the cables for throttle and choke in place it was time to service the mower. The shop used to charge £120 to do this – in this case a five minute job of putting in the new spark plug, air filter and oil. Ok so they may give it a bit of a pressure wash too.
The result looks like new and by a stroke of luck starts first time! It gave a real sense of achievement to have it cutting and running so well, with no extra parts left in the box or broken items.
Tomorrow Mrs SD is on holiday so maybe we’ll have a trip to the shops..
© Text & images Sweaty Dave 2019
The Goodnight Vienna Audio file