In parallel with building the baseboard, desert and buildings (see Part 1), I started to collect and assemble the DAK armour, vehicles and figures to populate the diorama.
My preference is for kits made by the Japanese company Tamiya as they are well moulded with little or no flash and rarely any warpage on large flat parts. Tamiya put a lot of effort into researching the original vehicles so as to incorporate a level of detail commensurate with a “mark one eyeballing” of the model, and come with well laid out and easy to follow instructions that always include some background historical information.
In the past Tamiya literally measured by hand an actual tank or vehicle in situ but these days they use scanning techniques to collect a data point cloud and then use CAD/CAM to create the model and tooling, not unlike how car manufacturers capture the surface of a clay model created by a styling team.
Tamiya are of course the kit builder that made the 1:35 scale de facto for military modelling albeit by chance. It originated in Tamiya wanting to enter the market for model kits that could be motorised with an electric motor and two “B-type” Japanese batteries. They had an existing kit for the German Panther tank that did not need any significant adjustment to be able to take the motor and batteries that Tamiya had available.
This Panther kit just happened to have been manufactured to what was remarkably close to being 1:35 in comparison to the actual tank dimensions and therefore was used to set the standard for Tamiya going forward and, in time, other kit manufacturers followed suit.
The rise of kit manufacturers outside of Japan, such as HobbyBoss of China, AFV Club of Taiwan and ICM of Ukraine, have made many more different kits available with a quality approaching that of Tamiya and including more obscure or less well-known types.
© John Tull 2024, Going Postal
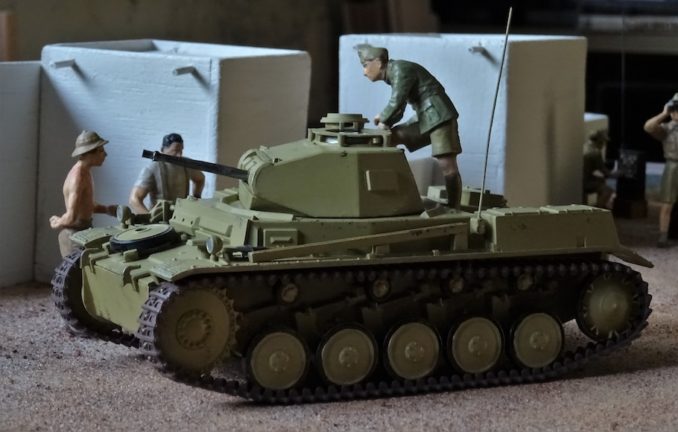
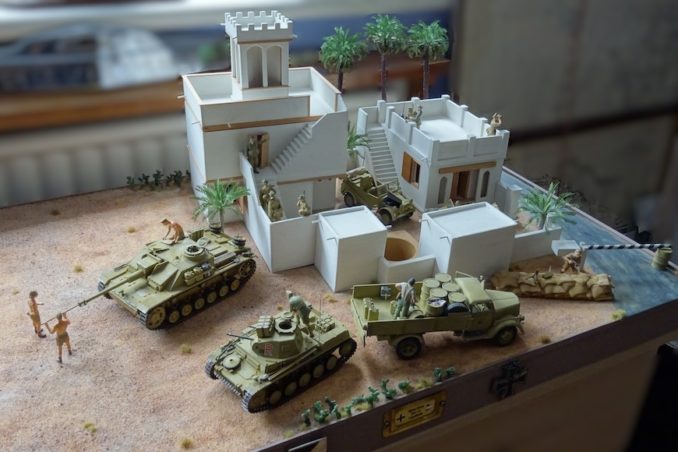
The first two models I made up for this diorama were of a Panzer II and the ubiquitous Kübelwagen. There are plenty of “how to” videos on YouTube of how to build, paint, and weather model kits but I still use the old school approach. Build as per the manufacturer’s instructions, wash when complete in warm water with some dilute washing up liquid to degrease and then paint by hand using a range of matt acrylic paints.
© John Tull 2024, Going Postal
German armour earlier in WW2 were first painted with red lead before being over-painted in grey. Tanks and wheeled vehicles shipped out to the DAK were overpainted in desert yellow either before or after shipping. With wheeled vehicles I paint the lower areas and undersides grey and then all the upper and outer surfaces desert yellow to give the impression of them having been overpainted in theatre. For tanks, I just paint them overall in desert yellow and then add paint chips and wear marks by dabbing the surface with a suitable colour on a piece of torn foam. Depending how deep the wear or chips are supposed to be, I use a bit of grey or red or, if down to the metal, use gunmetal touched in afterwards with rust.
However, after overpainting desert yellow and before weathering and chipping, I apply the decals. The local areas where the decals are to be applied are degreased first and I trim the decals as close to the symbol edge as possible before applying. After applying, taking care to remove any trapped bubbles, and when completely dried out, I apply a matt acrylic glaze to kill the shine on the decals and then blend them into the surrounding paintwork.
I then use weathering powders and pigments of different shades to dirty the model up, taking care to have build-up only in the areas where it would collect on a moving vehicle, and to bleach upper surfaces. I do not use pre-shading around panels or dark washes in panel lines as these do not look realistic compared to what I have seen of actual armour in the desert.
© John Tull 2024, Going Postal
Most of the tanks initially used by the DAK were only a year or two old and generally freshly painted for the desert, whilst replacements were effectively brand new, so I use my collection of DAK photographs as a basis for judging a suitable level of wear and paint erosion to match.
© John Tull 2024, Going Postal
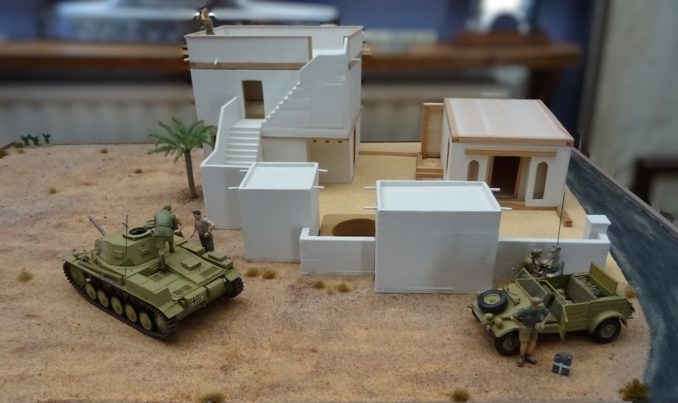
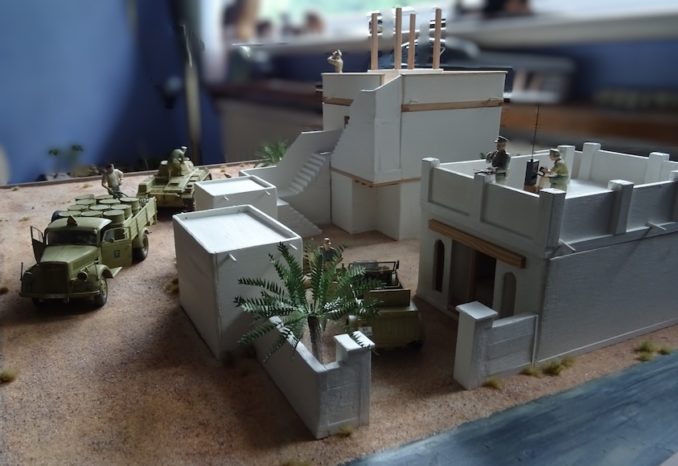
Around the buildings, I “planted” palm trees as used in architectural models for building projects and that are made using etched brass frets for the leaves and cast resin for the trunks. I also started adding scrubby looking “camel thorn” bushes, cacti and dried grass clumps using commercially available scenic materials. Then I added more dustings of real desert sand and suitably coloured pigments to add more variation and weathering. Scenic pigments are superfine so any spilt on hands or clothes stain.
Next, Part 3: How did these soldiers get there?
© John Tull 2024