Thank you for your kind comments upon part 1. In this one we get to a point where I can sit down in comfort.
Day 6 Keep on digging
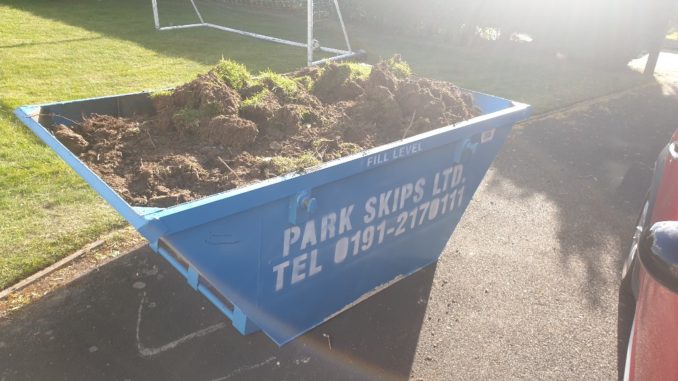
We left it with half a hole and a tarpaulin covered in soil on the front garden. I finally emailed the local skip companies for a price – they’re not cheap, even for a 4yard skip which will only have soil and clay in it. Some replied immediately, others took days and couldn’t deliver for a week or so, as so many others were doing similar work. One local company was really helpful, the cheapest at £150 and could deliver that afternoon – result!
As I was working from home during this time, the ‘patio’ work day was compressed to a couple of hours in early evening – about as much as my helper, the teenager can cope with having never worked properly before. It meant we had time to progress without a mad rush and besides there was no deadline to work to, better to do the job right and to sense check as we went along. Digging to a precise depth isn’t easy, though the lifting of soil was easier once a row had been removed. In the end basically we removed one spade depth, roots and all, filling in the particularly deep bits, probably an inch or two deeper than we had planned.
I even tasked the other teenager to jump up and down in the skip to compress the earth so we could get more in there. Any excuse for a tik-tok video, she jumped at the chance.
Day 7
We filled the skip as best we could, using a sledgehammer to compress the contents further to squeeze that bit more in while paying lip service to the ‘fill level’ rules. It was picked up on the afternoon I rang them, so all good. At this point I’d added the stakes to give the level and only the small path element was left to cut out. Note to self – 4 cu. Yards (skip size) is not as big as 4 cu. Metres (amount of spoil).
Day 8 end of digging
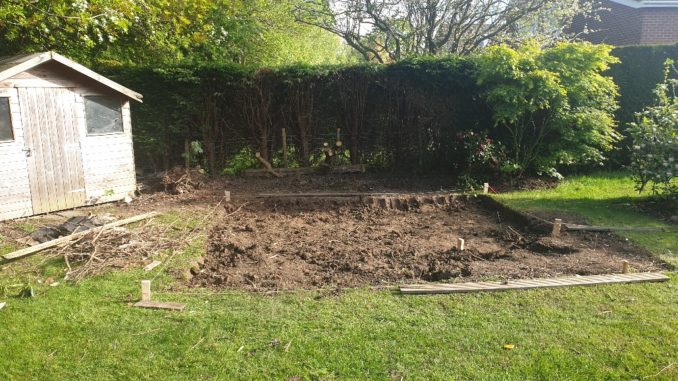
A short one today – I removed that last bit for the path – finding more places under trees etc. to stash the soil, finally the spade could be put down. The materials were due the next day, so not too much to do today.
Day 9 – it’s all here
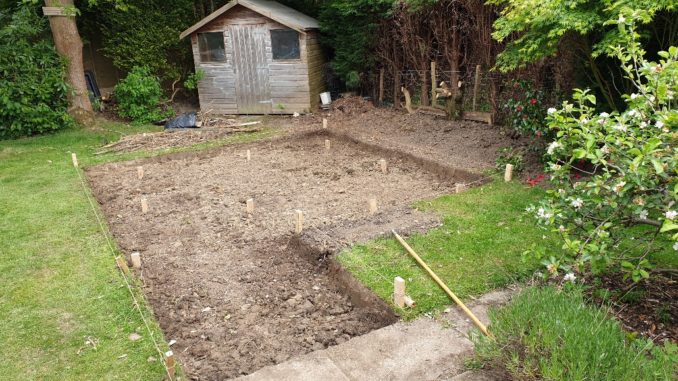
Once the lorry had dropped the material into the front garden (high reach crane over the hedge), we had stuff to be getting on with.
A couple of weed control membranes were put down – luckily Aldi were doing them for a fiver a time, then the sub base barrowed in. I’d searched the local hire companies for a whacker (posh name plate compactor or plate vibrator). A few were closed, others only dealing with those with an account due to covid, finally buildbase was helpful, letting me click and collect for £26 for 24 hours.
First in was the Sub base, all raked flat-ish, it looks a bit low despite being two bags, so looking at how we were progressing, time to ring Colin. ‘Colin, you were right – I need more sand, send a couple of bags please’. He was chuckling at that one, sending a couple more bags two days later.
One bonus – those bags are ideal for taking stuff like branches and roots to the tip as really tough and the right size to chuck in the boot – but only for light stuff…
Day 10 Whack-a-day
Off to Buildbase, picked up the whacker (bloody heavy when you’re the only one allowed in).
Sub base down and whacked flat – very satisfying! It did lower it by about half an inch, but essential to stop it all just sinking randomly in the future. We’re fortunate the ground is rock hard at the moment due to lack of rain, or this could have been a very messy task.
Teen is seen modelling the latest in whackers.
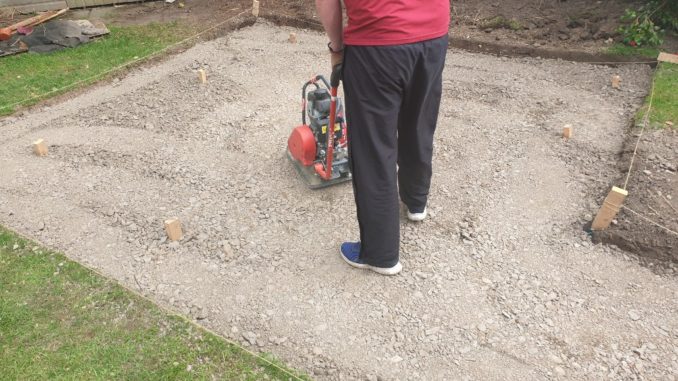
Following the subbase, it was time for the 800kg bag of sand we had. It was spread over the far side to the required depth then whacked smooth. The machine is a law unto itself, it edges forwards noisily and you look to coax it in a direction, sharp cornering isn’t recommended as it digs in a bit.
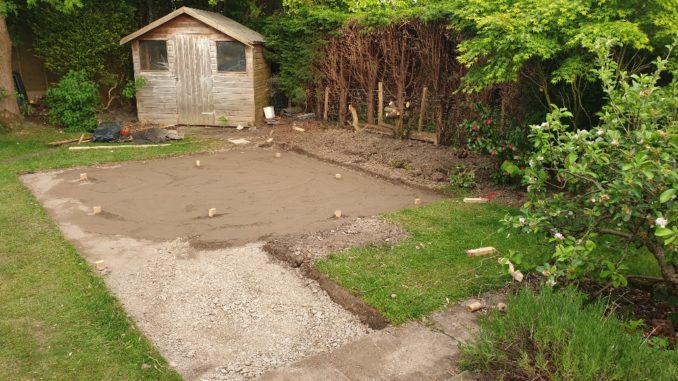
Day 11 – off
No sand – so we had to hold on to the whacker (luckily only about £10 a day extra, the hire company very relaxed about it).
Day 12 – sand is here.
It took about a bag and a half of sand to bring it up to the correct level, a final whack and just about flat. All the pegs were removed but I wasn’t happy – you could see undulations and feel them as the whacker climbed over them, even though they were perhaps only 1 cm difference in height.
In these situations, Youtube is your friend, and I found an Aussie showing how to create a flat sand bed with the use of two straight edges and a plank. You set the straight edges level at the right height in a small channel if needs be, then draw the plank between them, taking the tops off any raised bits, and highlighting any depressions.
https://youtu.be/wCAqyDG3JOw?t=264
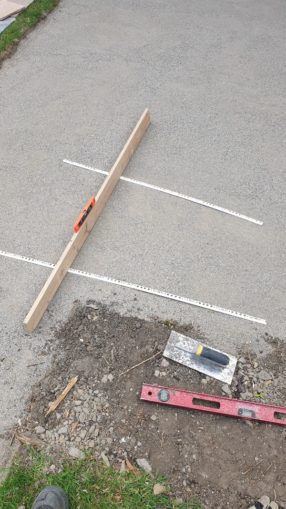
That really made a difference and once done I was happier to do the paving.
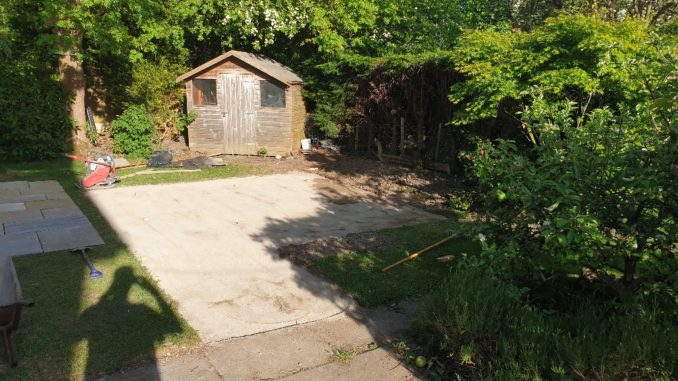
With each piece being a different size, a multiple of the smallest ones, and looking to lay what would appear a random pattern, I set them out on the grass nearby to get the right setup. Old Trout would have been useful with the maths – the smallest stones are 275mm square, so we looked at those as 1x1s with others at 2×1, 2×2, 2×1.5 and 2 x 3. In effect we needed the equivalent of 14 small stones to reach from back to front (with 5mm gap between each stone for pointing) and 17 from left to right. The idea was to have a random selection of stones, so not all small at one side and large at the other, with as few long straight lines of joint as possible. This meant puzzling the jigsaw out and placing and re-placing the stones to get the best result. The 1.5 ones had to be paired up to get to the final whole number.
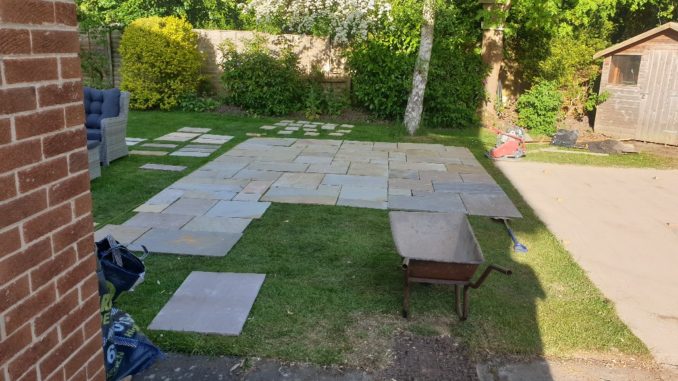
The main square was fine – and measuring for the umpteenth time, looked to fit in the base. The path was so, so close but you may notice the second line of stones is wrong – there was a half piece needed – something that we tried to avoid by rearranging the pattern time and again, but to no avail. That left a quandry – do we nip in the two stones or cut another one to size – and with what?
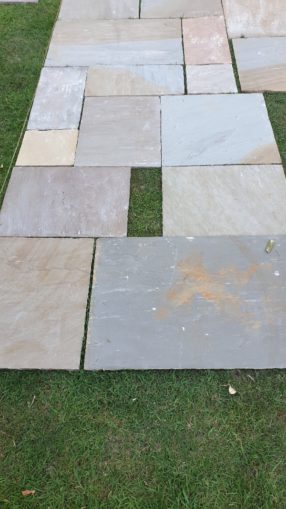
Day 13 – Cutting time
My dad put his thinking cap on (82 years old but once you’re a builder, always a builder) and suggested a cutting disk for my circular saw – £8 from screwfix. Hiring a stone cutter for a day seemed a bit OTT for one cut, so screwfix it was – the disk worked really well on the soft Indian stone, with much less fuss, noise and dust than you see when people are using the petrol cutters, so a half piece was created.
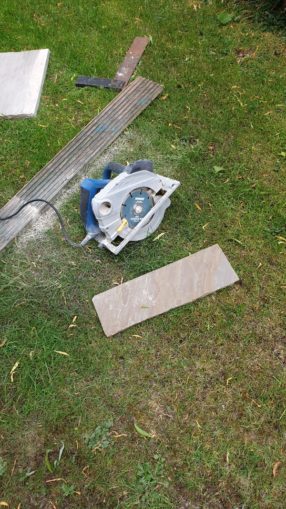
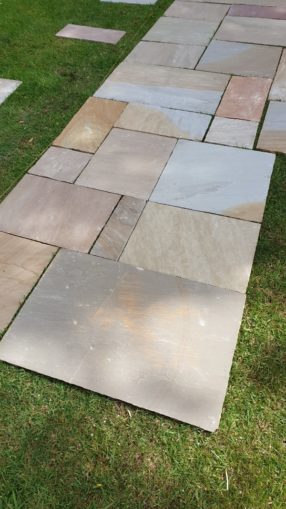
The Saturday was extremely windy and with the plan being to dust cement onto the sand bed, I didn’t want lung and eyefuls of the stuff whipped up – weather stops play.
Day 14 – get it done
Sunday morning, 9am, not a noisy job, but time to get this done. The hope was to have it all done by Bank Holiday Monday and there was still time. The wind had died down a little so time to make a start.
I dusted the sand and laid the first three or four stones in the front corner, looking to ensure they were properly lined up with the strings, which themselves were meant to be exactly at a right angle. A number of measurements and it was just about right. A crowbar was extremely useful to edge stones just a millimetre when needed. Having created a nice flat sand bed, it was disappointing to realise the stones weren’t all the same thickness – so getting completely flat was near impossible. Well it is meant to be rustic you know.
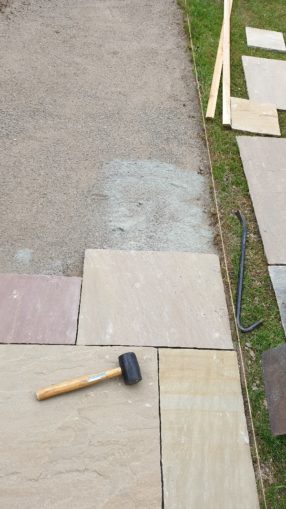
After three hours, significant swearing and thoughts of ‘never again’, the stones were in place – those planned 5mm gaps never really happened, if only as where you had three small stones, next to one big stone, that’s three gaps vs. one so it doesn’t add up. I spent the afternoon pointing (filling) the gaps to help secure the stones, an extremely slow job!
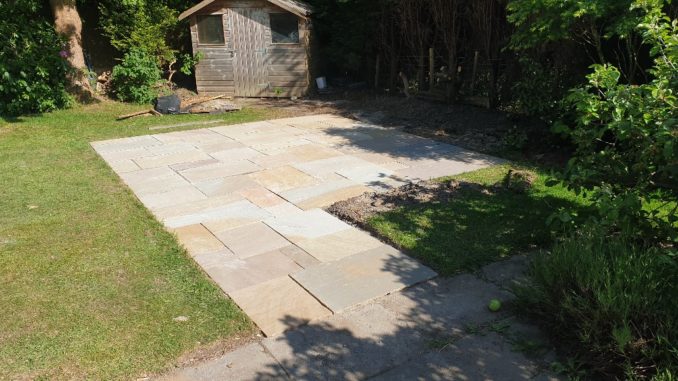
Day 15 Finishing off
The Bank holiday Monday arrived, the morning and early afternoon spent tapping and squeezing mortar into the joints. In some places where the gaps were too small, the rough sharp sand wouldn’t work in too well, as it has small stones of around 1mm which would not fit. I may have to go back with some mortar made with builder sand to finish those smaller joints. Following an afternoon of drying it was good enough to place the new furniture, ordered a few days previously from the local independent garden centre. Total cost for the patio around £1100, plus the furniture.
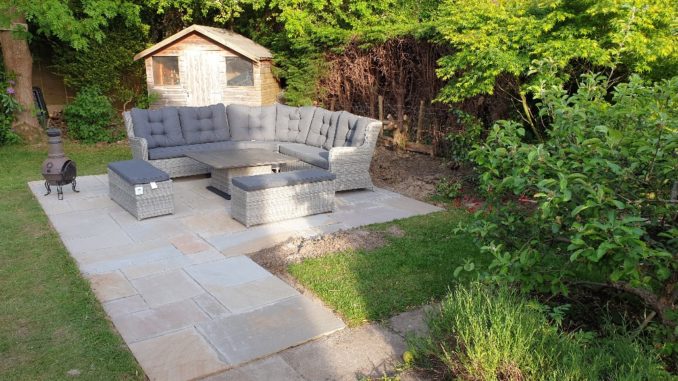
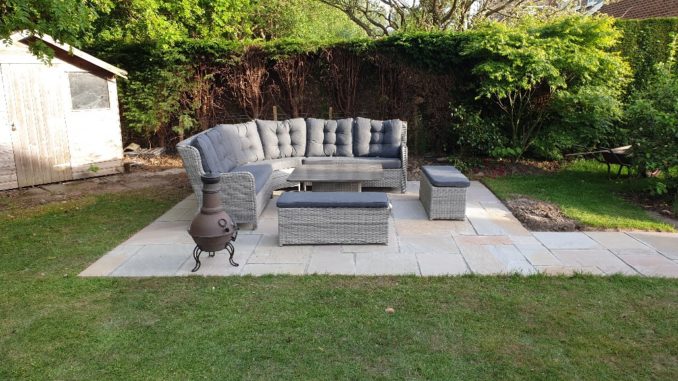
Now you will know that doing one job only spurs the imagination of the other half to new tasks – so there are a few things to do. Being under the trees meant bird droppings and leaf litter landing on the new cushions, add the strength of the sun making it too hot (in May!) and we dug out an old folding gazebo for shade and protection. We will have to get something to cover the back of the hedge – probably that fake ivy. Once it has rained, some flowers can go into the bed behind the seats and perhaps some lighting of some sort. We’ll see, but now at least we have somewhere outside to enjoy a few drinks and to meet with friends.
Cheers!
© text & images Sweaty Dave 2020
The Goodnight Vienna Audio file
Audio Player


