Welcome back once more to the Cnuteneering Home For Wayward Lathes and Milling Machines (CHFWLMM Charitable Foundation, listed in Bermuda alongside Tony Blairs Foundation shell companies).
We left the last installment with the establishment of the Shed Of Charity And Hope, and I got started on episode 2 following a very generous shipment of tooling from our very own Grimy Miner.
Sadly real life got in the way and the raised flower bed borders started to disintegrate before our very eyes. This could be quite bad as the raised beds will slowly erode into the lawn. So this is CHFWLMM part 3 but posted second in chronology.
At this point we have 2 options – get some proper borders in and fit them, which is about 1200 quid for the off the shelf borders. We have to have chunky ones as El Woofador is quite a no-borders enthusiast (especially when we rebuilt the fence and there was a free run into next door’s garden).
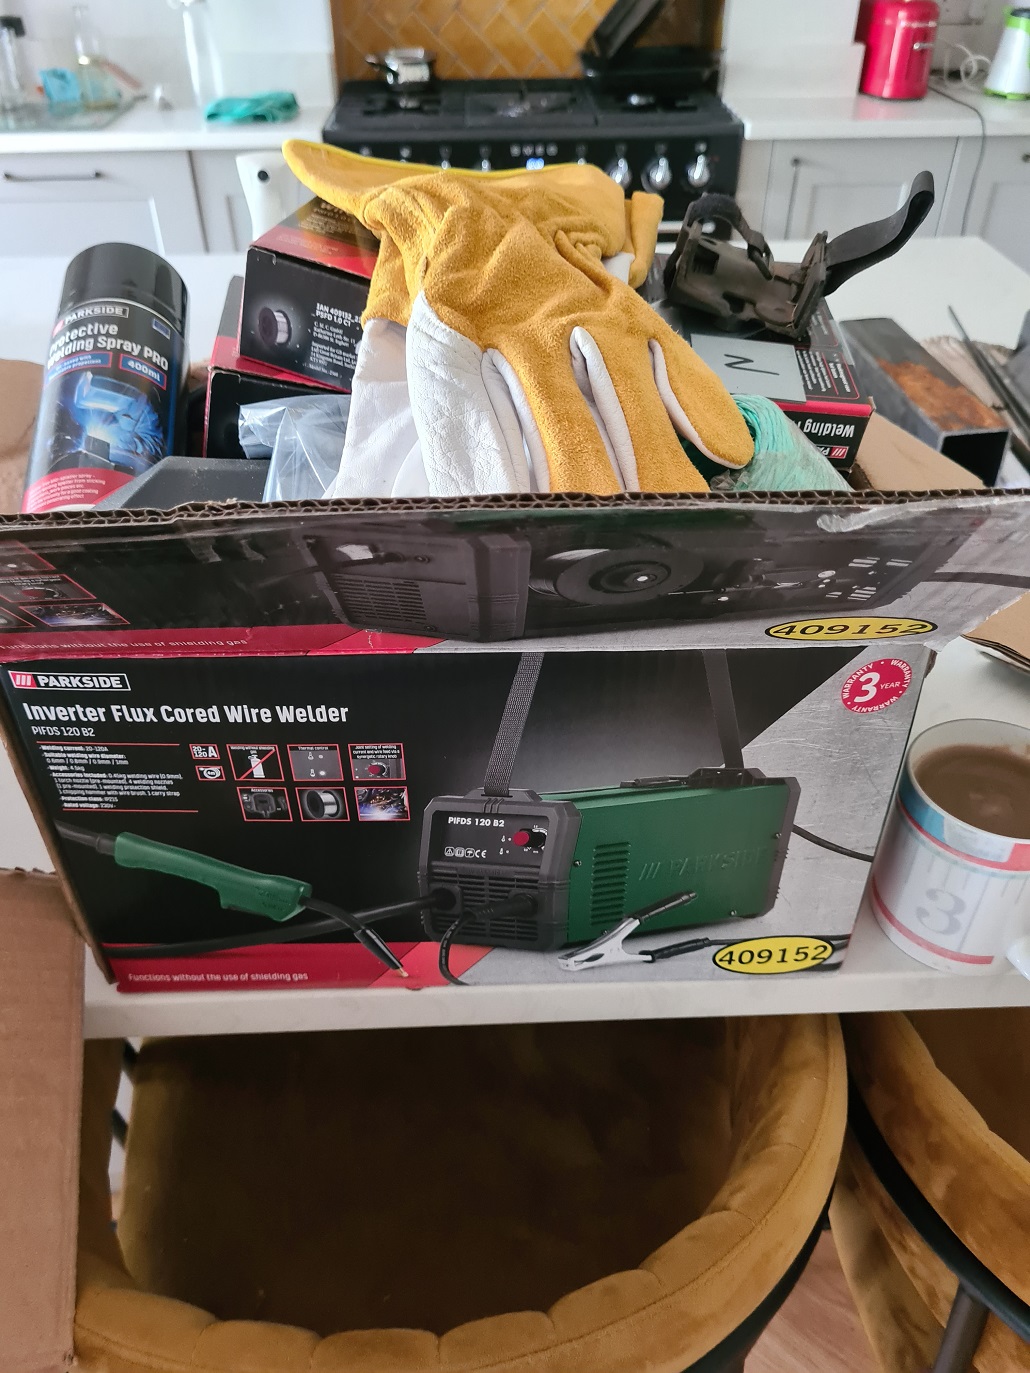
We looked at making some moulds and pumping concrete into them, short sections of railway sleepers, and then as luck would have it I was randomly messaged by a friend that Aldi had welding machines in stock. A quick lookup for steel sheet and parts and I reckoned for about 450 quid, I could get the steel sheet and some lengths of steel box section and do the job for half price.
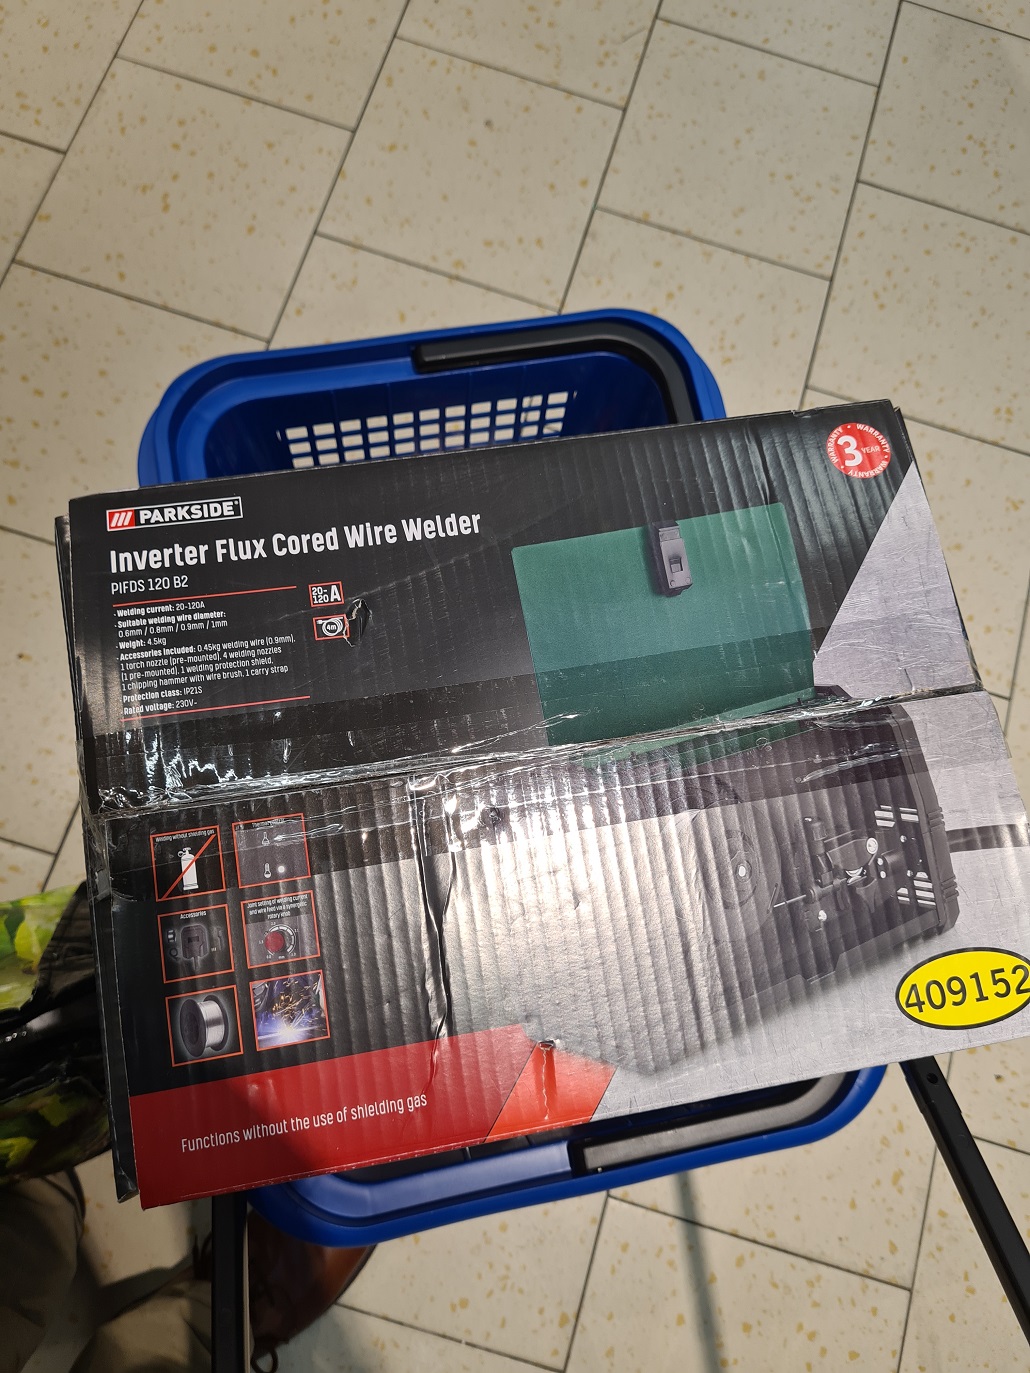
As a side bonus I would also be the proud owner of a welding machine which is of course a welcome addition to the CHFWLMM Shed Of Charity And Hope. One hundred quid later and I am the proud owner of a welder.
Seems like everything is ready to go, there is a face mask included in the box, that actually does something useful – welding is very very bright and you don’t want to be looking at a mini-sun for too long.
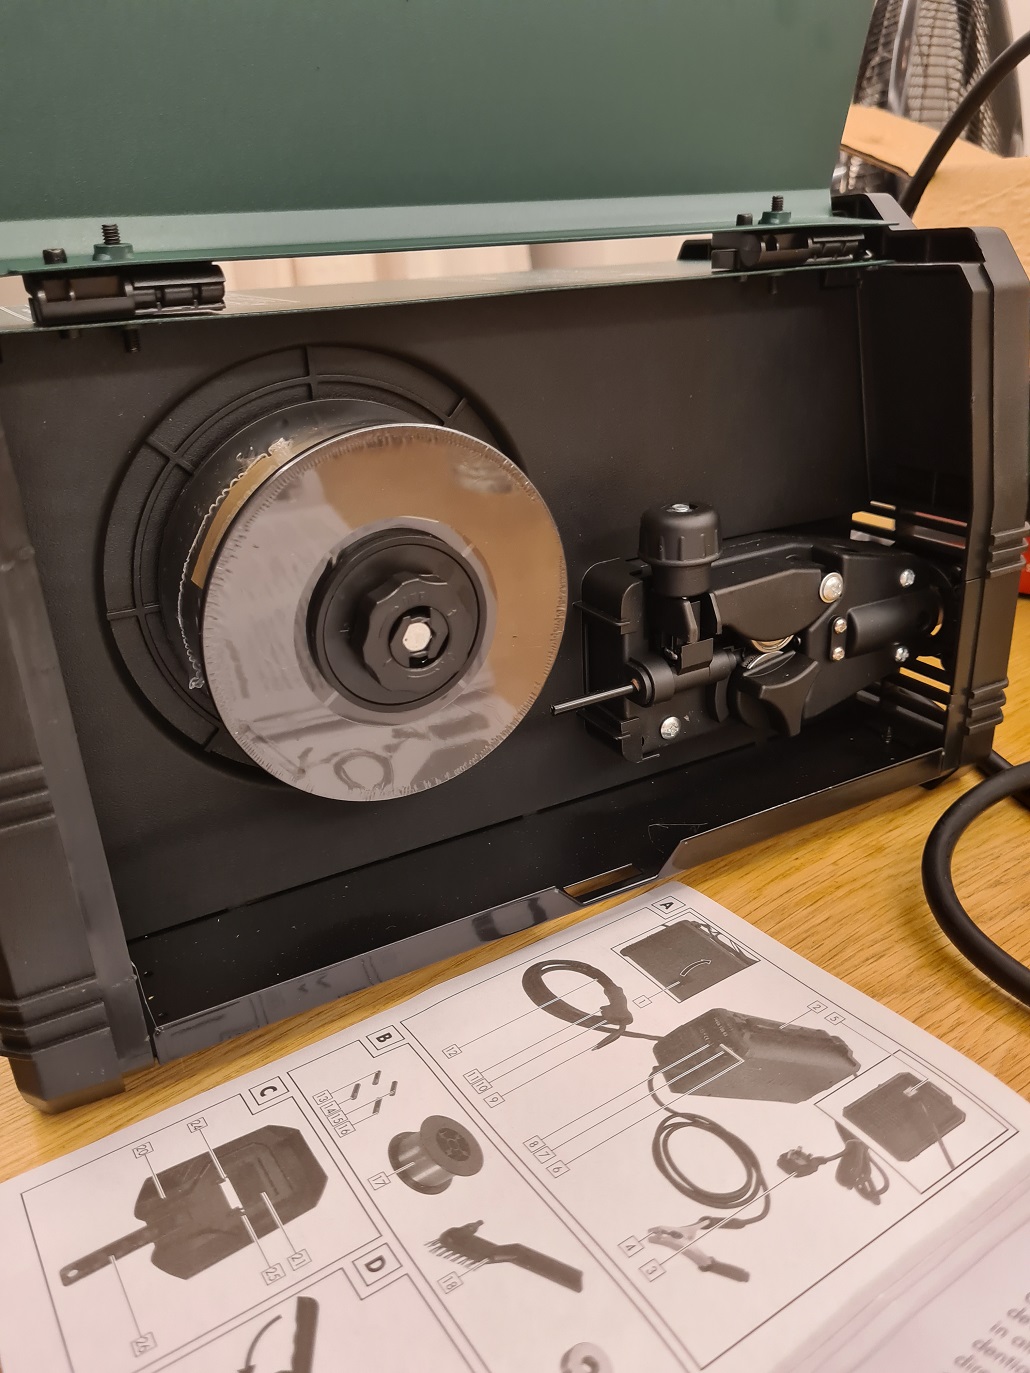
There is also a roll of “welding wire” which presumably is needed for some reason so I fit that as well. At about this point I realise I have yet again gone off half cocked and don’t really understand welding at all.
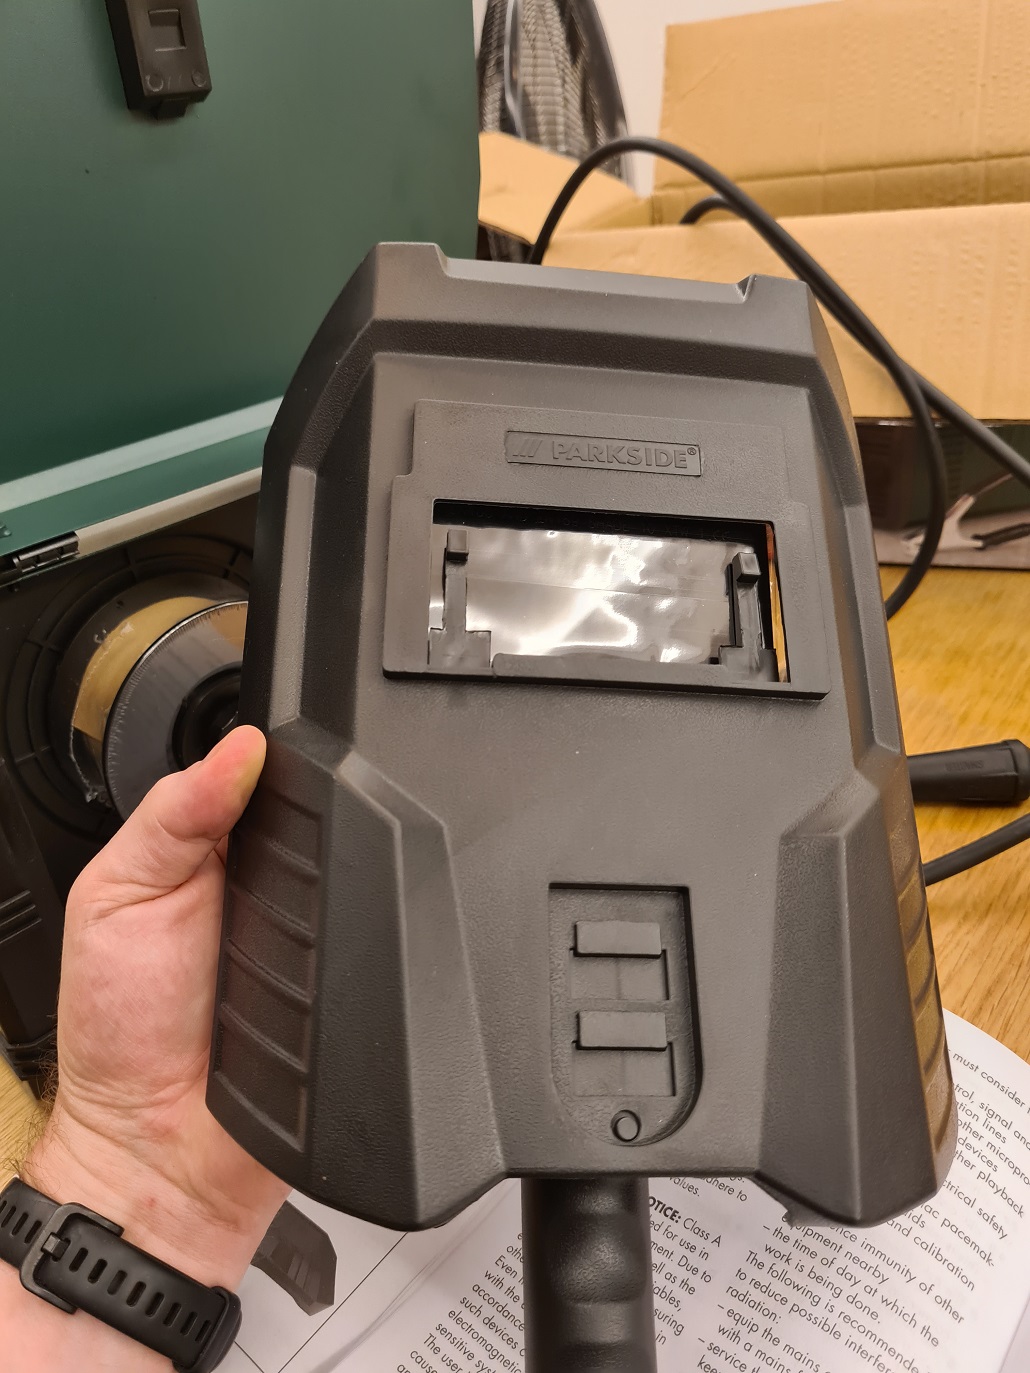
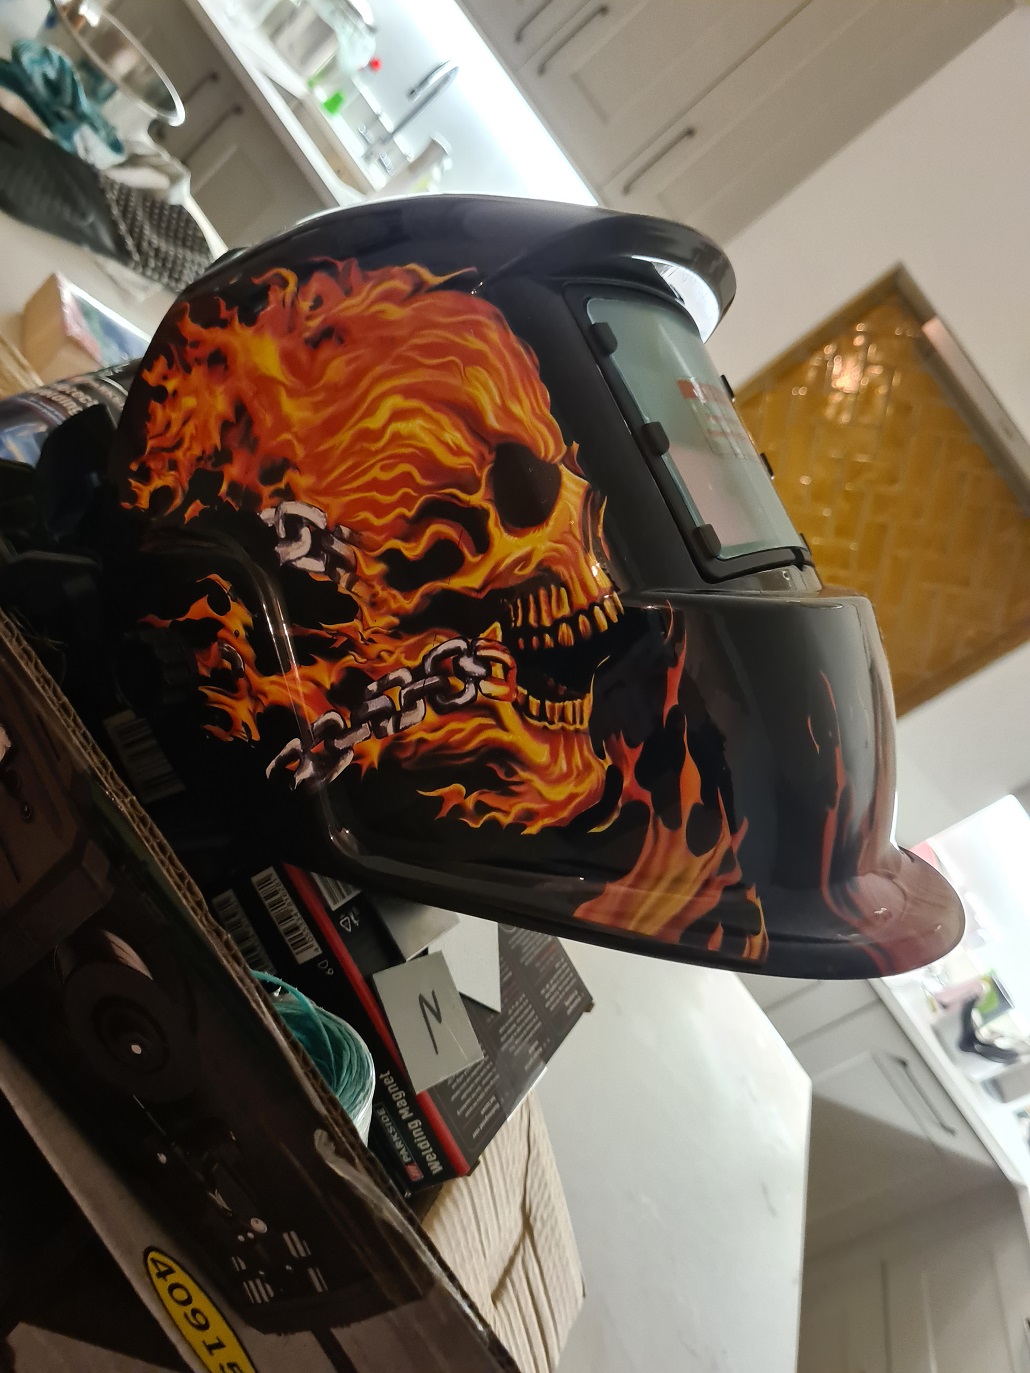
Some instructional youtubing later, and it seems that an actual facemask is recommended, with a reactive viewplate that changes colour when the welder sparks up, a bit like Reactolite sunglasses. Only quicker, I would hope.
I duly purchase a welding hat, with go-faster flames on it.
Apparently you can test them if you shine a TV remote at the sensor, there is enough IR spectrum in the beam to trip the viewplate into dark mode.
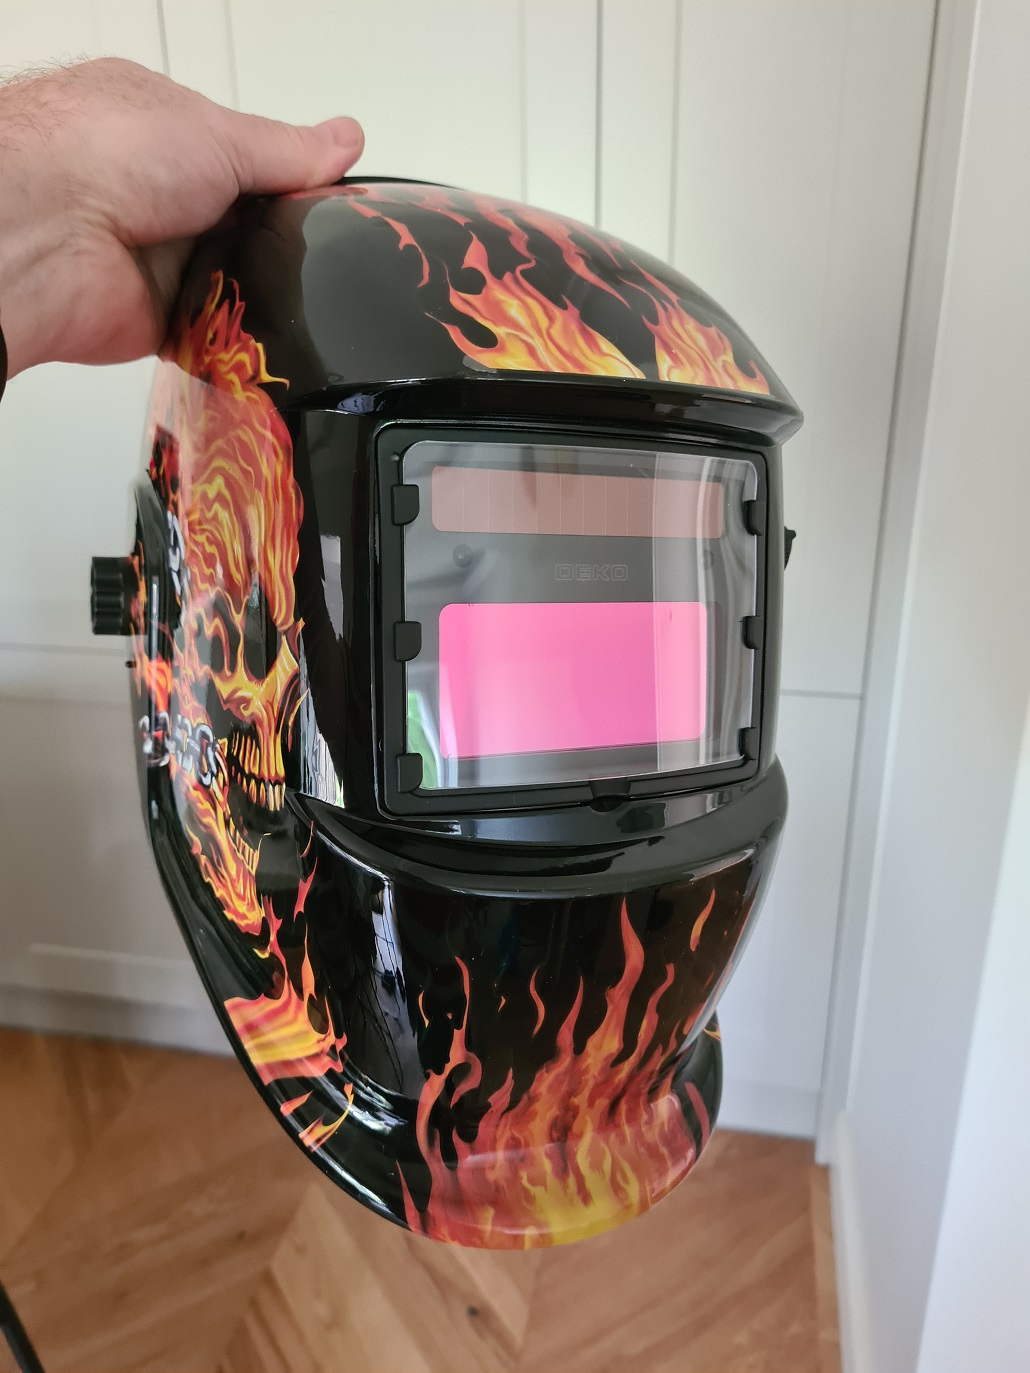
Excellent.
I also note that welding gauntlets are indicated, so I get them as well. There is also some “tip spray” that is used to grease the welding tip so that spatter does not stick to the rod (yes, filth), some magnetic clamps and more rolls of welding core wire.
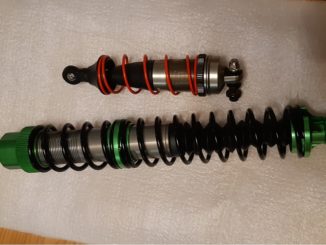
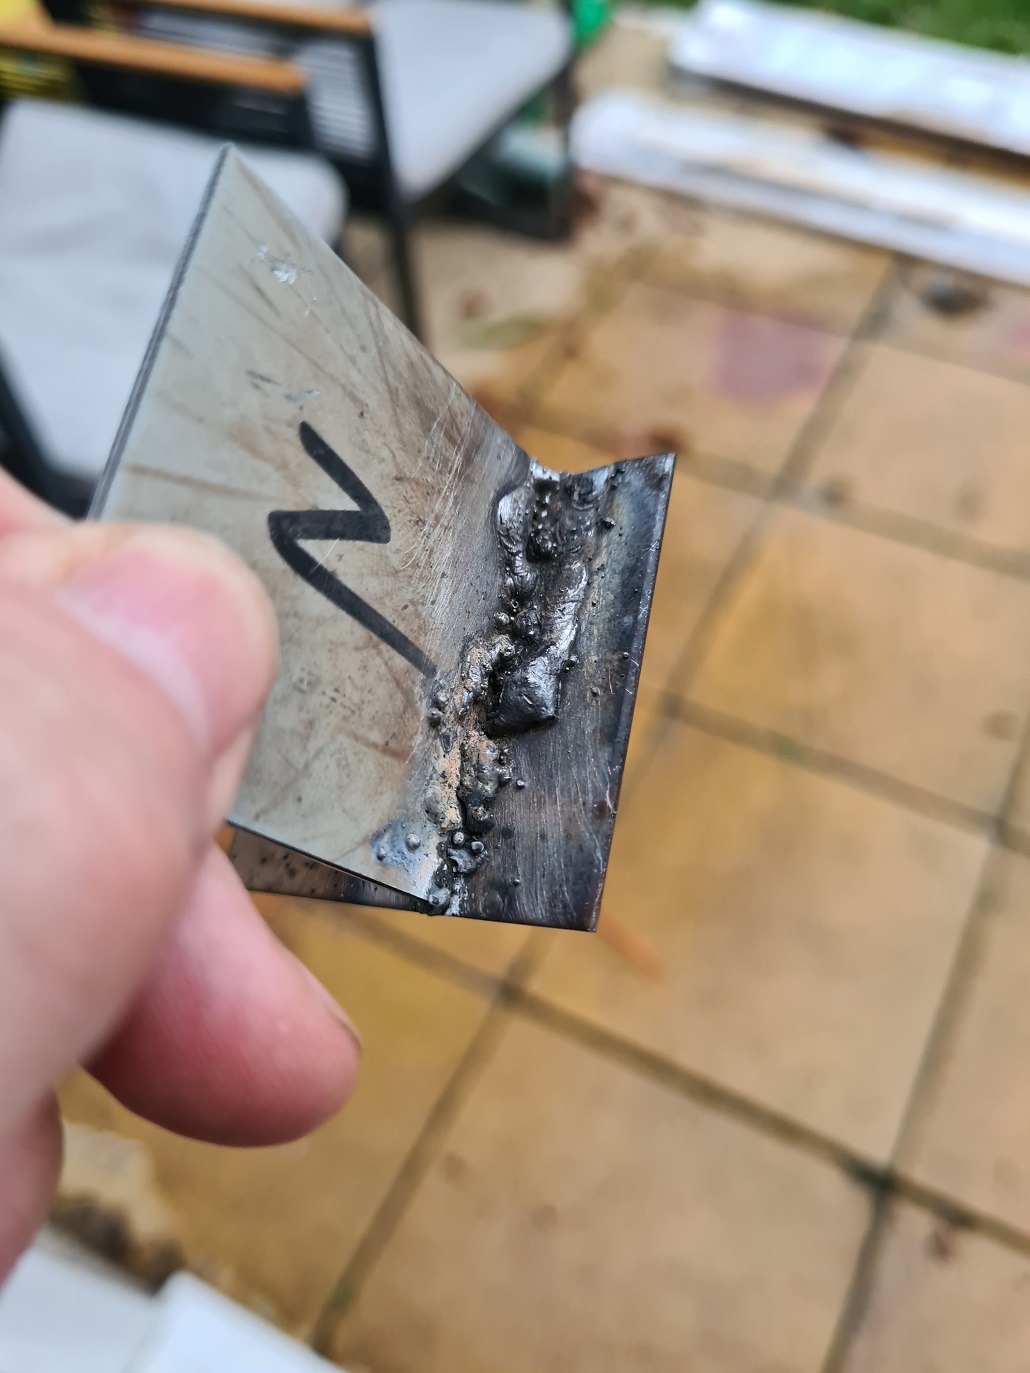
Before buying a whole load of 2mm steel sheet, I order some samples to have a look at and these are ideal to test my welding skillz. There is Mild steel, Matt steel and Galvanised, so I weld them all.
Partial success on this one the weld was quite weak and I broke it easily.
Galvanised was a bit trickier and so I did some more reading up on this and apparently you can get some pretty dangerous fumes coming off it so just as well I was outside and not in the Shed Of Hope and Charity.
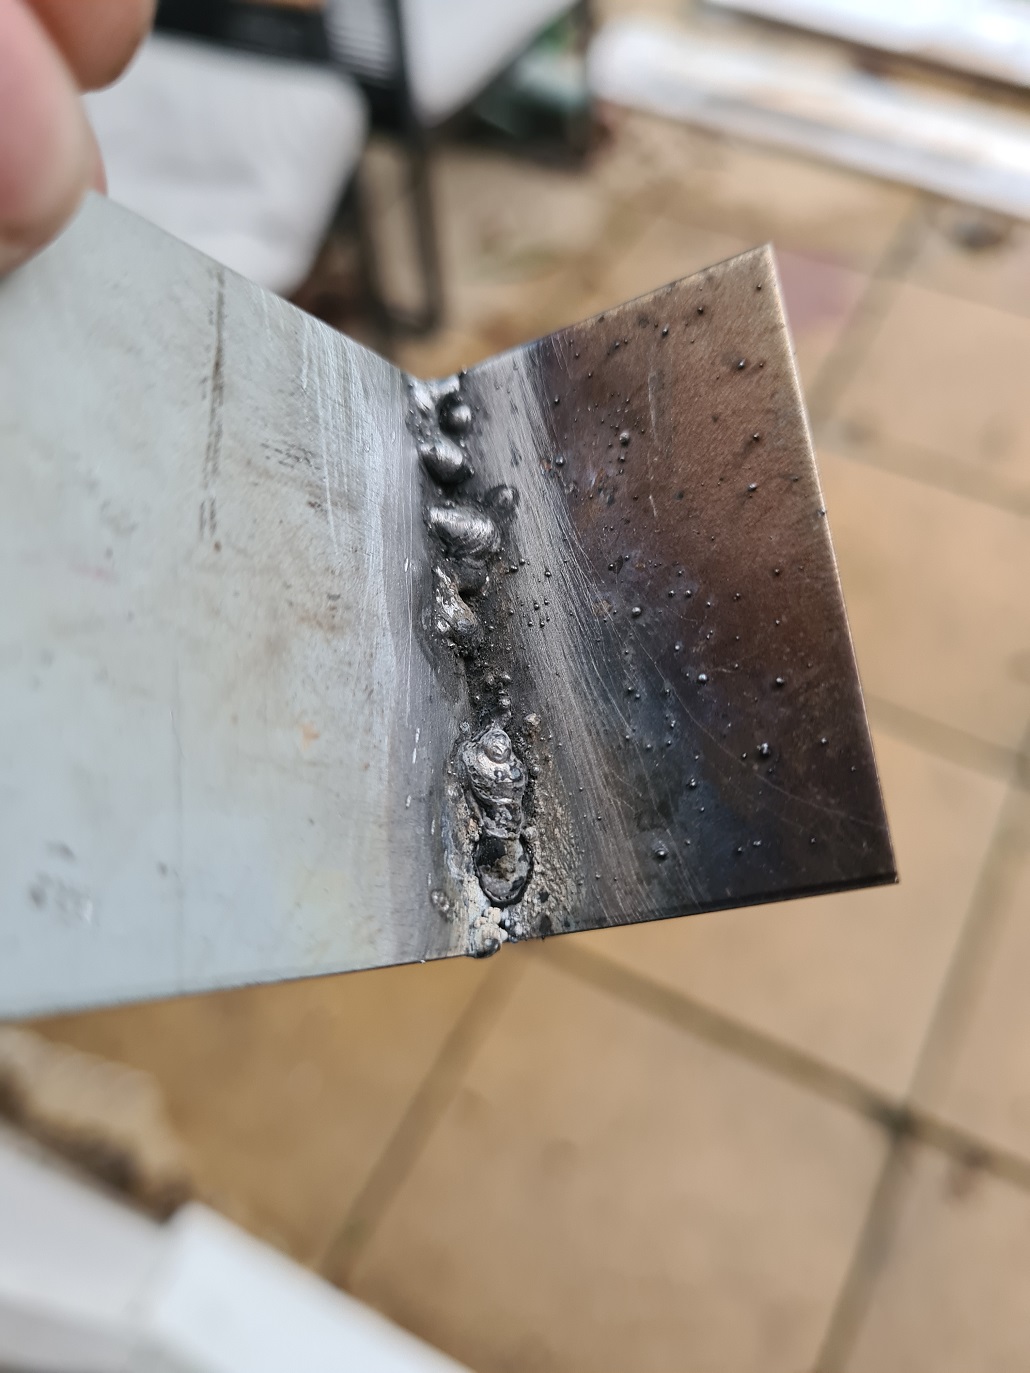
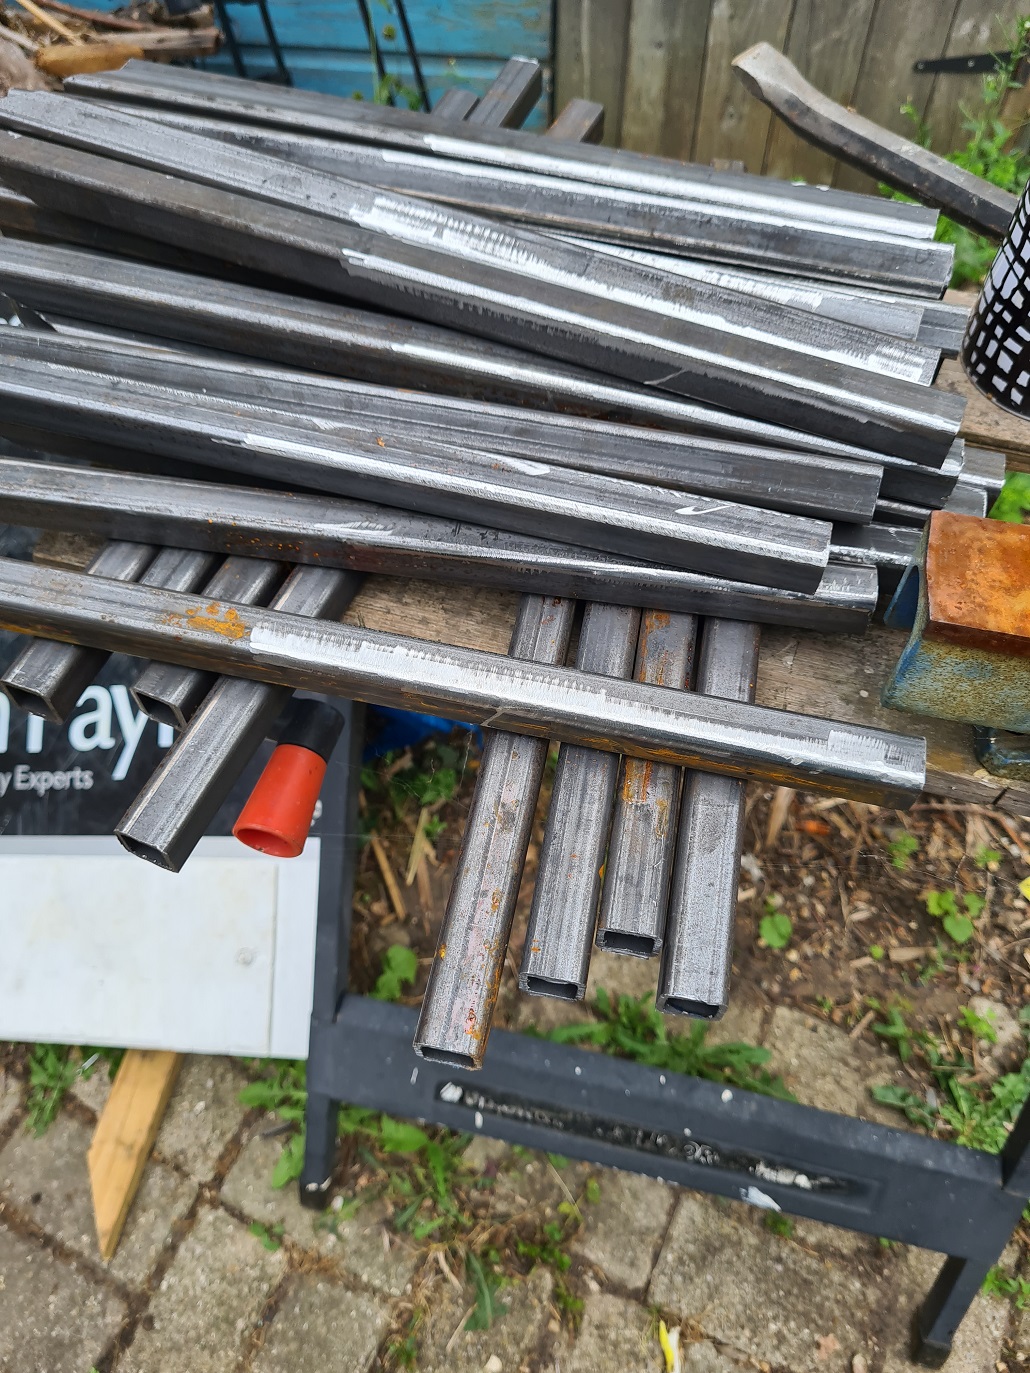
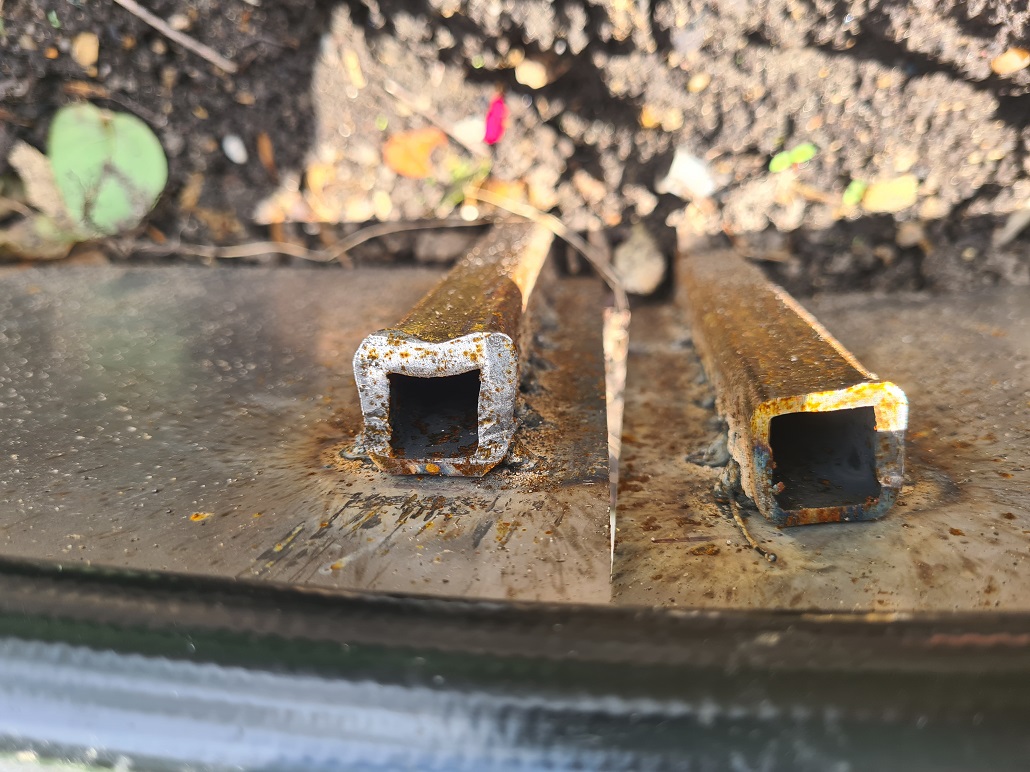
Mild steel looks the best so I ordered a job lot and a whole load of 20mm mild steel box section cut into 40cm lengths. Sadly they would not do cross cuts to my specification so it is on to the angle grinder to cut one end to be sharp and pointy.
I have gone for about 30 degrees on the spikes.
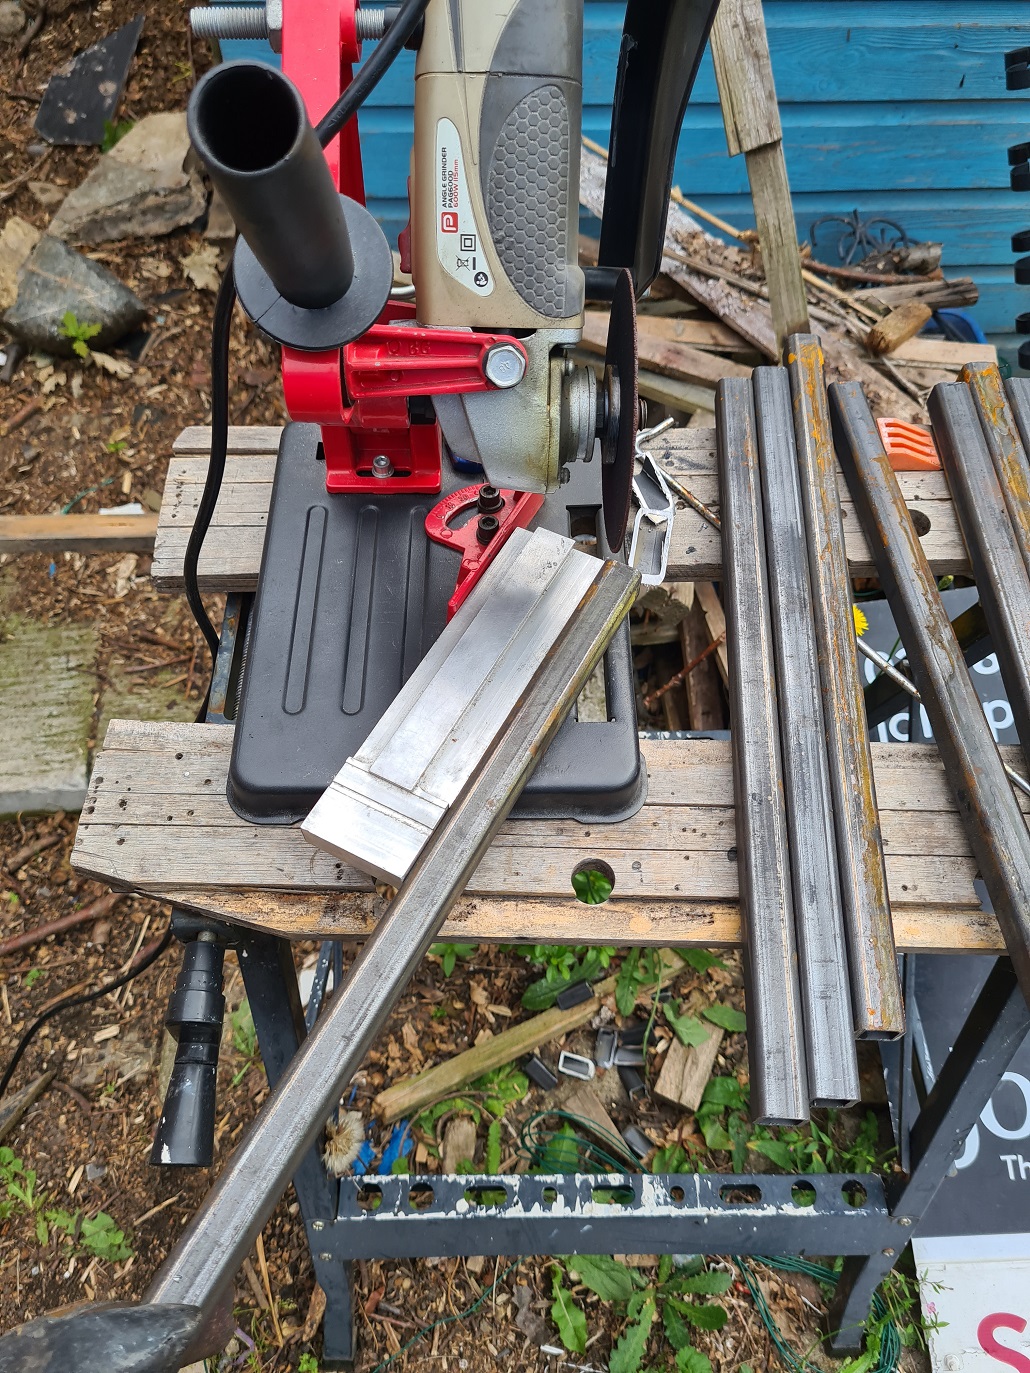
Next up I needed to get the oil and corrosion off the sides I wanted to weld, apparently this makes for stronger welds. More freehand angle grinding to clean up the surface.
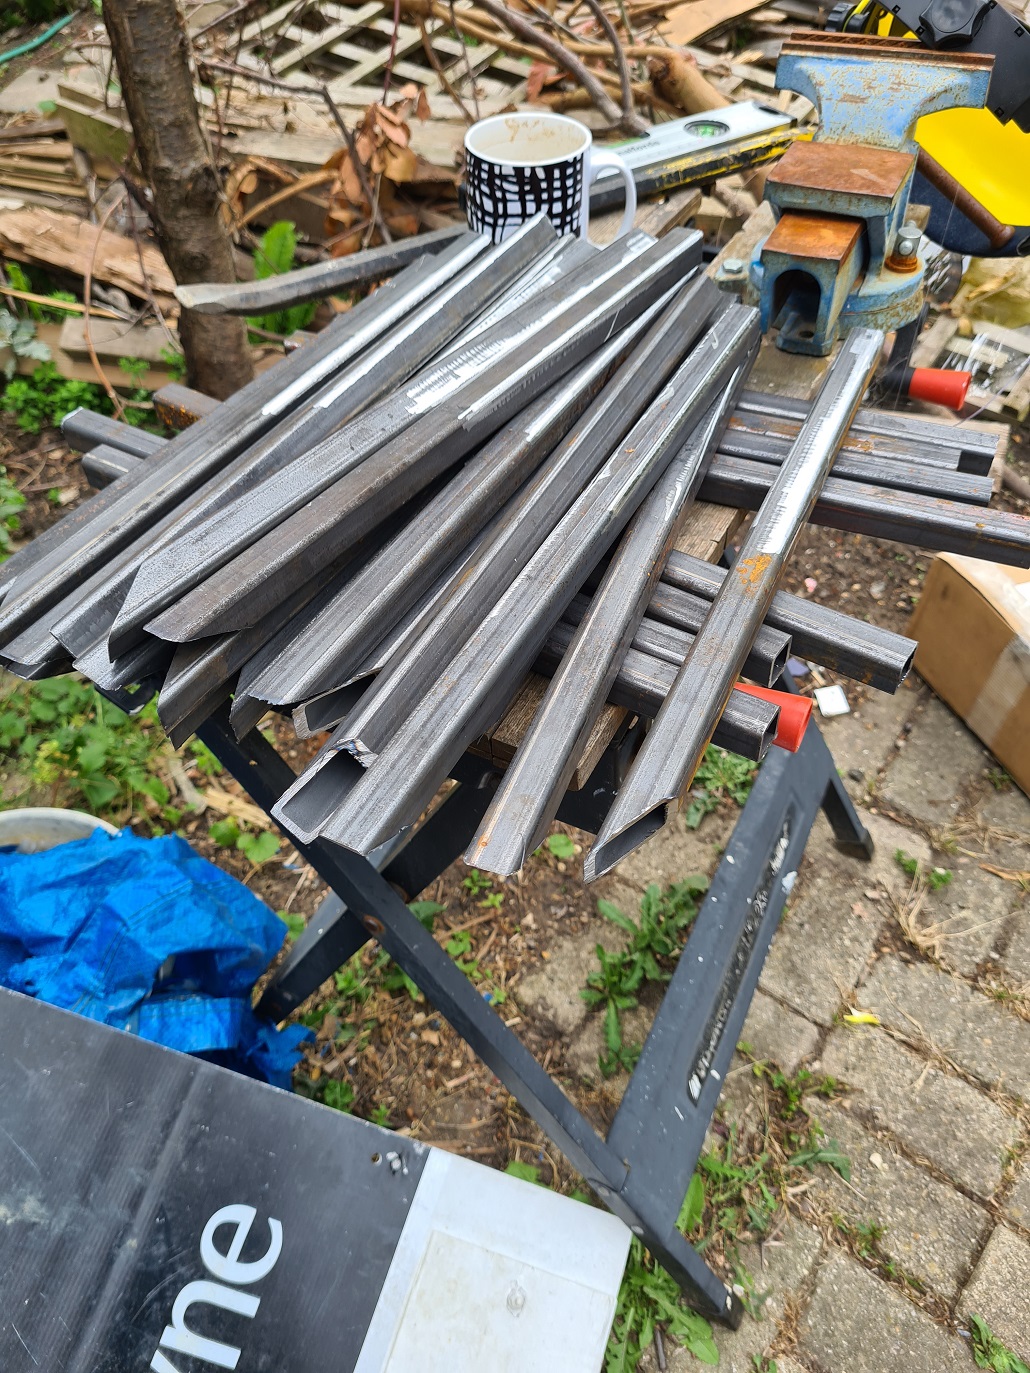
After what seems an age, the spikes are all done for this batch.
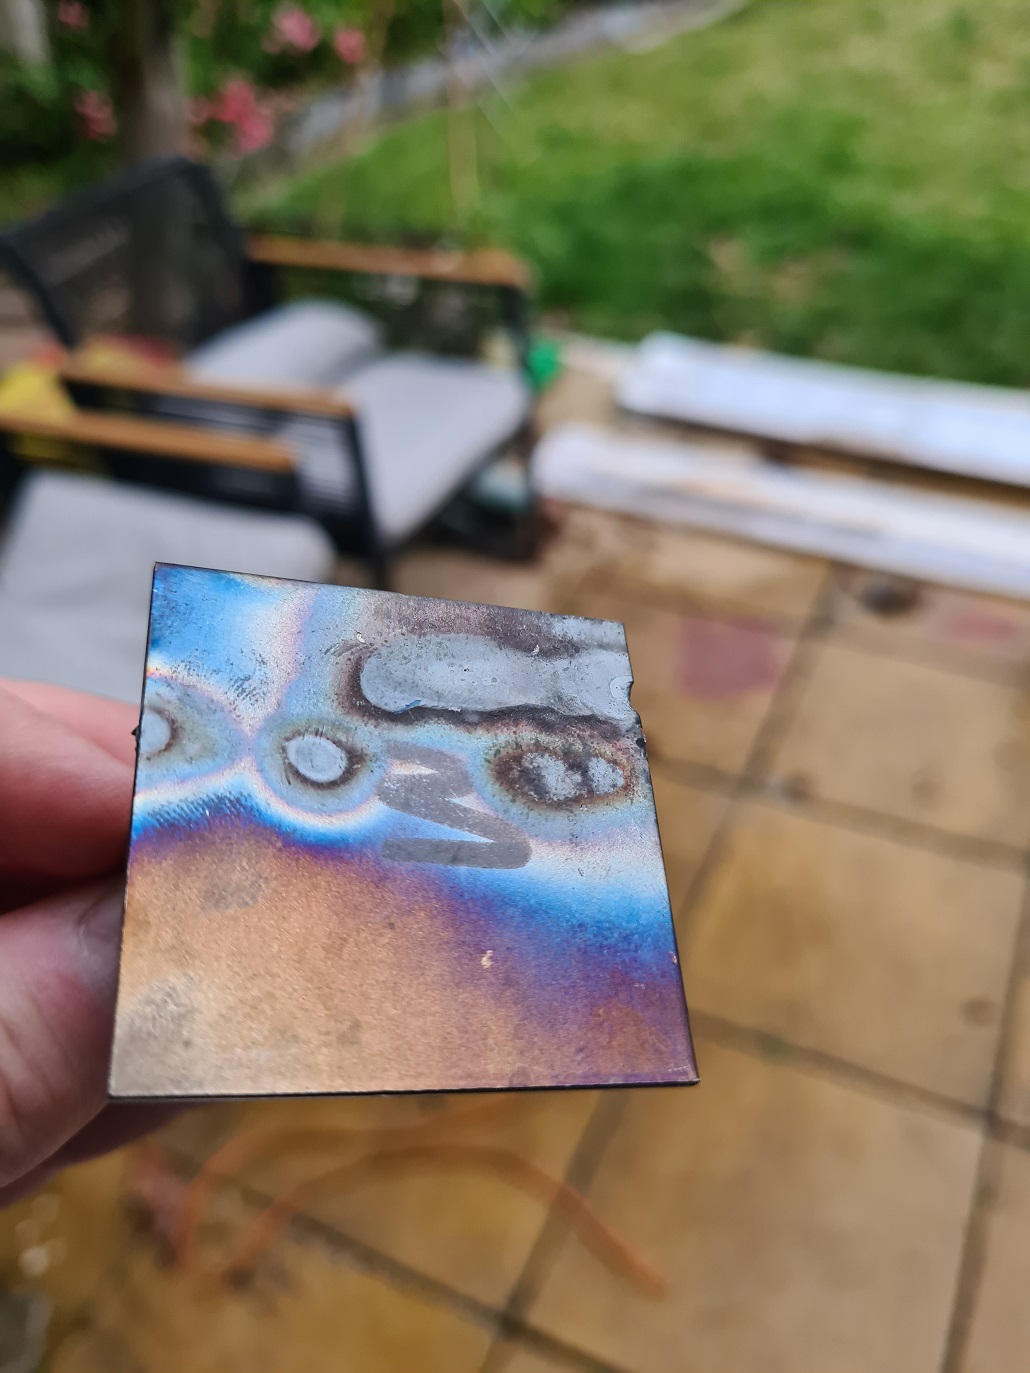
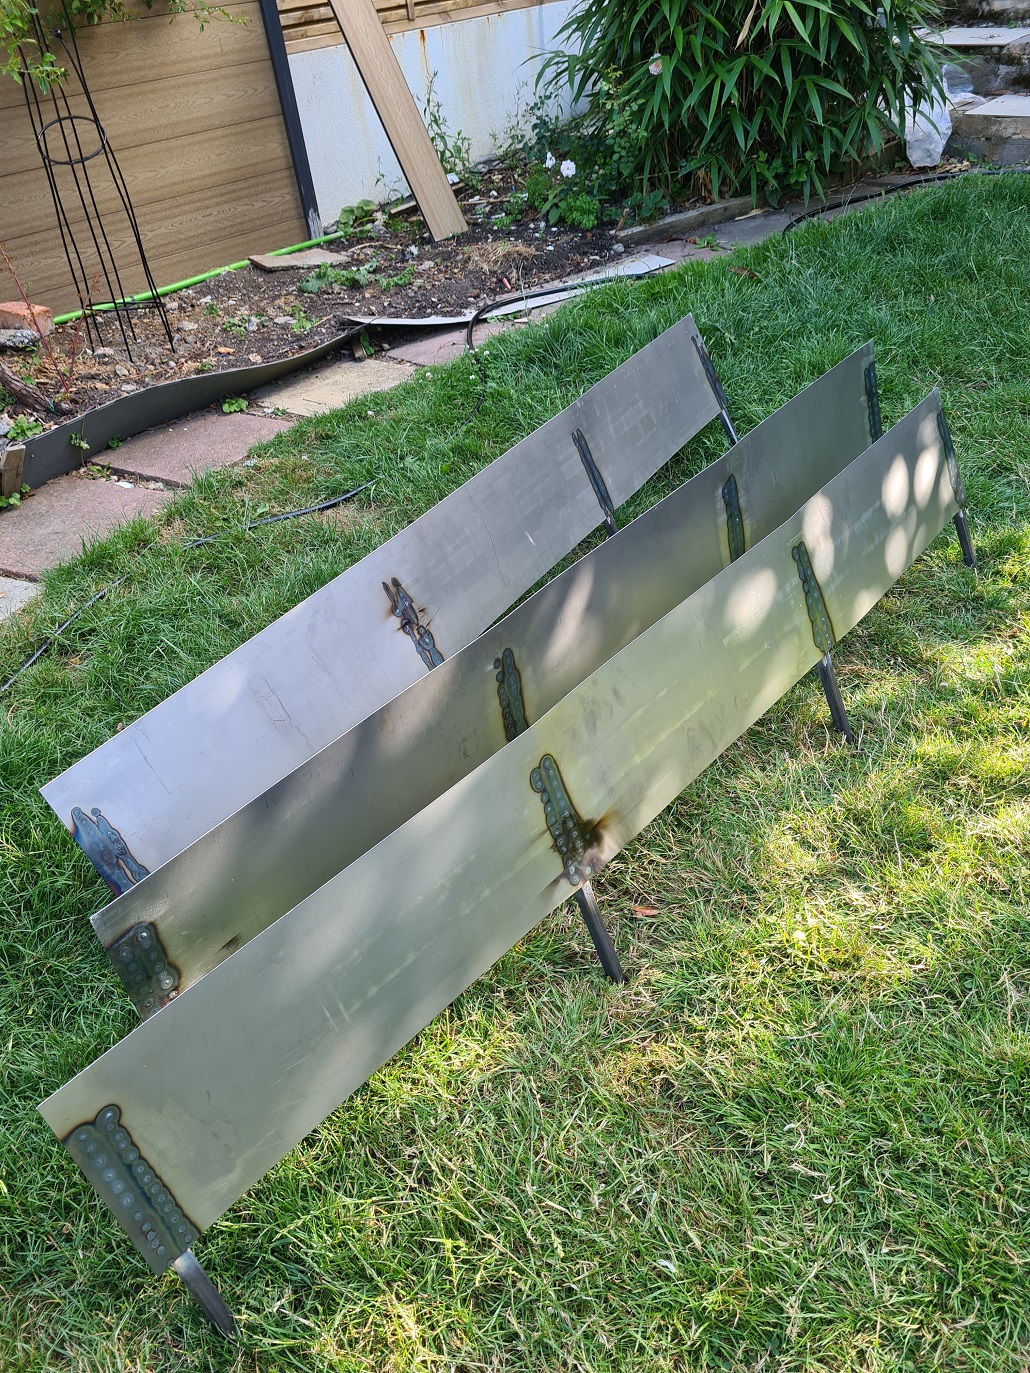
And finally, on to the welding! A nice 45 degree approach in to the weld, keep the tip moving slowly. Some handsome looking spot welds down each side of the spike.
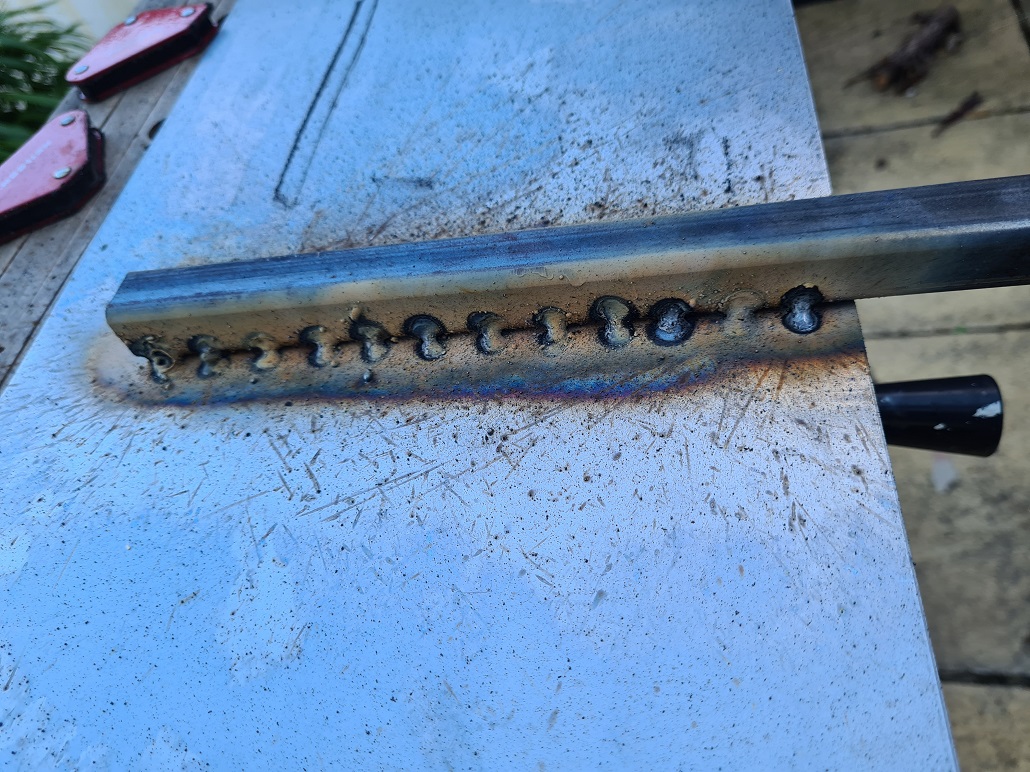
I was not expecting this amount of discolouration I have to admit.
But it does look kind of cool. The end vibe we are looking for is a rustic rust patina so this will blend in for a season.

Now that all the cutting and faffing is done, I can get an assembly line in. Hold the spikes in place with the magnetic clamps, weld a couple of retaining spots, clamps off, finish the seam and on to the next. Each section takes about 40 mins to set up, clamp and weld.
After the 8th sheet this becomes quite tiresome and I am glad I invested in the Flamehat, it would be so very tiresome to keep holding the mask and the welding rod and welding at the same time.
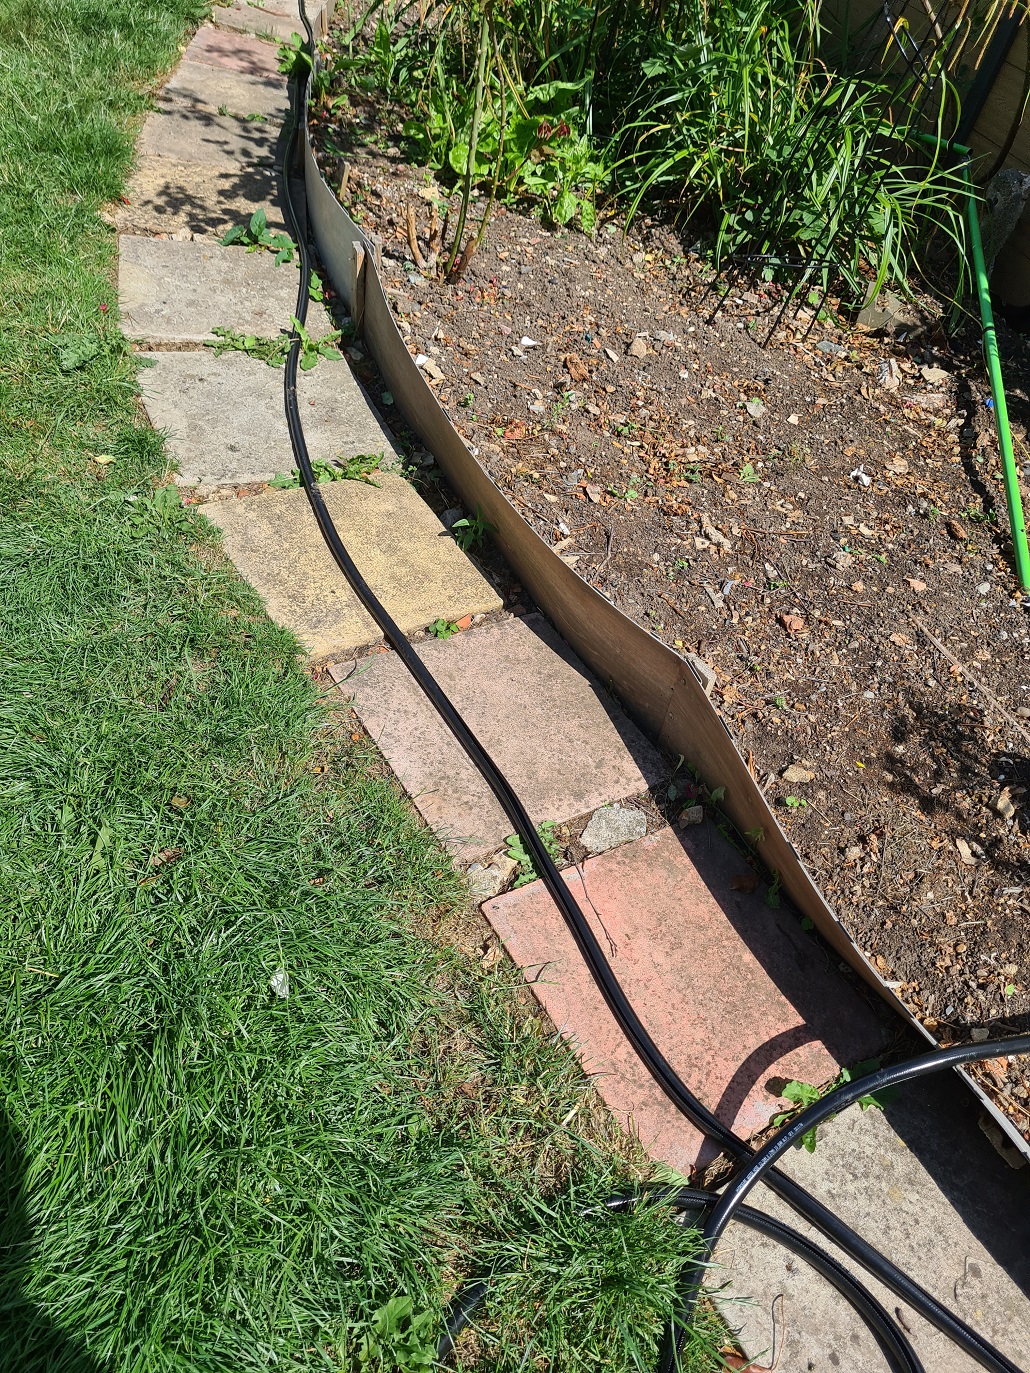
The tops of the steel are quite sharp so I don’t want any of the El C menagerie to hurt themselves on it. Cheapest solution is to put a guard on top as even if blunted with an angle grinder 2mm is not very thick and can still harm an unwary foot or paw.
Cheapest is a length of black garden hose that I can cut a line down the length and then just push it on top. I try with a gardening knife but it keeps slipping. If only I had a way of making a hose cutter! A length of pipe to guide the hose, and a blade to cut the hose as it is pulled through.
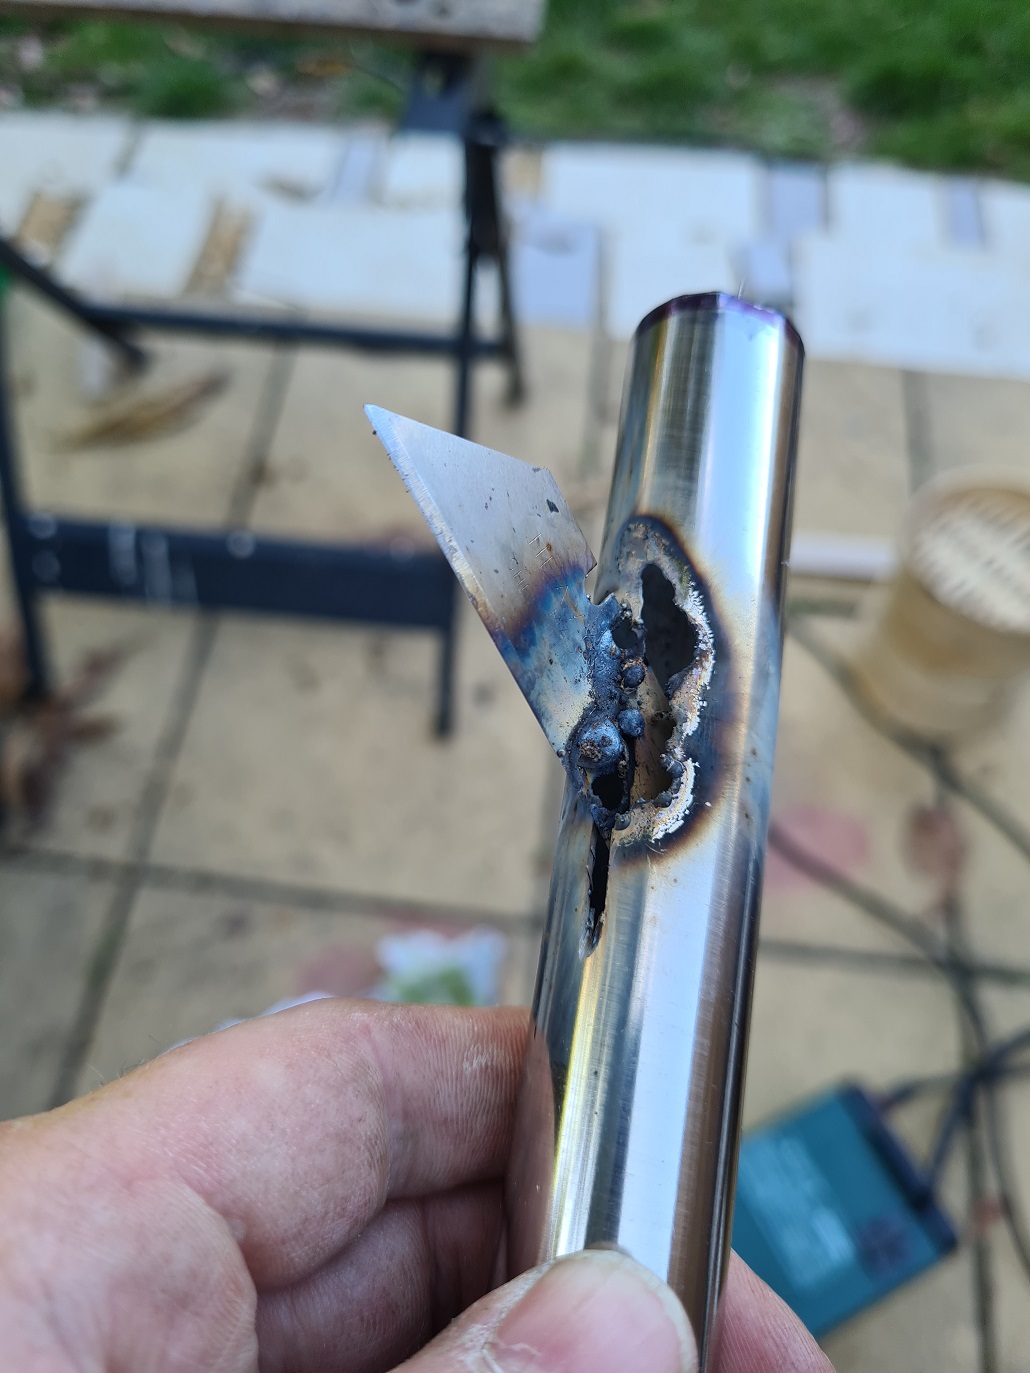
A bit of ferreting about in the Shed of Hope and Charity and I find a bit of old stainless steel pipe. I am thinking of using the mill to make a blade out of a chunk of steel but my eye happens on the Stanley knife I was trying to use to cut the hose and an idea is born again…
A quick slice with the angle grinder, a magnetic clamp and the blade is placed and ready to weld. The idea is sound in practice but I think I had the welder set to too high an output and I burned a whole lot of material. However, pushing and pulling the blade seems to have no effect on it so I think I got away with it.
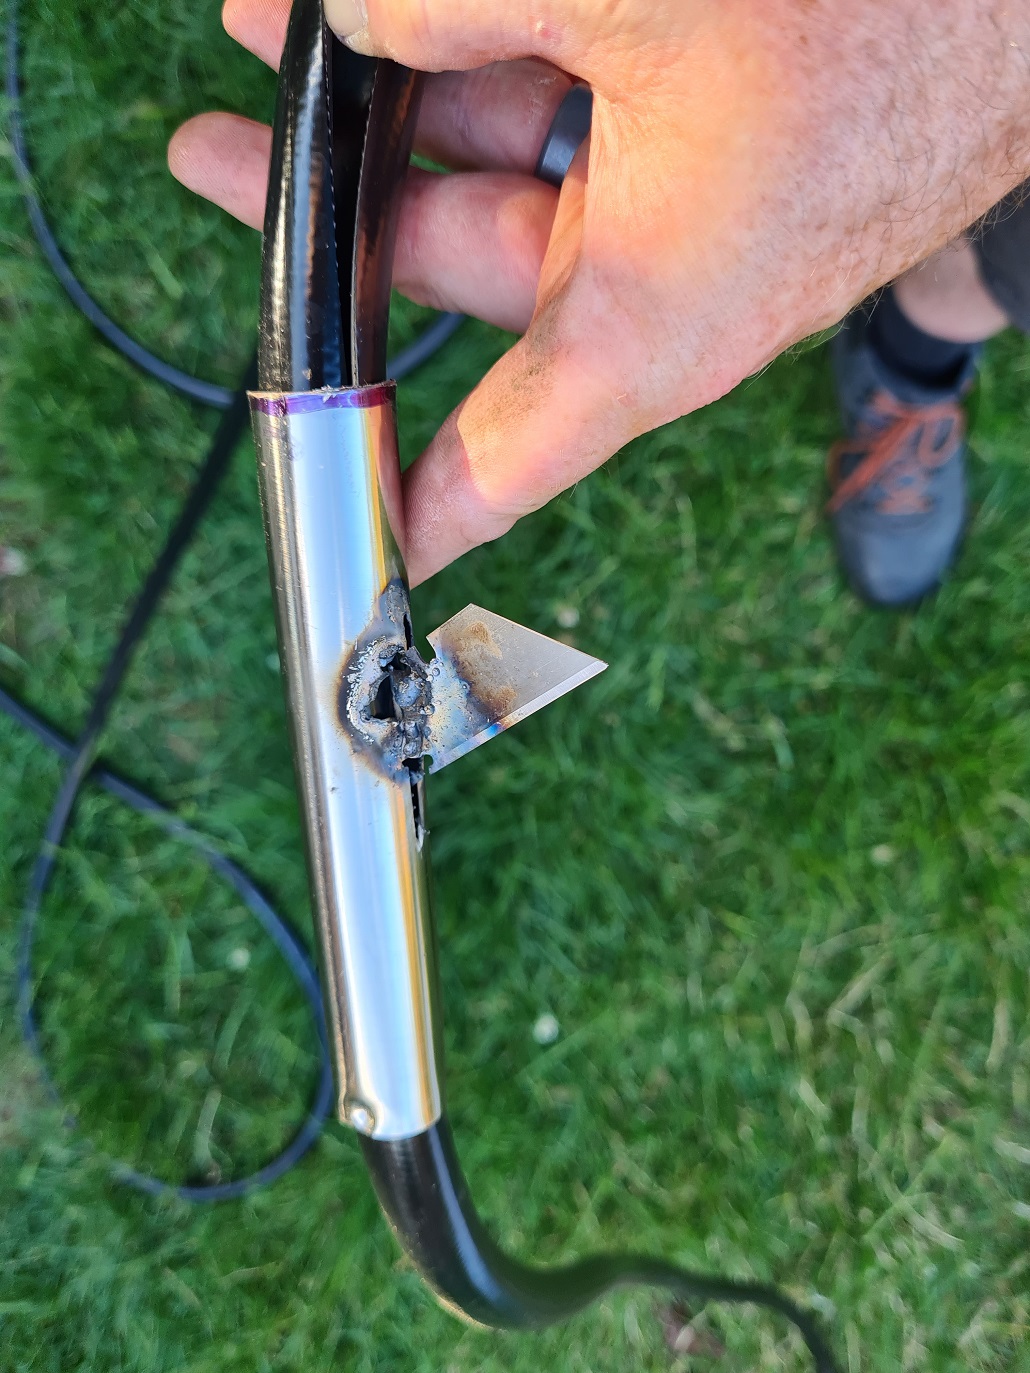
And here we have it, once I get it started I can pull the hose through the SliceOMatic and it cuts a lovely straight line down the length of the hose.
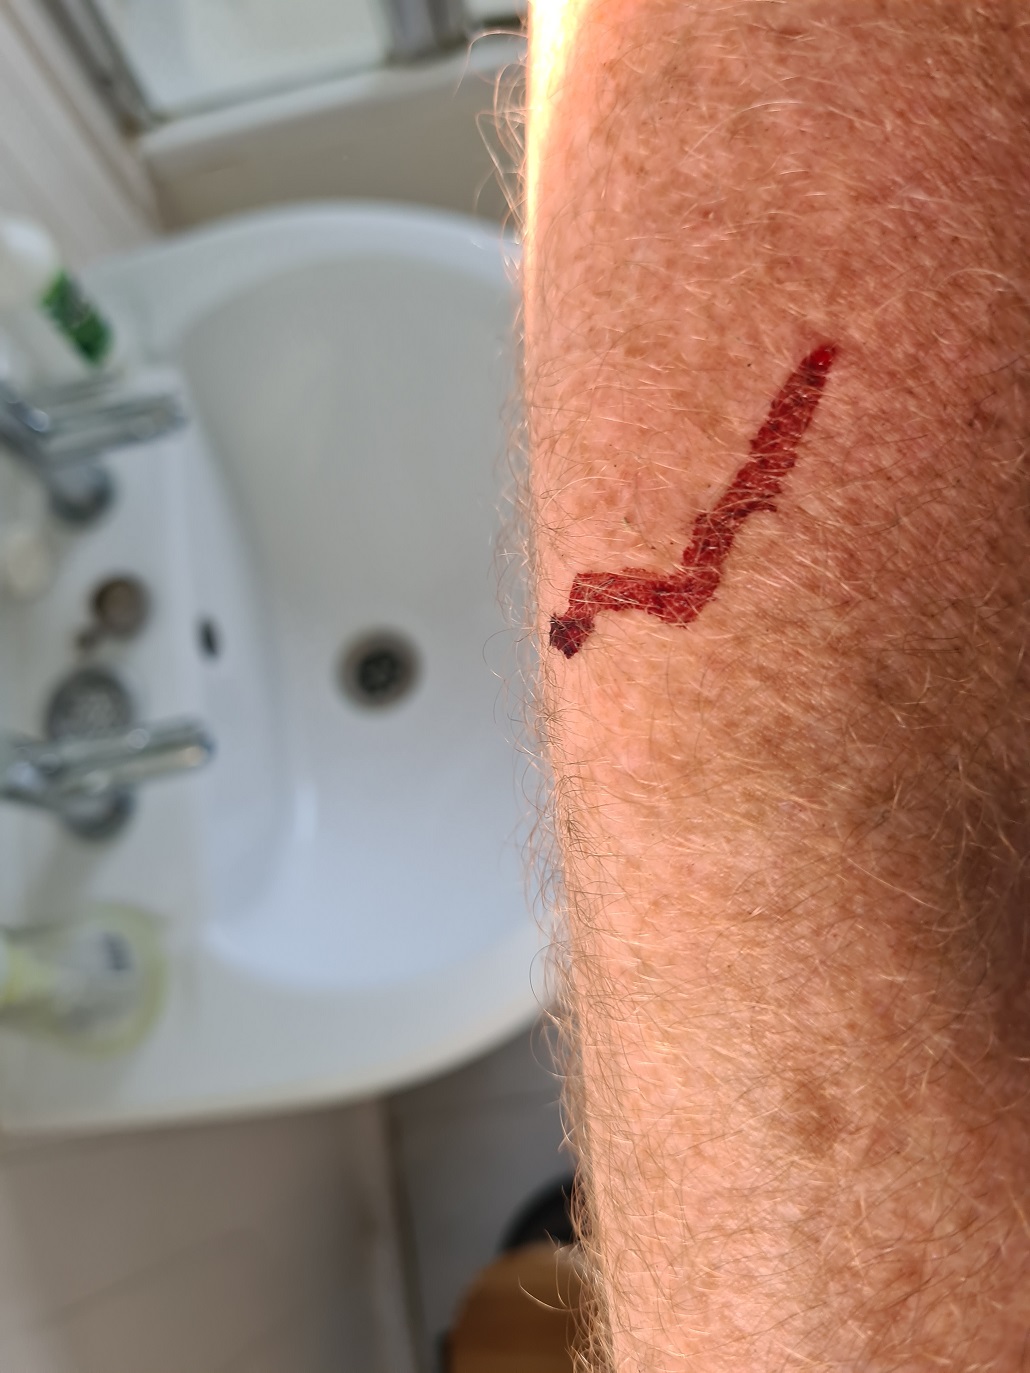
For some reason there is always a blood sacrifice required for these endeavours, I suspect it was the rose bushes. But eh, no sense no feeling.
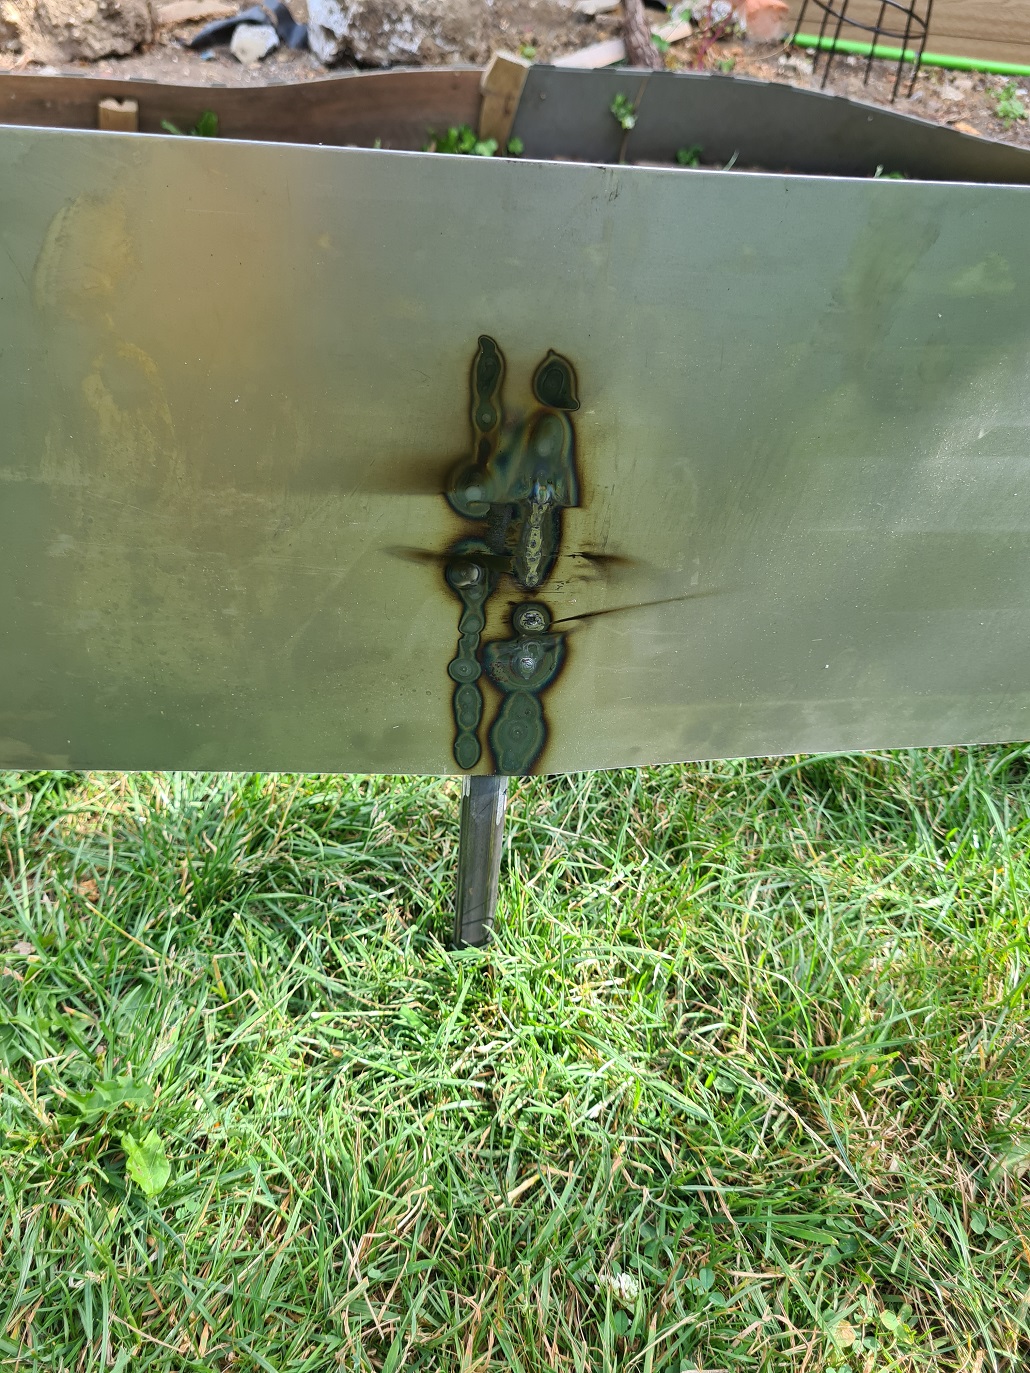
I use a big chunky clubhammer to batter the spikes into the ground. As you can see the welds are pretty strong to take this kind of a beating and not break.
The steel is weak enough to be gently bent into shape with some careful pulling. And there we have it, job done.
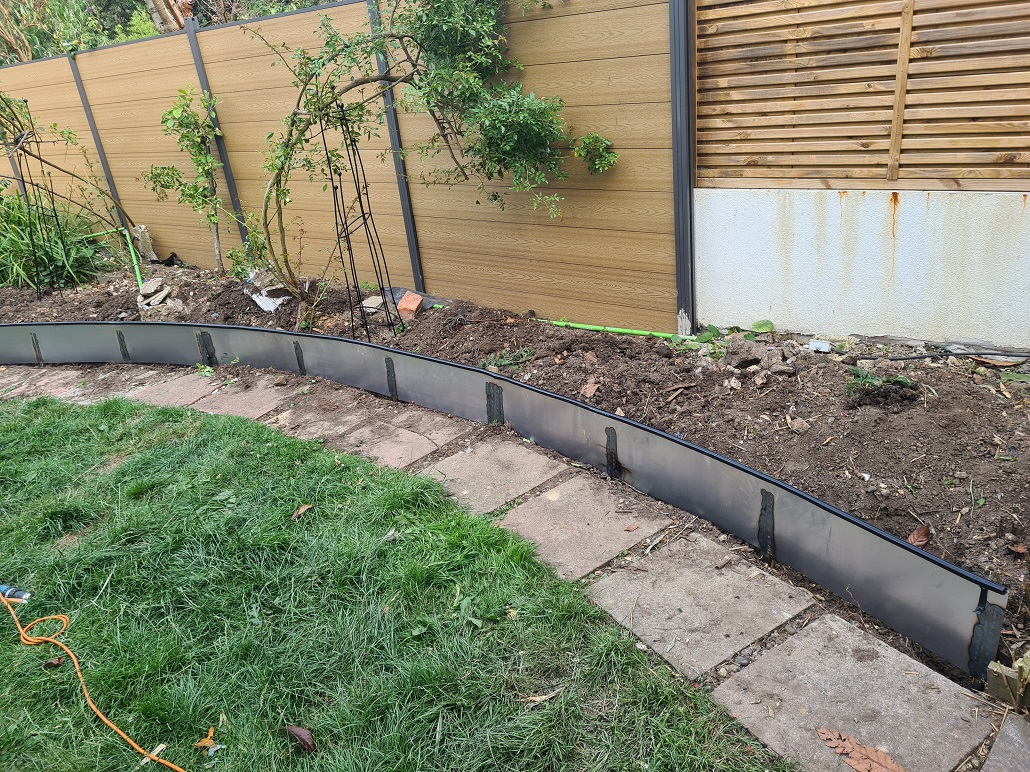
Overall I am pretty pleased with it – the steel will rust a little to give a rust-ic (SWIDT!) look and in spring we’ll plant some overhanging plants that will soften the line. But for now, the flowerbeds are not going anywhere.

Result – got the borders in for half price, ended up with a full on welding kit for the Shed of Hope and Charity. My borders are now secured in perpetuity.
If only “our” government could manage the same.
© El Cnutador 2023