Around Easter in 2017 I got hold of Warlord Game’s skirmish game set in ancient Japan, Test of Honour, bit of a bolt from the blue really. Bought it as much to support my local shop who was struggling at the time as anything else. Its actually not a bad little game.
Anyway as some of you know I paint small models and occasionally post pictures so that everyone else can realise that no matter how said their lives are there is someone sadder…
This article I hope will show that behind the apparent magic of painting there are some pretty basic techniques that can be done by just about anyone, I’m far from an excellent painter, people go down to painting the eyes which I cannot do and end up with models that look like they are on drugs when I try.
Anyway, without further ado, the models, these are supplied as plastic kits, and were assembled largely as per the instructions, except I base them on 0.5mm steel discs not the plastic bases supplied – so they can be transported easily in a box with some magnetic sheet on the bottom.
These bases have a bit of sand added with superglue to look like rough earth once painted.
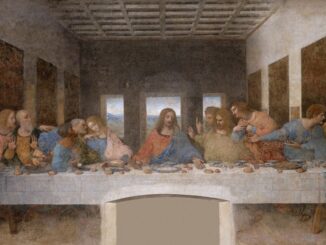
The models used here are as follows:
What is the collective noun for a group of samurai? A group? A trouble? an OhShit?
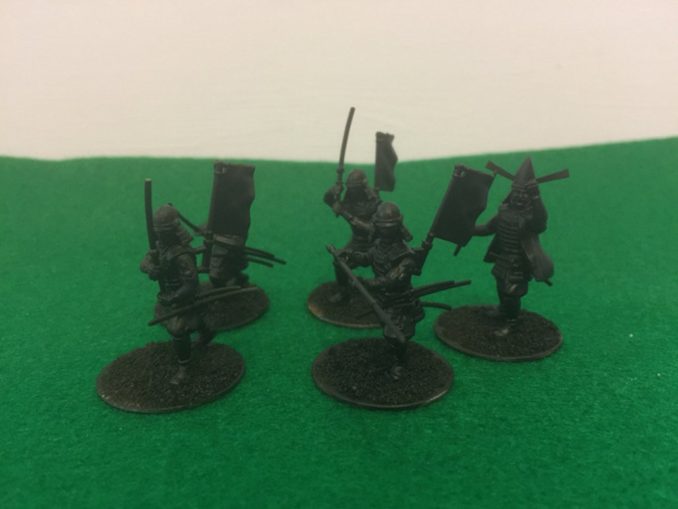
The models above are as they are built, after being primed with a flat black primer via an airbrush, this gives a nice smooth finish, a rattle can of car body primer does the job nicely as well with a little surface texture and there are a huge range of model kit primers in spray cans in a load of colours as well.
Priming is basically to give the later layers of paint something to stick to, I spray and tend to leave 24 – 48 hours for it to fully cure, you can see the little bits of the base where a paw was holding it.
Tip: wear gloves unless you want your coworkers to think you paint your nails in a range of strange colours.
I use a black primer as it works wonderfully as a shadow, basically any bit of the model I cannot get a brush to because its a sod to get to ends up black, so looks like shadow and basically vanishes in a way it wouldn’t with a lighter primer – in later articles I’ll show using coloured primers and how you get around this problem.
Painting the armour
on these guys the armour is black, well you’re thinking, they are already black so job done.. weeeelllll not quite, you see have a good look at someone wearing black at a distance, it doesn’t look black – on a model flat black looks wrong, its too dark, we need to lighten it a bit as a scale effect.
This is for complicated technical reasons I don’t fully understand but relates to how the model is smaller but the observers eyes are not and the light waves are not smaller either, so we compensate by making the paint a bit lighter.
We also note that for the same reason we need to exaggerate shadows.
To do this I use a tech night called “dry brushing”, here you put a bit of paint onto a brush, then wipe most of it off so the brush is pretty dry, then drag it over the model – this leaves paint on the raised edges.
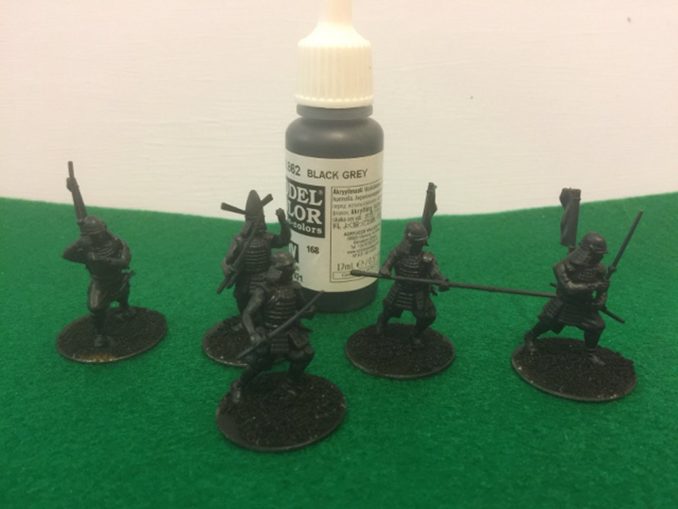
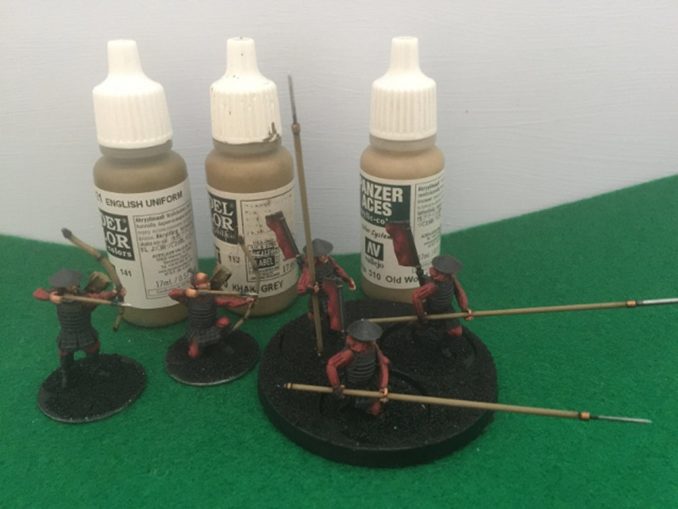
Here the first stage of the armour dry brush has been applied using the “Black Grey” paint in the background, as the name suggests this is a very dark grey, but if you compare the pictures you can see the difference already. Anything thats armour has been drybrushed and is now slightly lighter.
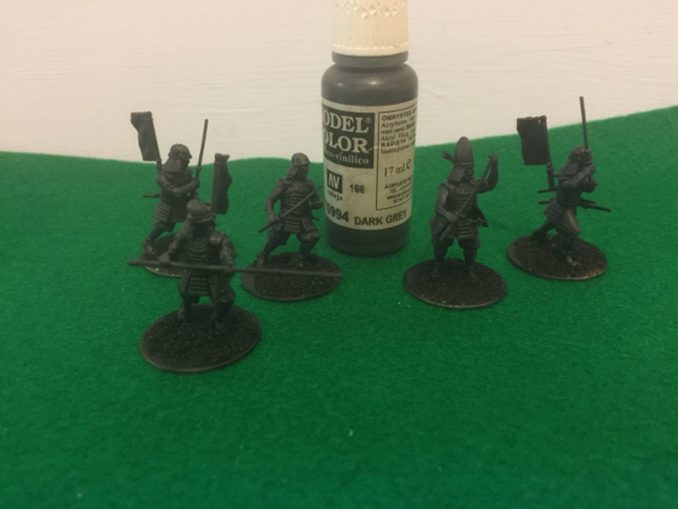
A second dry brush layer is then applied, using the “Dark Grey” shown, which is actually a lot lighter than the black, this is done a bit more gently, and dragging the brush downwards only so as to only catch the upper edges of raised areas, this is to give the effect of light from above and leave lower surfaces in a deeper shadow.
At this point the black armour is basically finished. Note dry brushing is a very quick technique, these models took less time to paint than it took to set up and take the photographs.
Black is all very well and a wonderfully diverse colour as we all know, but black alone a dull model makes. I decided to paint the fabric on the models a nice vibrant red (I also have some painted blue as the other side, there are plenty in the box).
However as above starting with a vibrant red won’t work, you end up with models that look a bit like cartoon characters so I had a think on how to proceed, I ‘borrowed’ a paint sequence I;ve used to paint the beret of British Airborne troops and this is the result
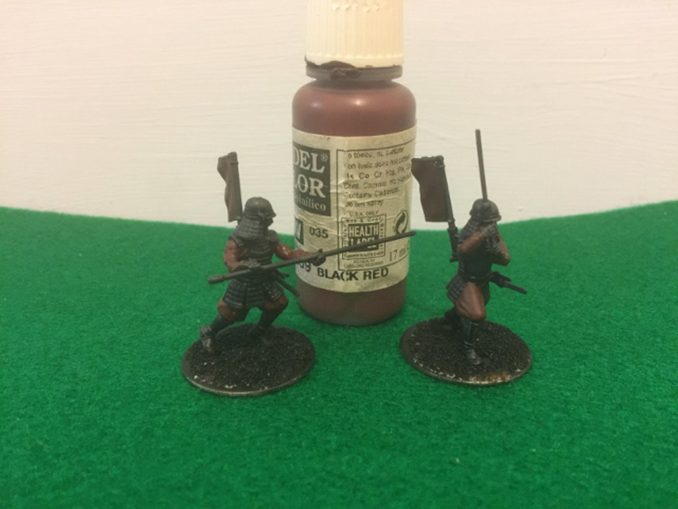
I started with a coat of “Black Red”, this is a nice dark red but makes a nice base for later colours, some of which struggle to cover black. this is a very dark colour as you can see and eventually you won’t see much of it except in the deepest shadows, but this is the easy way to paint – start with the deep bits and work up.
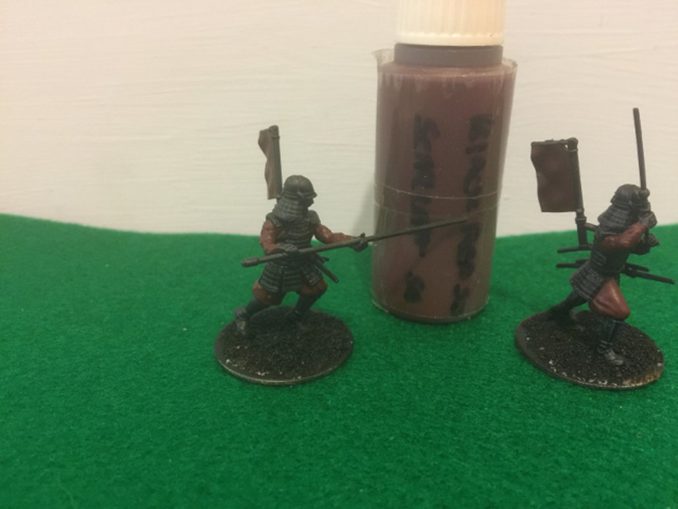
To highlight the black red I want a scarlet colour, however thats just too different from the base colour and looks cartoonish so what I have done is make a mix, this is 50-50 black red and scarlet, with a drop of paint thinner added – I made this in an empty paint pot (which can be bought cheaply) so its to hand next time I need it)
This is dry brushed on as before but a slightly heavier dry brush by applying the same colour two or three times to get more coverage, the deepest shadows remain the darker colour as you can see, and on the legs the upper part below the armour is left the base red.
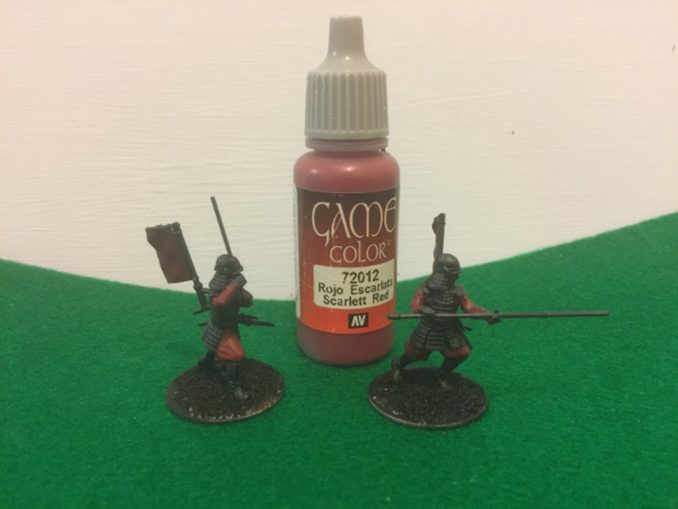
This is the scarlet, also dry brushed but a bit lighter, and a little further from the edges, as you can see this is brightening up nicely, this is as far the original recipe went, but for me it wasn’t bright enough yet. If the armour was a metallic colour this may have been enough.
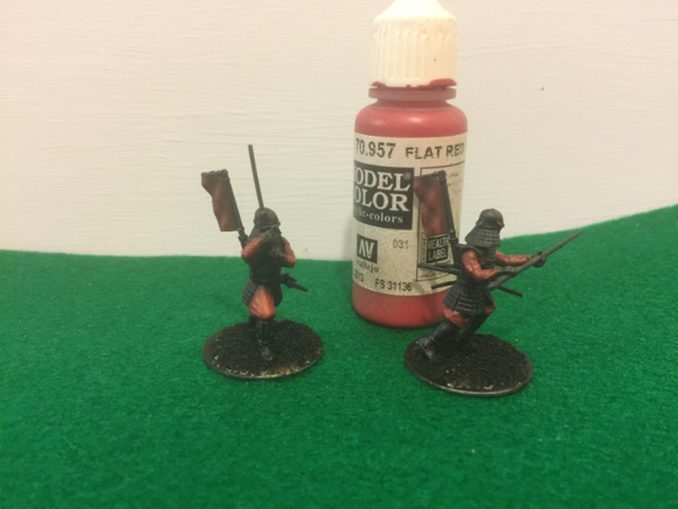
This flat red is a bit odd, one coat alone reacts oddly in some light conditions and the camera pics this up, two coats gets rid of this but since I was painting more over I wasn’t too bothered.
This technique is borderline “layering” now, though still applied with a dry brush, this is where you apply progressively lighter colours that build upon each other
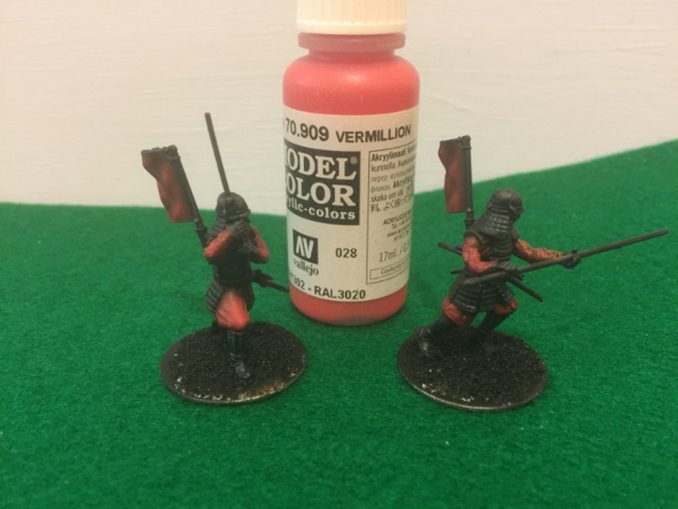
a final light touch with Vermillion finishes the red to a nice bright colour that contrasts well with the armour and provides a nice draw to the eye towards the model.
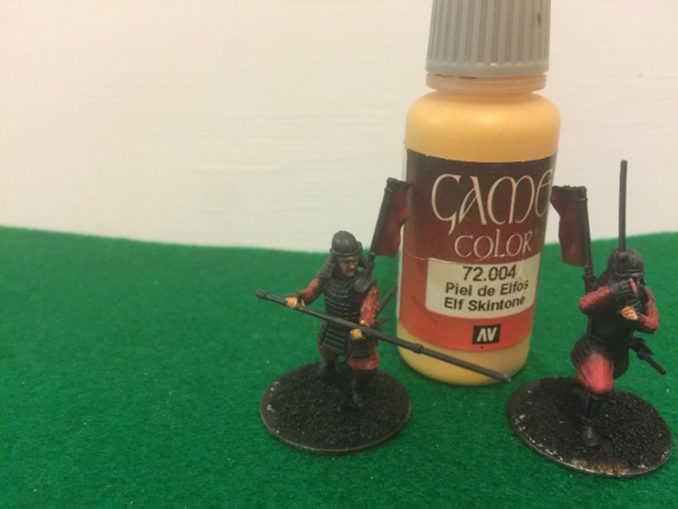
This finished the cloth colours, next up is the skin, which is interesting, despite some local wag at the club suggesting using yellow paint I went with a tested method…
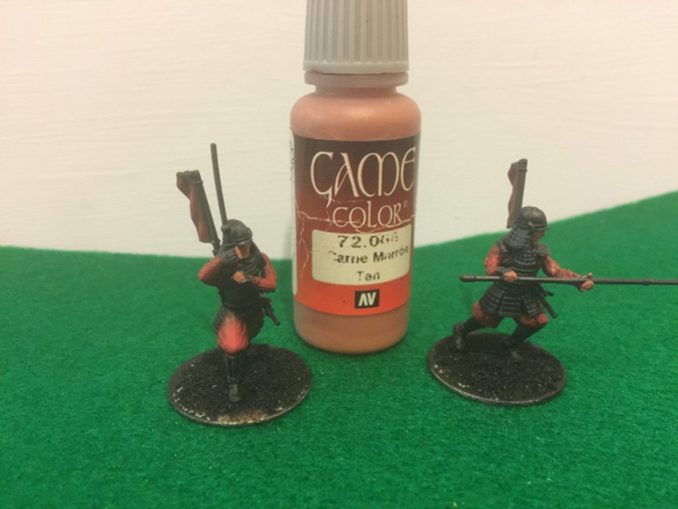
Now I move to wet brush layering, firstly two thin coats of “tan” are applied as the base for the skin, again you won’t see much of this later but the skin tones don’t like being painted over black and this provides a nice base. These models just have the faces and hands as exposed skin so they are not too hard to do.
I move to wet layering as opposed to dry brushing as this is a lot neater, but it does take more time, but I don’t want to get paint on the finished blacks and reds.
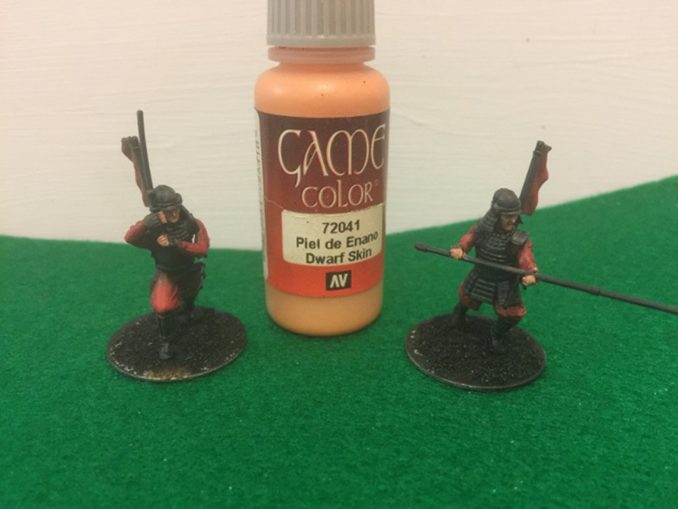
Dwarf Skin is a somewhat pinkish colour, the camera doesn’t pick up just how pink, think Sergeant Major when shouting and you are getting there. this goes on with a fine brush only on the raised skin areas, so fingers but not between them around the face but not the mouth and eyes, you can see on the picture the way the models face is starting to be defined.
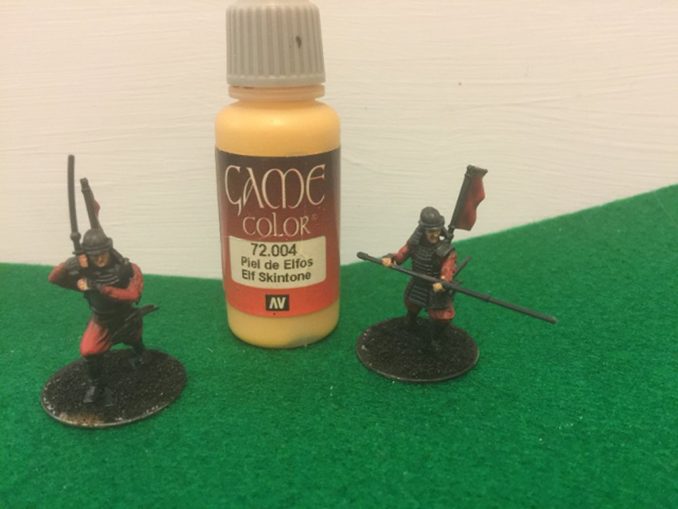
Elf Flesh is a much lighter colour, there is also a “sunny skin tone” which is a polite way of saying “has a hint of yellow”, this looks better on Chinese than Japanese though. This is applied largely as before but with more care, knuckles, nose, chin and cheekbone structures, using these three colours is my usual way of painting a small number of models – if painting a lot I use a different method in a later article thats faster but doesn’t look as good.
normally this is where the skin would finish, however because I had recently bought some game colour ink I decided to try that
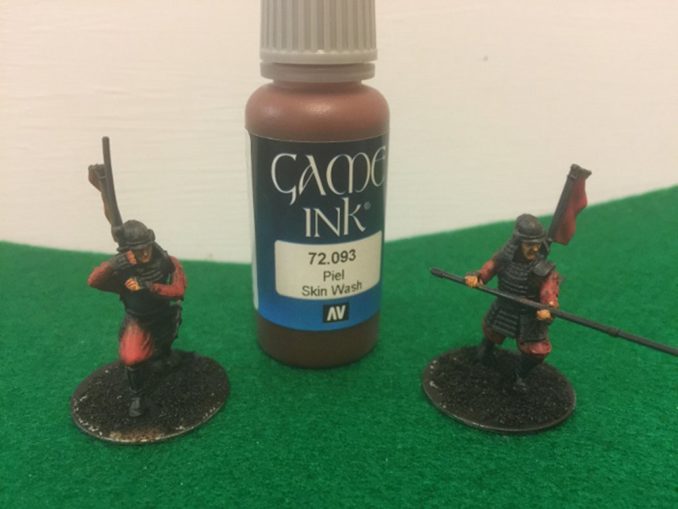
the inks are similar to paint, but the colour is much finer so they are translucent when dry, but stronger in tone to a wash (again in another article). here I cut the ink 50-50 with water as its really too strong on its own and applied over the flesh areas, this darkened them down a bit but critically softens the transitions between the three base colours and leaves the skin looking reasonably natural.
Inks and washes can be considered cheating, get the right ones and they have been called “talent in a bottle” for shading things.
because the ink darkens things a bit a very slight highlight of the elf skin tone is re-applied and as you can see the skin now looks acceptable.
This takes a bit longer than the dry brushing, and this technique could be used on the armour and cloth as well, and they would look better if I did, but to me not better enough to bother with, but it is a lot neater so I use this for skin and the rest of the model.
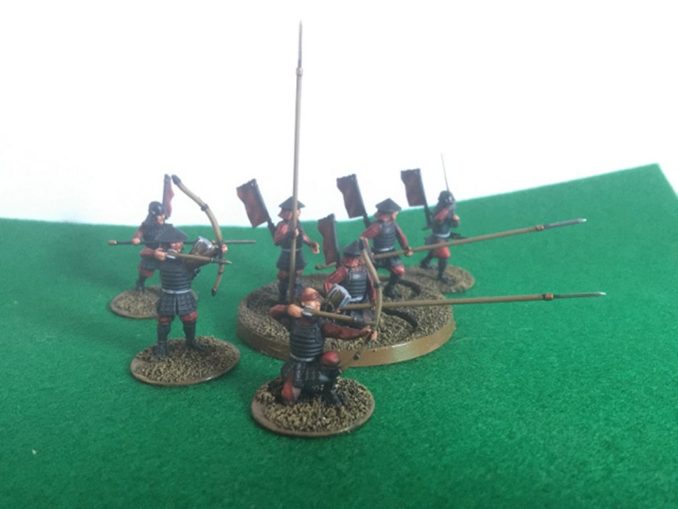
So with the group painted together they look like this
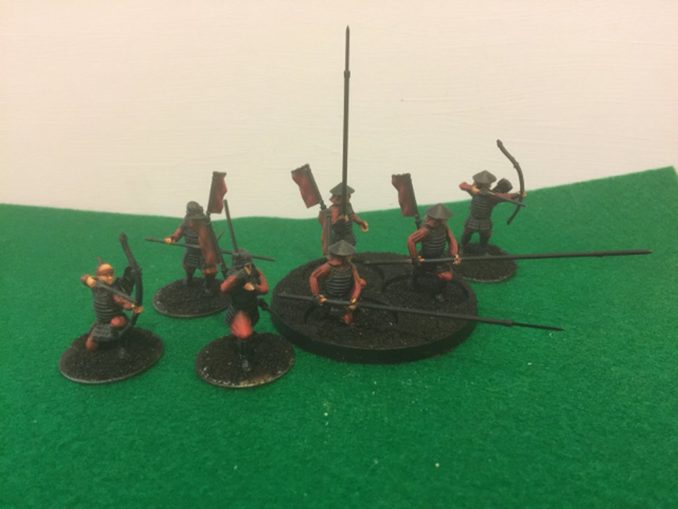
Painting these as a batch speeds things up as you can paint one while other dries, these were done over the space of a few evenings
Next up the weapons
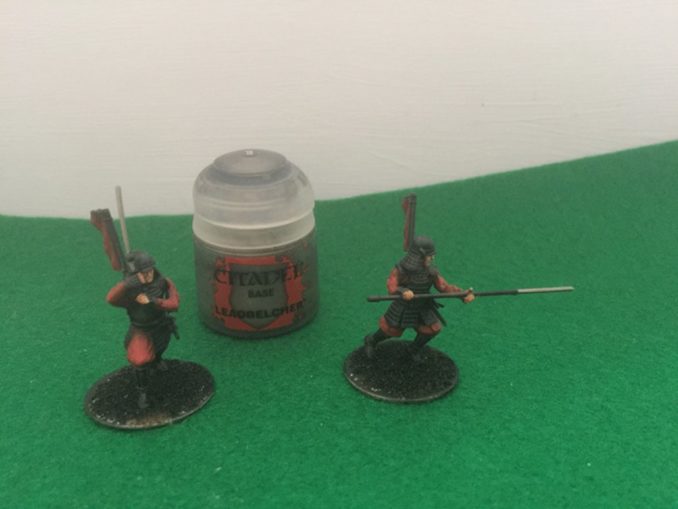
The steel blades are painted silver, here I used a different paint range from Games Workshop, largely because the Vallejo silver range isn’t as nice to work with.
Above shows the base colour with a very silly name “leadbelcher”, all the GW paints have silly, but trademark able names.
Speeding up a bit we now have this:
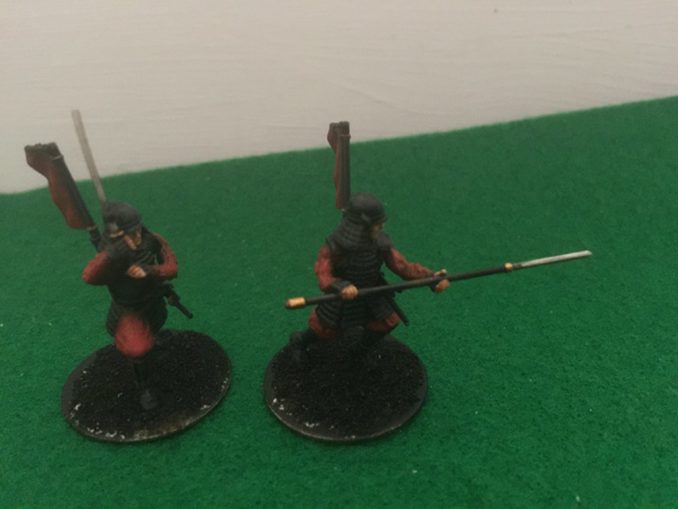
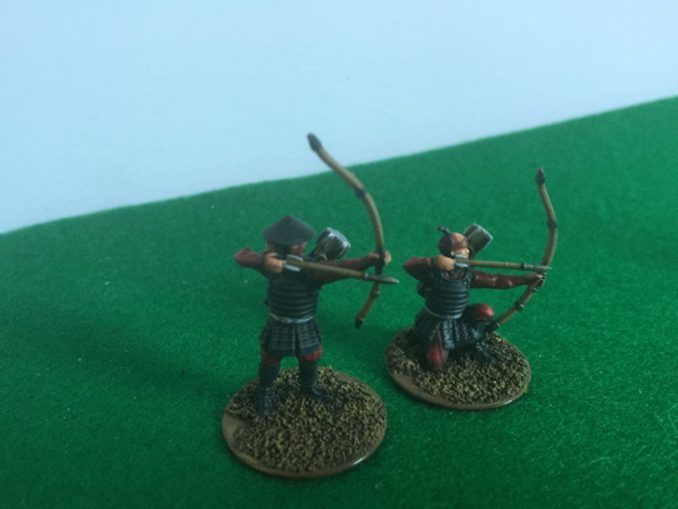
Here the silver has been finished, its given a highlight using two brighter silvers in turn, one on most of it, the other only on the very edges to catch the light.
I’ve also added some gold areas, again using three colours, both the silver and the gold have used a wash colour over the base, again I’ll cover this in a later article as washes are a topic on their own really.
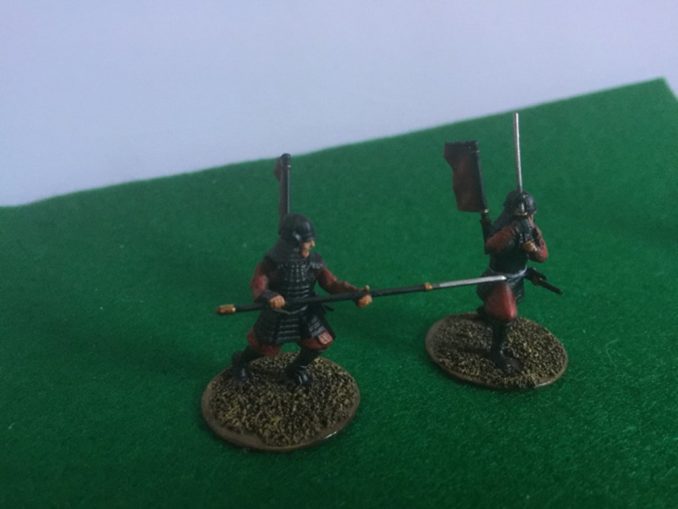
Back with the Ahagahsi warriors we have elements made from wood, this is also painted in layers through the three colours you can see and provides a nice sun weathered wood look for the shafts of the spears, the bows and the arrows.
We are now heading into the fine details, first up the belts

The belts are a medium white, using a grey base for a cool look then Ivory to warm it up – a cold white uses pure greys but looks wrong alongside the reds and a warm white using brown base tones looked too dirty.
this provides a nice colour contrast to the dark armour, and with this the model is essentially done, in theory there is some strapping on he boots which should also be white leather, however I made a royal mess on the first one I tried so repainted hi boot black and vowed to never mention it again.
bugger..

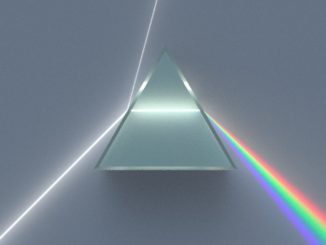
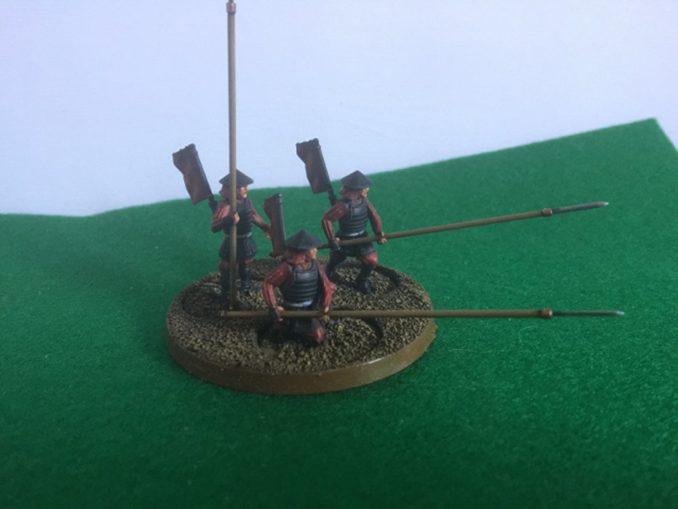
and here they all are. almost ready for the table, incidentally this is a perfectly viable force for Test of Honour and there is enough in the box to do this twice and still have some spare. note the three spearmen and now on a larger base that they use in the game, this is plastic, had the sand superglued to it and was primed black as the rest of them.
of course the black bases look rubbish so the final stage is this
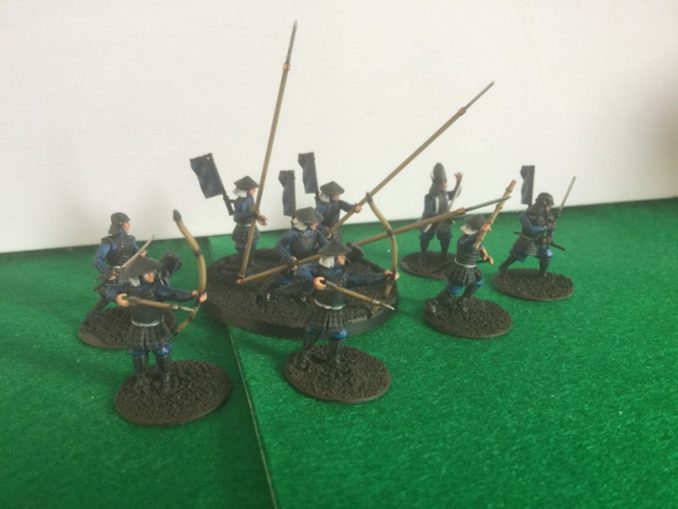
the bases are finally painted, here I use an “olive drab” colour then dry brush various browns and greens over it, the edges get a coat of varnish in the forlorn hope the paint doesn’t rub off too fast, and there you have it, a small starter force for a skirmish game in the era of the Samurai.
They were then taken to a local tournament to help launch the game where they got wiped out in all four games..
A few closeups to close
© text & images Leopard 2018
Audio file