
A shorter update this time, primarily due to other activites taking precedence – not weather related over the past weeks, but the Easter holidays threw routines out of the window. The eldest came home and I was once again evicted from sanctuary for a fortnight.
Despite that, some progress was made albeit in fits and starts – one advantage of this hobby being there is no-one but myself to answer to, so deadlines are non-existent. With that in mind I only work on it when the mood suits, something that usually only occurs when all the annoying chores and jobs are done.
© Sweaty Dave, Going Postal 2018
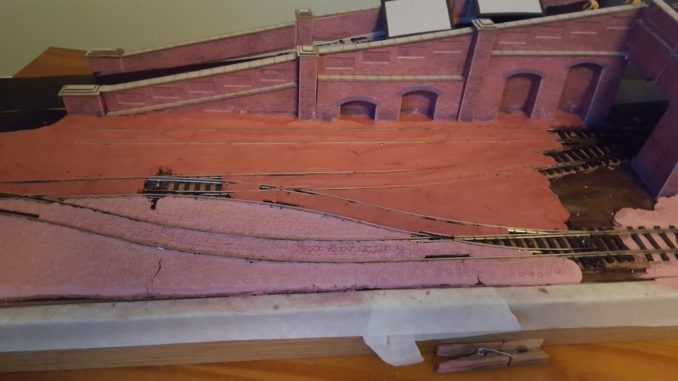
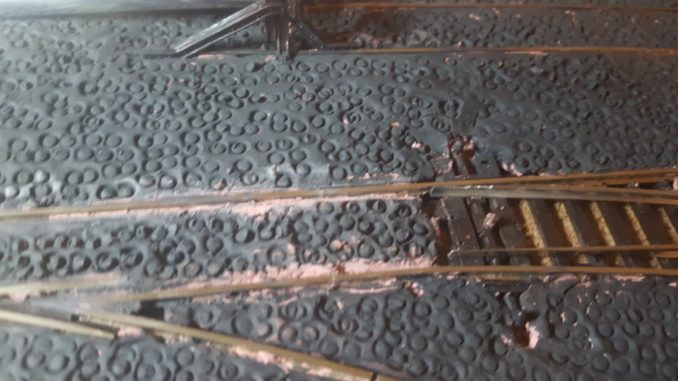
Last episode was all about clay – most of the cobbles having been laid but not yet painted. I finished off all the clay areas including burying the level crossing. Once dried there was the odd crack to fill (steady RP) and the front corner had curled up a bit as it dried. That was duly flattened and the resultant breaking cracks filled up.

© Sweaty Dave, Going Postal 2018
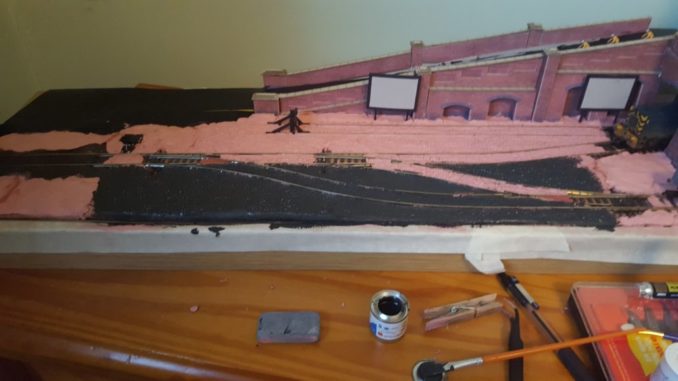
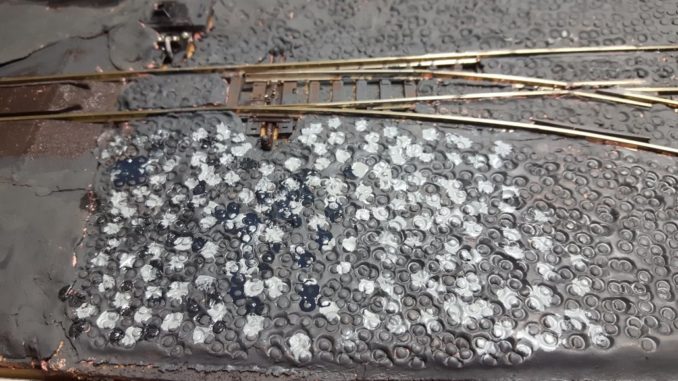
The clay took a few days to dry, particularly the thicker layers, it turning slightly lighter as it sets. The first coat of paint was then applied – a small tin of Humbrol matt black enamel #32 paint was worked in to cover the clay. Some went onto the rails but not a major disaster as that’d be cleaned off afterwards.
© Sweaty Dave, Going Postal 2018
© Sweaty Dave, Going Postal 2018
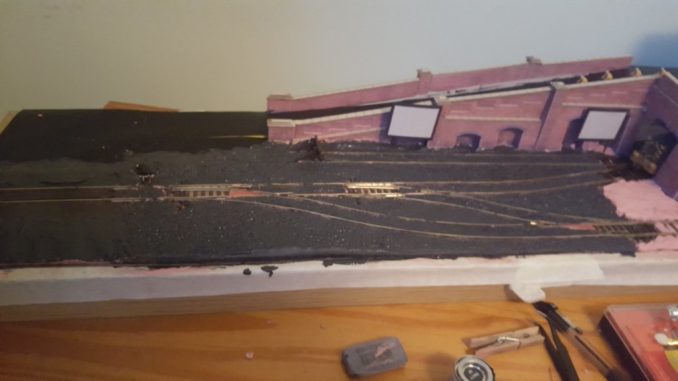
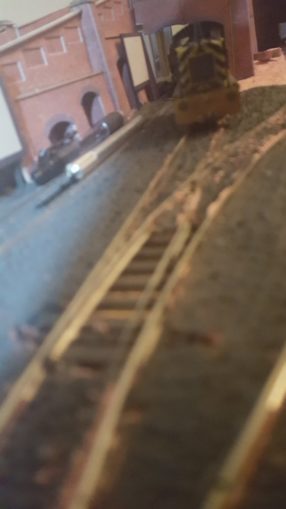
Once dried I tested the running – not good! Clearing all the paint off the tops of the rails helped a little, but some of the clay interfered with the running – the trucks not moving smoothly but as if they were going down a potholed road. I had to score the clay with a knife to allow a groove on the inside of the rails for the wheels and scrub some of the top off where it was too high and the underside of the engine was catching upon it – when moving it would stagger and stutter like a drunk on a Friday night.
© Sweaty Dave, Going Postal 2018
A bigger concern was the sudden lack of any power on most of the rails. After an initial panic that a wire had come loose under the clay, which would have entailed tearing the whole lot up. After more testing, I realised it was simply that the points were not fully closing, so failing to make the electrical connection. Digging out some of the clay around the mechanisms, to allow free movement, was enough to get the power back on. As you can see the paint needs a little touch up to hide the newly exposed clay.
© Sweaty Dave, Going Postal 2018
Once that was touched up, it did start to look a bit better – the raw clay being very obvious when visible.

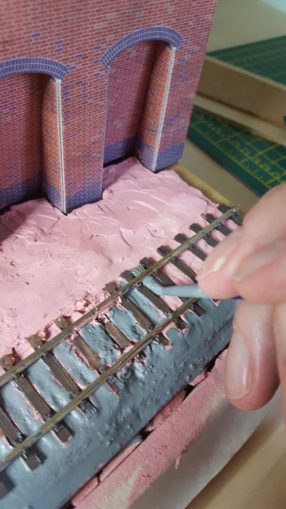
Next step is to dab a few cobbles with a dark grey to break up the uniform black colour. I say dark grey – well see for yourself, it’s not dark enough!
That part will need re-doing. Instead I’ve used that grey to be the base coat for the siding, with each of the sleepers being separate, I can paint under the rails too.
A light sprinkle of mixed scenics and time to dry.
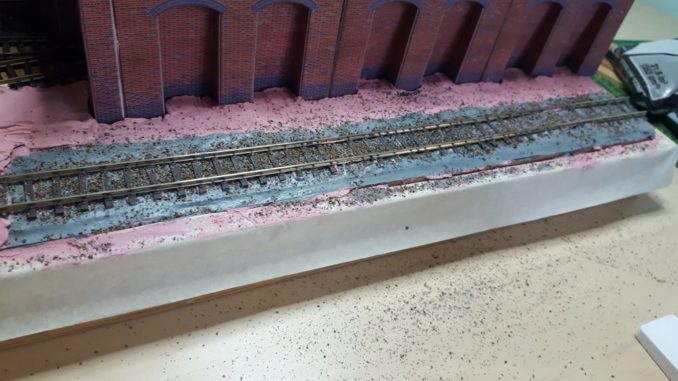
Doing the same with some of the cracks looks like a bodged roadwork repair that are so common these days with the newer mortar on show. I’m not happy with the clay around the level crossing, it is too rough, so will probably take that up and re-do it somehow.

It’s is getting there!
© Sweaty Dave 2018


