Welcome back to Cnutelectronics! It comprises the same bone headed ignorance, overenthusiasm, poor research, pointy metal things as Cnuteneering, and also adds the additional danger of very hot soldering irons.
We left this project with most of the soldering done, and a basic integration into my home assistant setup completed.
The batteries are finally released from the Polish Battery Gulag and have arrived.
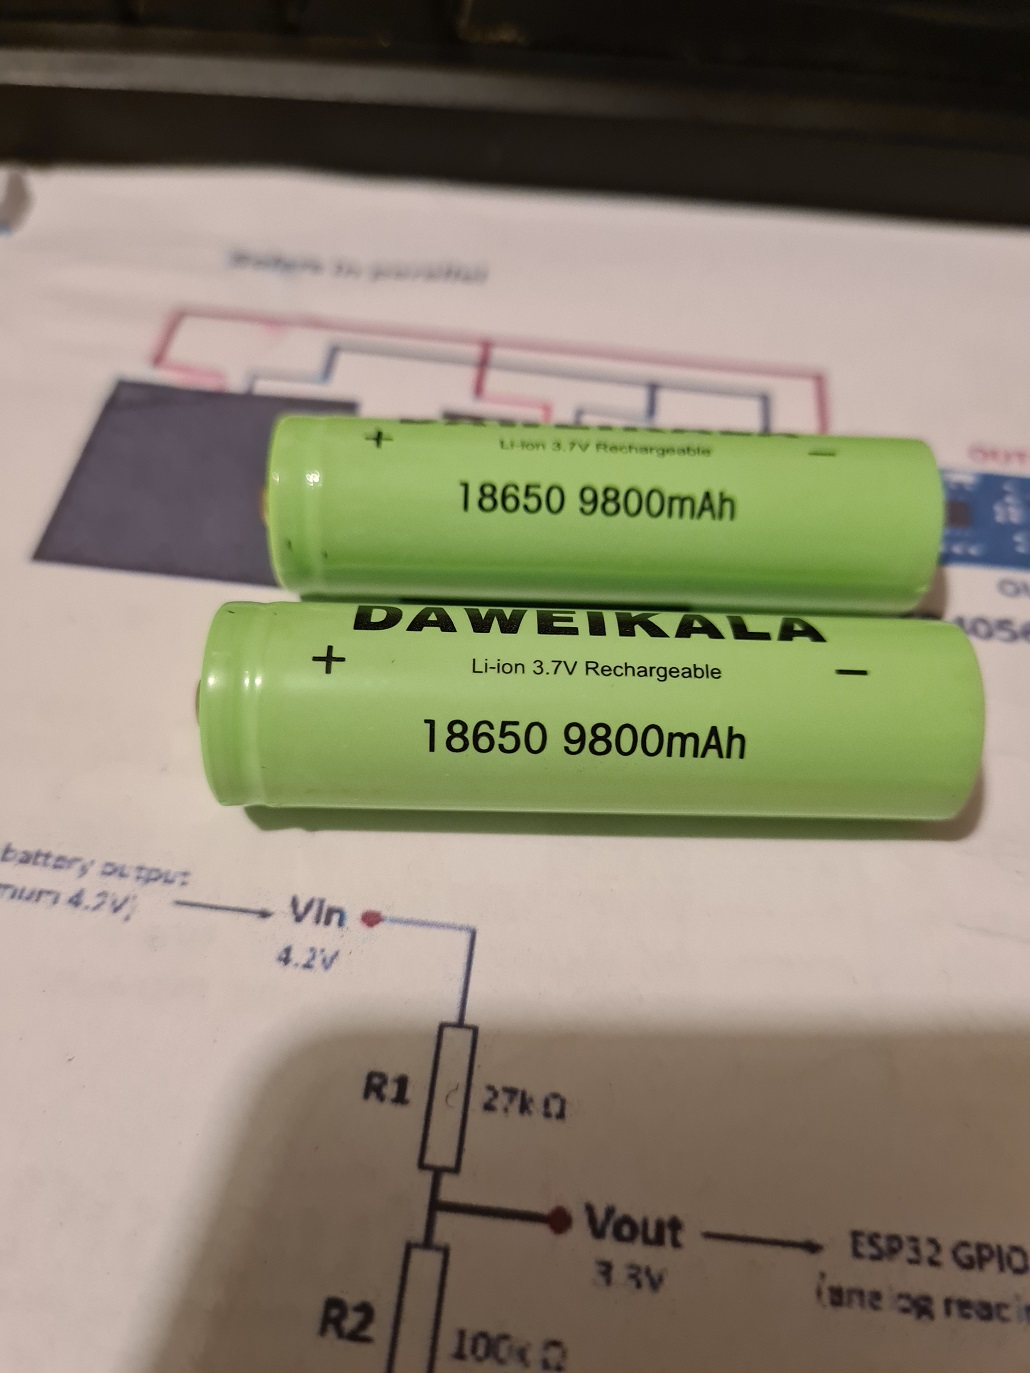
Now that I have them I can plug them into the holder, plug the Lipo battery charger into a USB cable and put a full charge on the battery. 3.96v which is a little below the advertised 4.2v but no worries as we carve it down to 3.3v to feed the ESP32 anyway.

Next I need to measure the actual output to the ESP 32 before I connect it. At the minute I am powering the ESP32 directly from a USB cable, the ESP32 has a voltage corrector inbuilt. I need to connect the MCP1700-3302E to a power source so it can charge the battery, and run the ESP32. Given that this is the bit I designed and soldered, I am a little lairy of just plugging stuff in willy nilly, and measure outputs first.
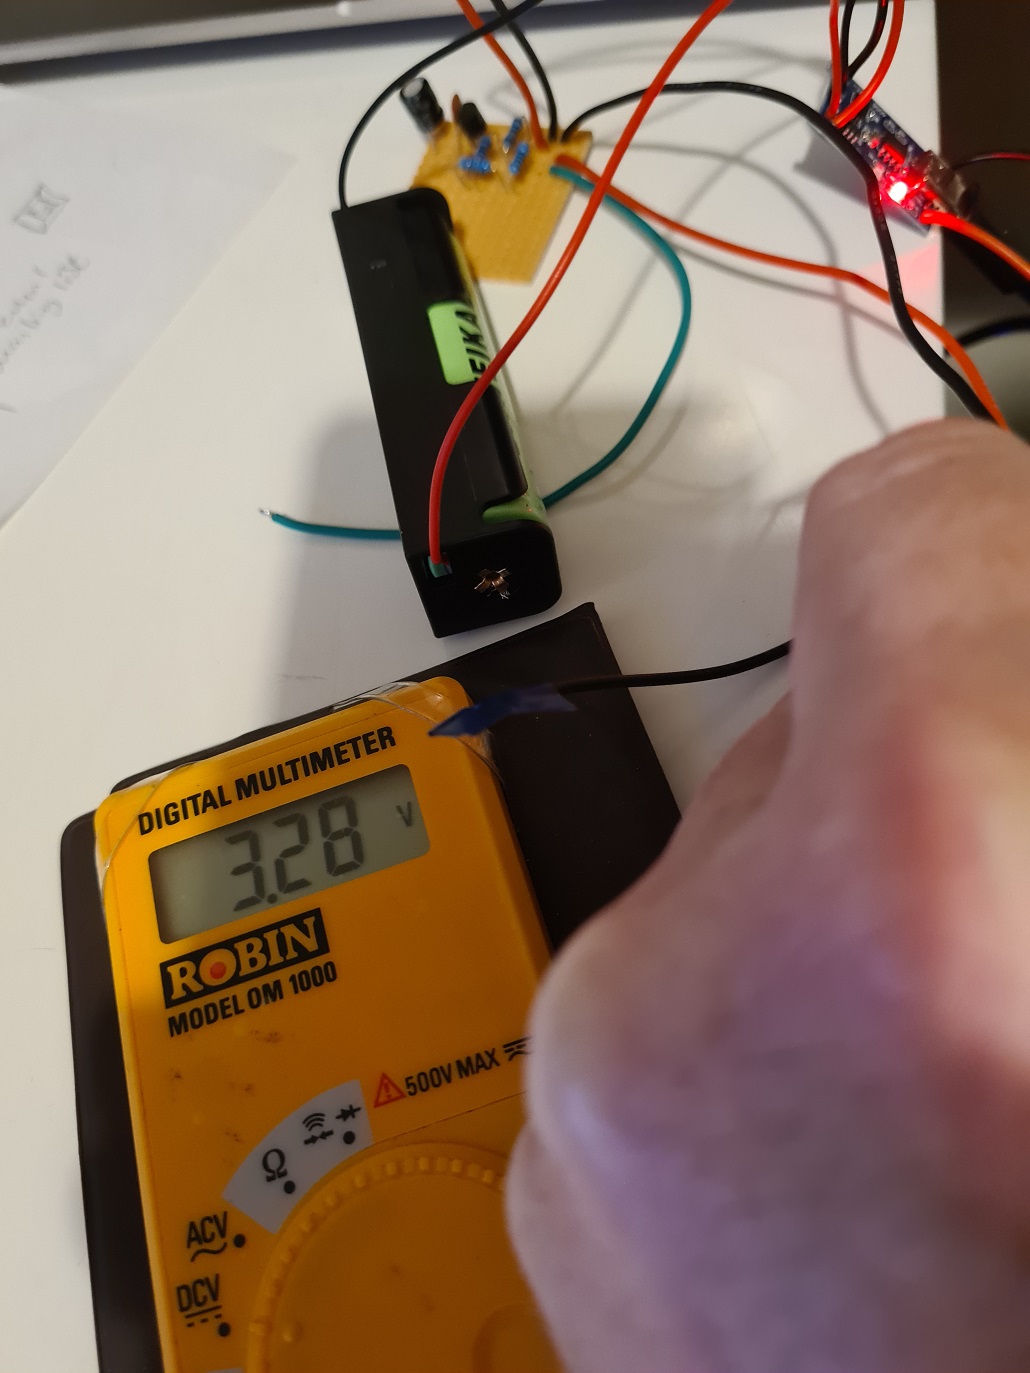
3.28 volts is good enough for Cnutelectronics.
I also added the power monitor that goes back to the ESP32 so the battery state can be reported back to Home Assistant.
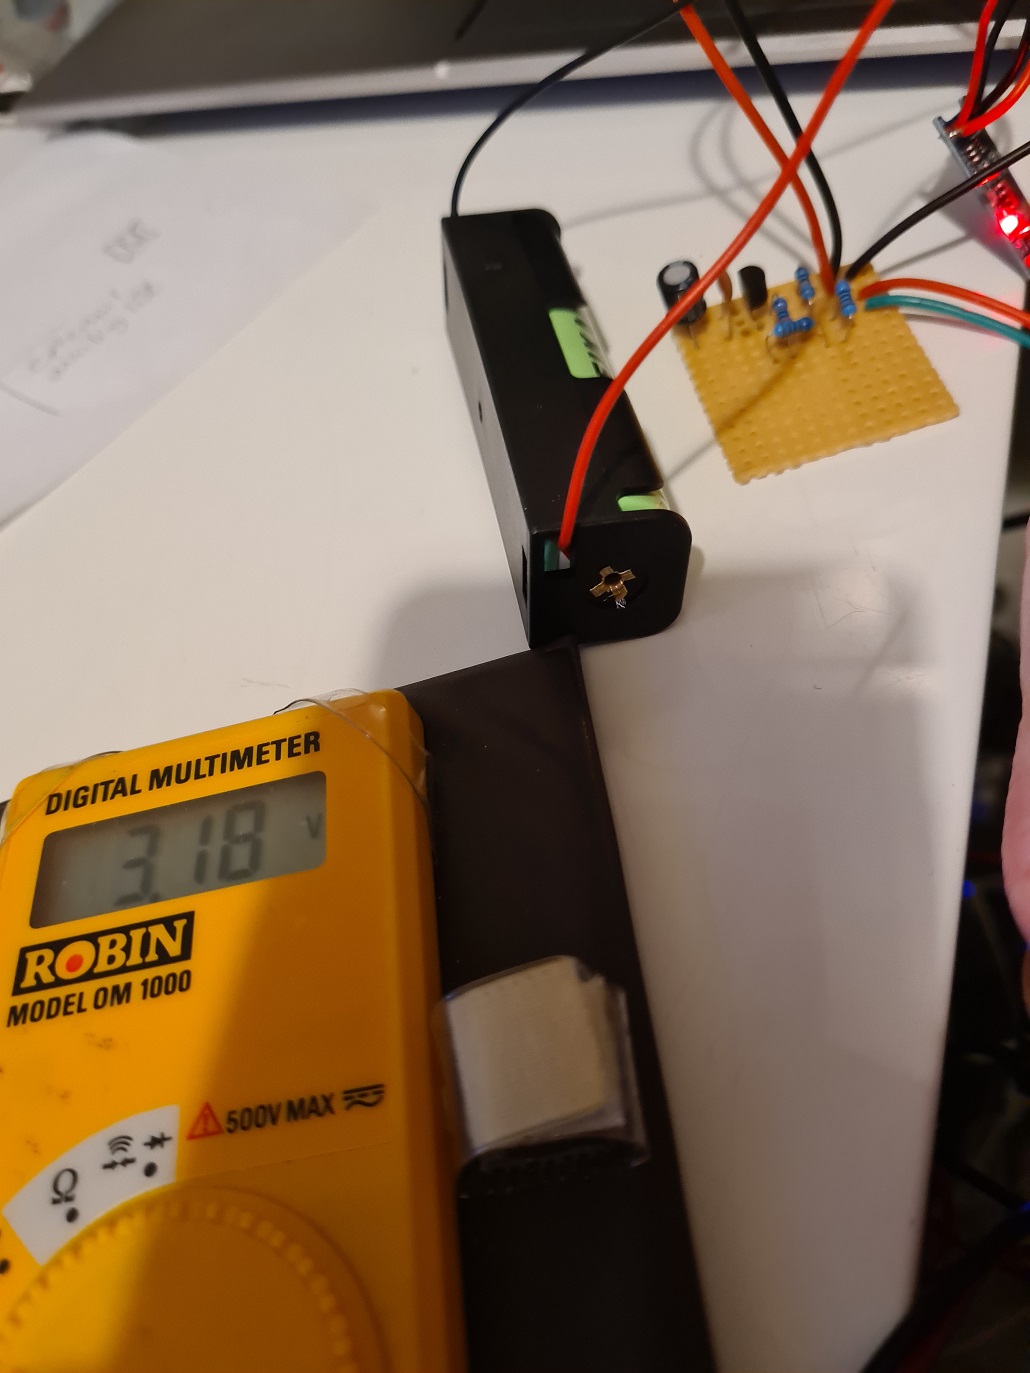
I was expecting this to be 3.28v – same as what the ESP32 is receiving but the voltage divider has some cheap resistors and a soldered Veroboard connection so it is likely that the resistances are not as close to what I had designed on paper. Puffins will recall that I can’t just measure straight off the 4.2v battery on a 3.3v ESP32 – the voltage has to be brought into range by the voltage divider electrickery.
No matter – from a fully juiced battery the ESP32 will receive a signal of 3.18v as 100% battery charge.
I put some final extra resistors on the SDA and SCL lines to pull them up. As I learned on other Cnutelectronics project (forthcoming when I have finished it) this keeps the signals a bit cleaner and results in less grief.
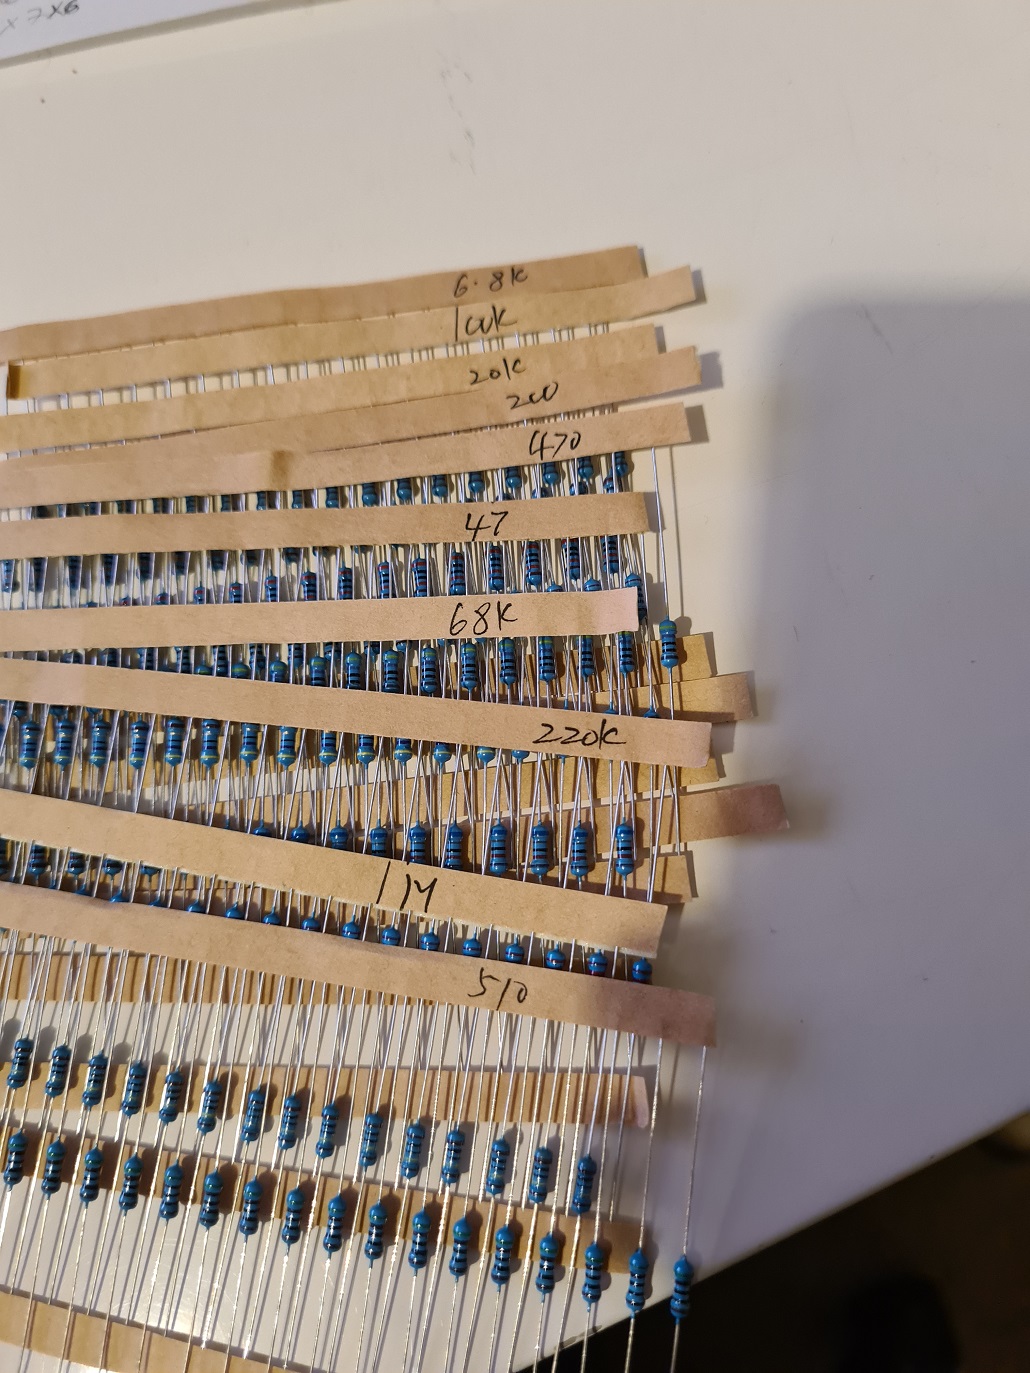
No matter how bad your job is, you’re not cutting strips of resistors into 20 unit chunks and writing the resistance on the label for 8 hours a day.
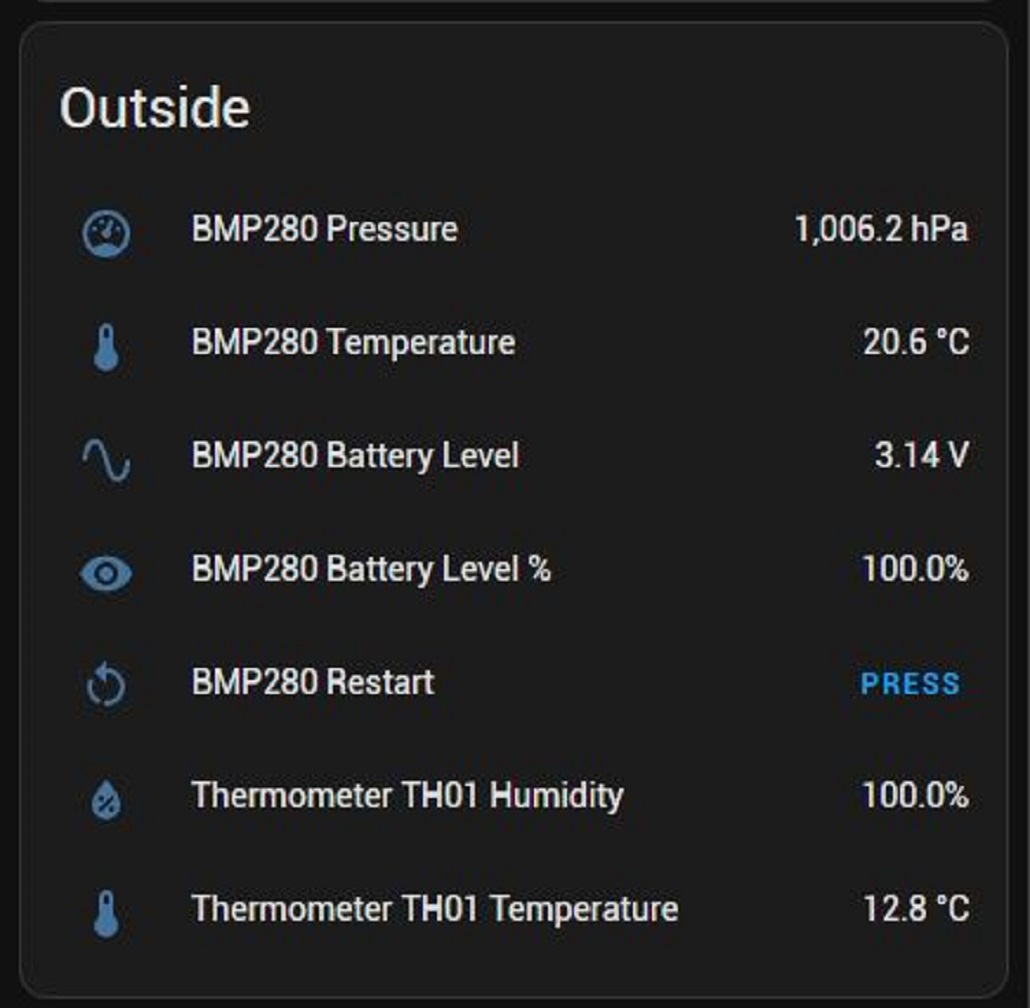
I now need to faff with the ESP32 configuration to add the battery health input, which can be seen below.

There is a little bit of faffing and adjustment so that the battery level of 3.14353v is regarded as 100% battery. Eagle eyed puffins will note this is different to the voltmeter measured value of 3.18. I added the sensor to the config on a full battery and took note of what the ESP32 was reporting the voltage to be.
Now I have a lovely widget in my Home Assistant screen that shows the measured values. I also added a “reboot the device” button as when the unit is on the roof it will be a pain to get to if I need to bounce it for whatever reason.
The IP67 rated project box has arrived and I start by drilling a hole in the side and fitting a grommet from the Cnutmobile fuel tank. One of the many flaws on the Cnutmobile is a leaky tank so I bought a couple of spares at the start of the year. Perfect for the job, I can properly seal with glue once I am done faffing.
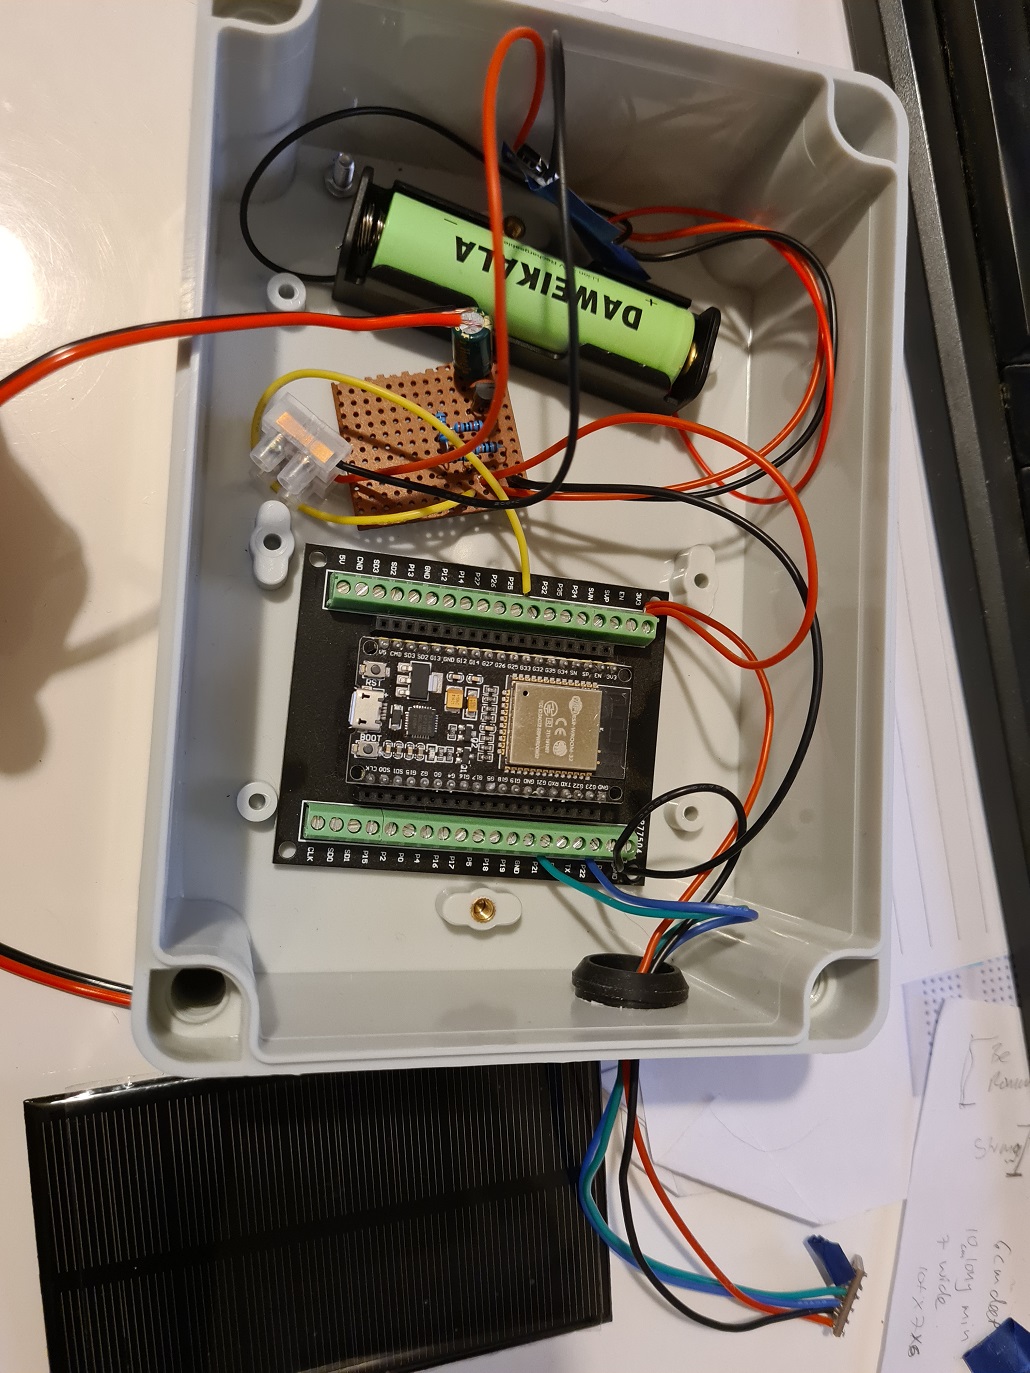
And now for the first time, every electronic component is properly connected.

Probably a rare internet event – documenting something being enboxed rather than unboxed. I knock up a sensor housing out of some deodorant caps and a bit of insulating tape and we’re ready to start the field test:
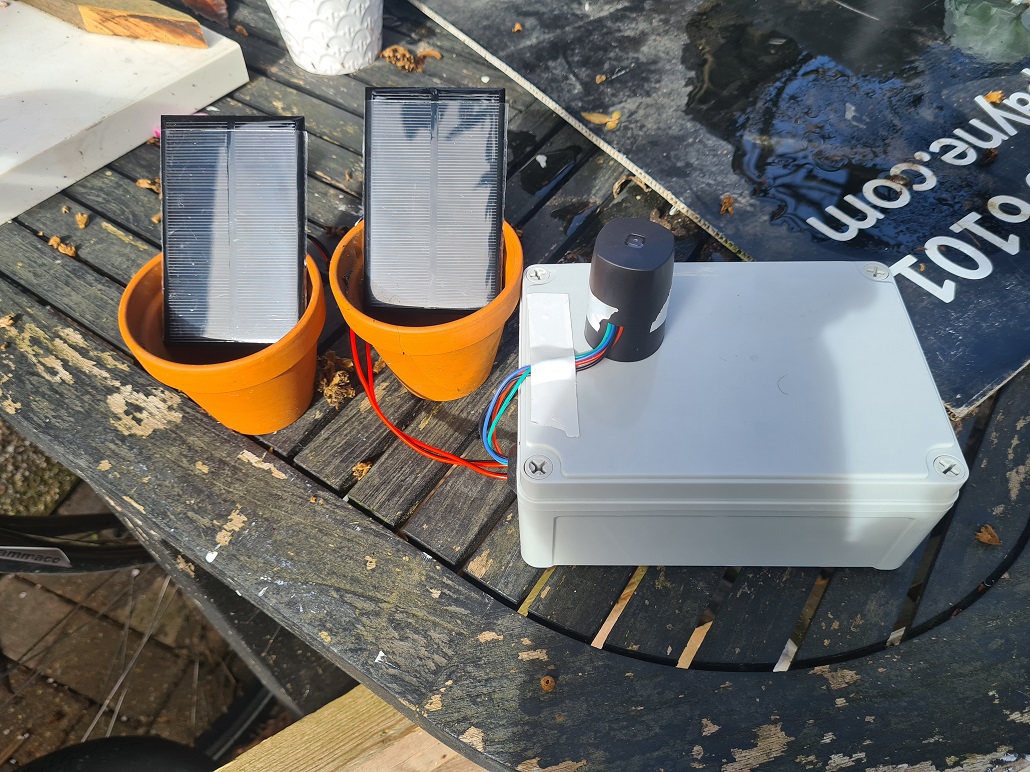
So far so good, the sensor is outside, waterproof (ish) and is still connected to the wifi to send updates. On a bright (ish) Saturday morning I put the unit outside at 10:45am with a fully charged from USB battery, point the solar panels towards the sun (must make some kind of frame to hold them as plant pots will get knocked over by the wind or a cat) and leave it get on with it. I am a little unsure about using old deodorant caps as a sensor housing but I am sure something will crop up as a better solution (if you have one please leave comment I can not read). Also the black colouring may affect the temperature reading when it is sunny, BBC CliMaTe ChAnGe CRRRYSIS! style. This can always be compensated for in the readings I suppose.
The solar panels are each rated at 250mA output but I have yet to put a meter on them to test how close they get to that. The figure is probably taken after the panels are perfectly aligned with bright equatorial sunlight rather than balanced in a flowerpot on a patio though. An ESP32 chip allegedly consumes between 80 and 260 milliAmps when running at its maximum clock speed of 240 MHz, and ~5 milliAmps when in deep sleep. I am not sure how to underclock it using the ESP32home interface though – all I need is for it to keep the wifi connection going and that’s about it.
I seem to remember something about bad wifi signals needing more power to maintain so that’s possibly a factor that will eat battery faster than I would like. In addition, one of the electronics puffins on here (leopard / Verax Cincinnatus ?) advised the voltage monitor circuit would probably eat a fair bit of power as well.
In any case, during the day, I should expect the unit to be self sufficient in power – with 500 milliAmps being generated by the Green Revolution there should be ample to keep the battery charged and the unit running.
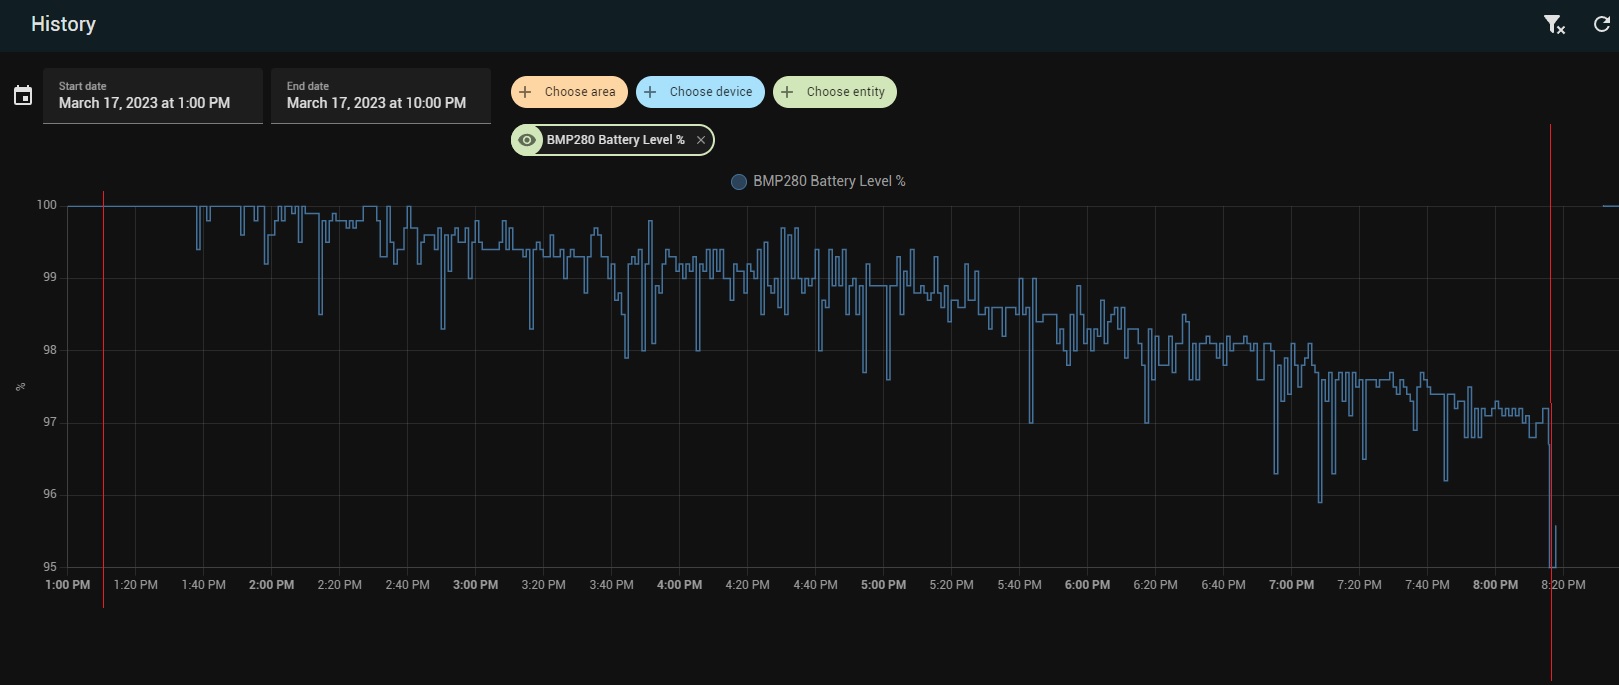
Even if the sun is not burning brightly and the units are only pumping out 50% of stated capacity I only have a shortfall of 10 milliAmps. When I have left the unit with no power – no USB in and no solar, it usually lasts about 7 hours from fully charged before falling off the network as there is not enough power left in the battery to keep the ESP32 running and on the wifi network.
The two red lines on this diagram show where the battery had the power cut (leftmost line) and then when it completely died (rightmost red line).
I leave the unit out overnight. Even El Woofador has had enough for the day:

The next morning, I am obstructed from checking the unit until I have served my feline master.
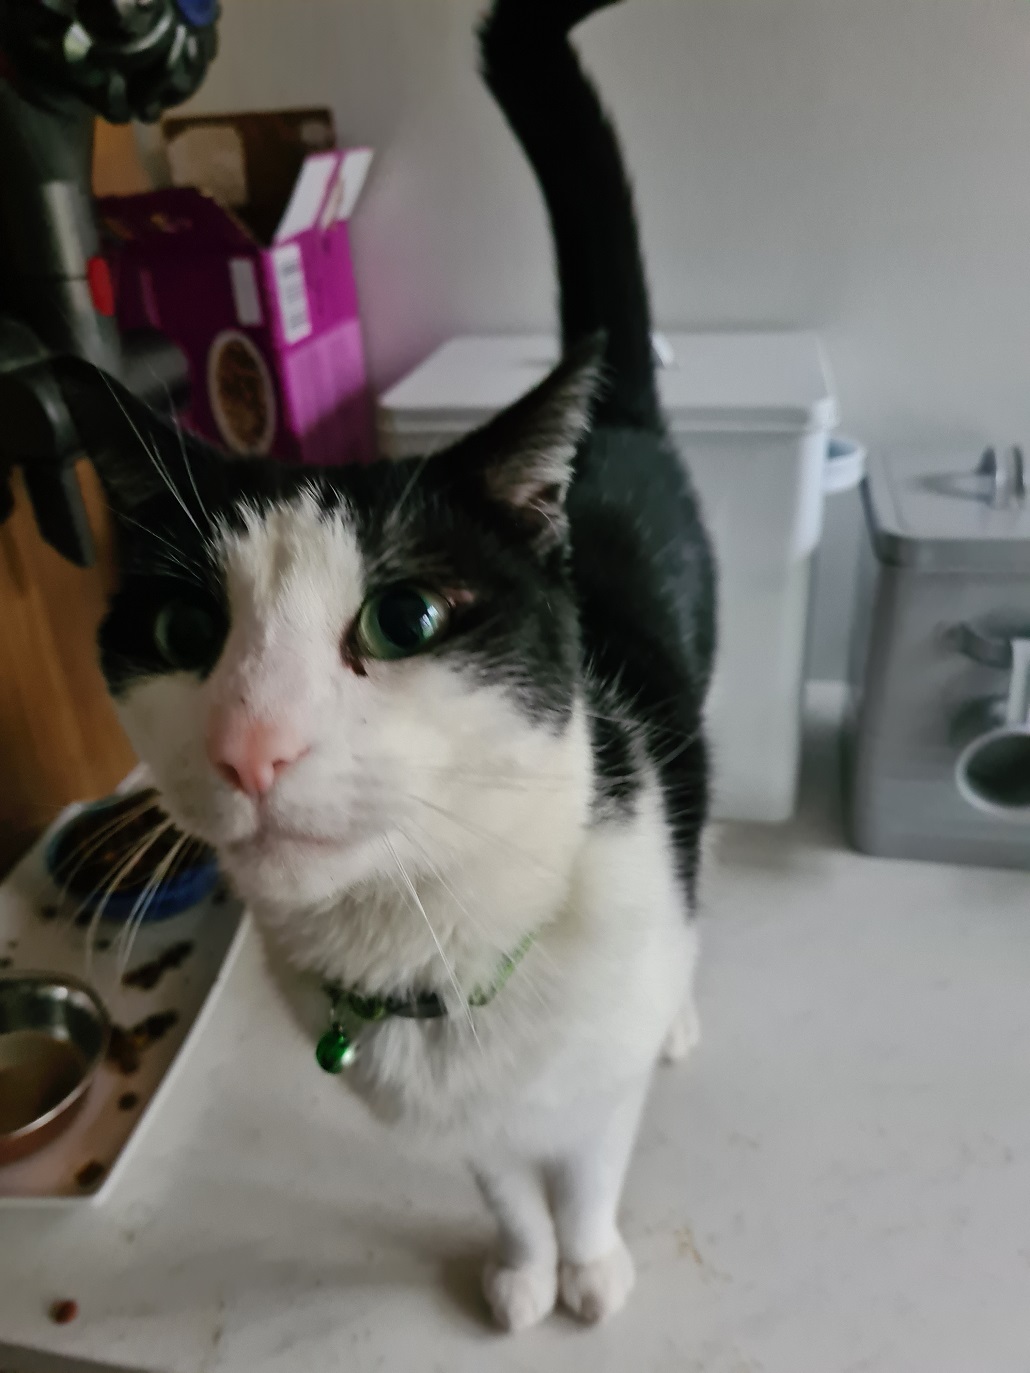
Once my cat butler duties are completed, I find that the unit has run out of batteries – at about 5am it seems on Sunday morning. A little more juice and it may have survived long enough for the day to brighten and the batteries to be recharged. Either way it is not in a state where it can stay outside in the middle of winter with very limited sunlight.
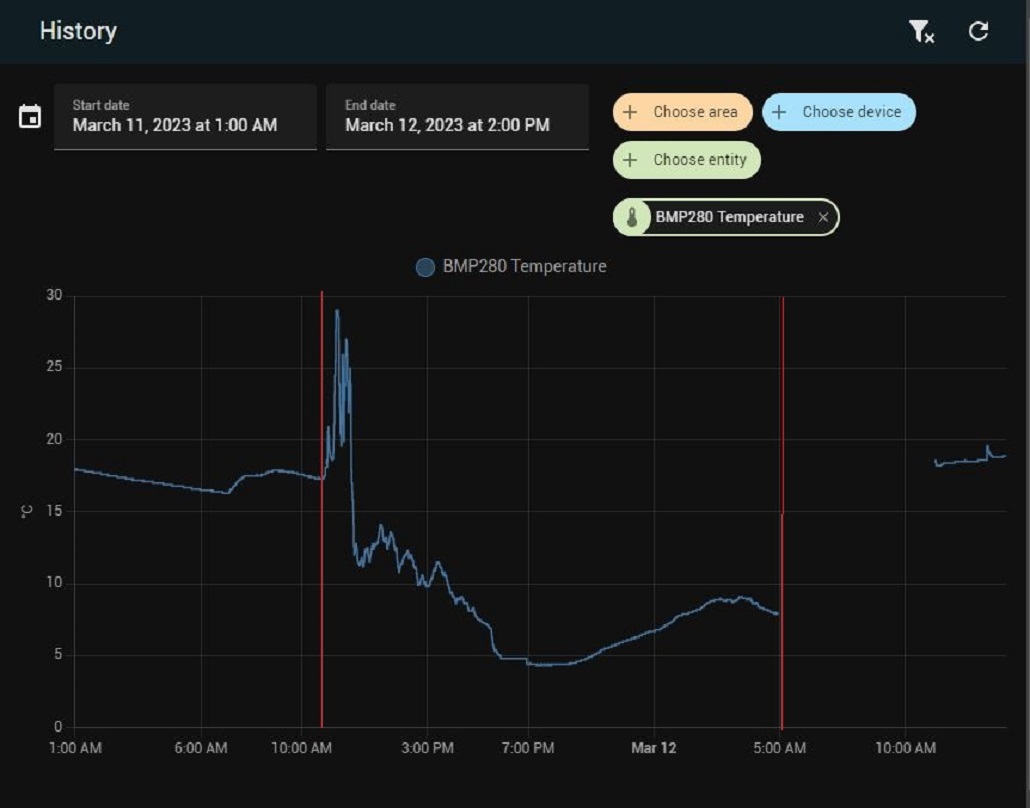
Overall though, that is not bad – about 18 hours from a full charge and in weakish sunlight. Red lines added to that chart so you can see the time period it was not getting power from any other source except solar.
Now, the ESP should only use 4mA when in “deep sleep” mode – it basically is alive but only just. Looking at the interwebs it seems that this will cause a bit of a problem – how to update a device that is only on the network for about 20 seconds every 15 minutes? Updates could be the firmware to keep it current with Home Assistant, or changes to the configuration that I’d like to make.
Luckily I found this guide to reducing power consumption. The idea is that the unit wakes up every few minutes (or quarter hour or whatever) to send sensor readings, then goes back to sleep. This means that the battery should not be getting hammered and the solar panels should give enough to keep the device going, even in winter. I should also note that the batteries are less efficient when cold as well, so the more I can drop the reliance on battery power, the better.
I am hoping it will be enough so that the voltage measuring line can be kept, so at least if there is an outage I can at least pinpoint it to lack of sunlight rather than a proper crash. I will just have to wait until the sun shines rather than clambering over a roof to find out what went wrong.
After a bit of mucking about with it this is what I arrived at for the config.

And that is it for the setup of the sleep settings for now I think. One problem that has to be addressed is how to update a device that is only running for 30 seconds out of 15 minutes? The trick is to add a toggle in Home Assistant to flag “don’t go to sleep”, and this is what the config above is reading. If the toggle is set, then don’t sleep so OTA (over the air) updates can be applied. Just don’t forget to switch it back off again when the update is done or the unit will just run out of power.
While this testing is ongoing – charge the battery to 100% from the USB connection and then disconnect it, I still have some old school Cnuteneering to be done to make the frame to hold the solar panels upright.
Some old aluminium window frames I kept from last year when we had the double glazing redone, and some tools.
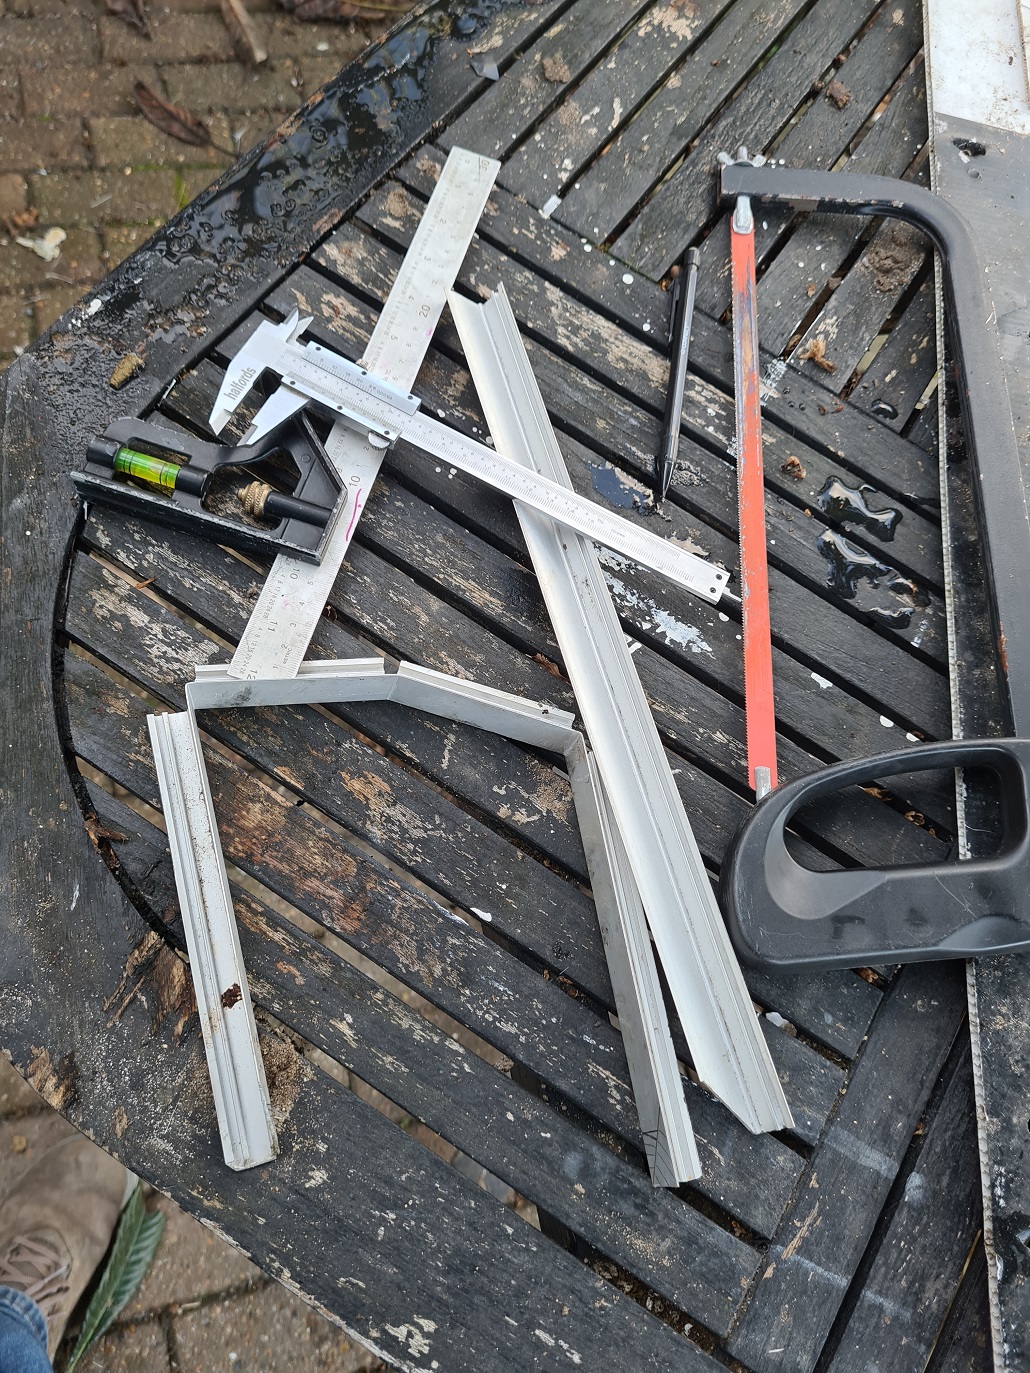
I make some partial cuts in the L section window frame so I can bend the aluminium.
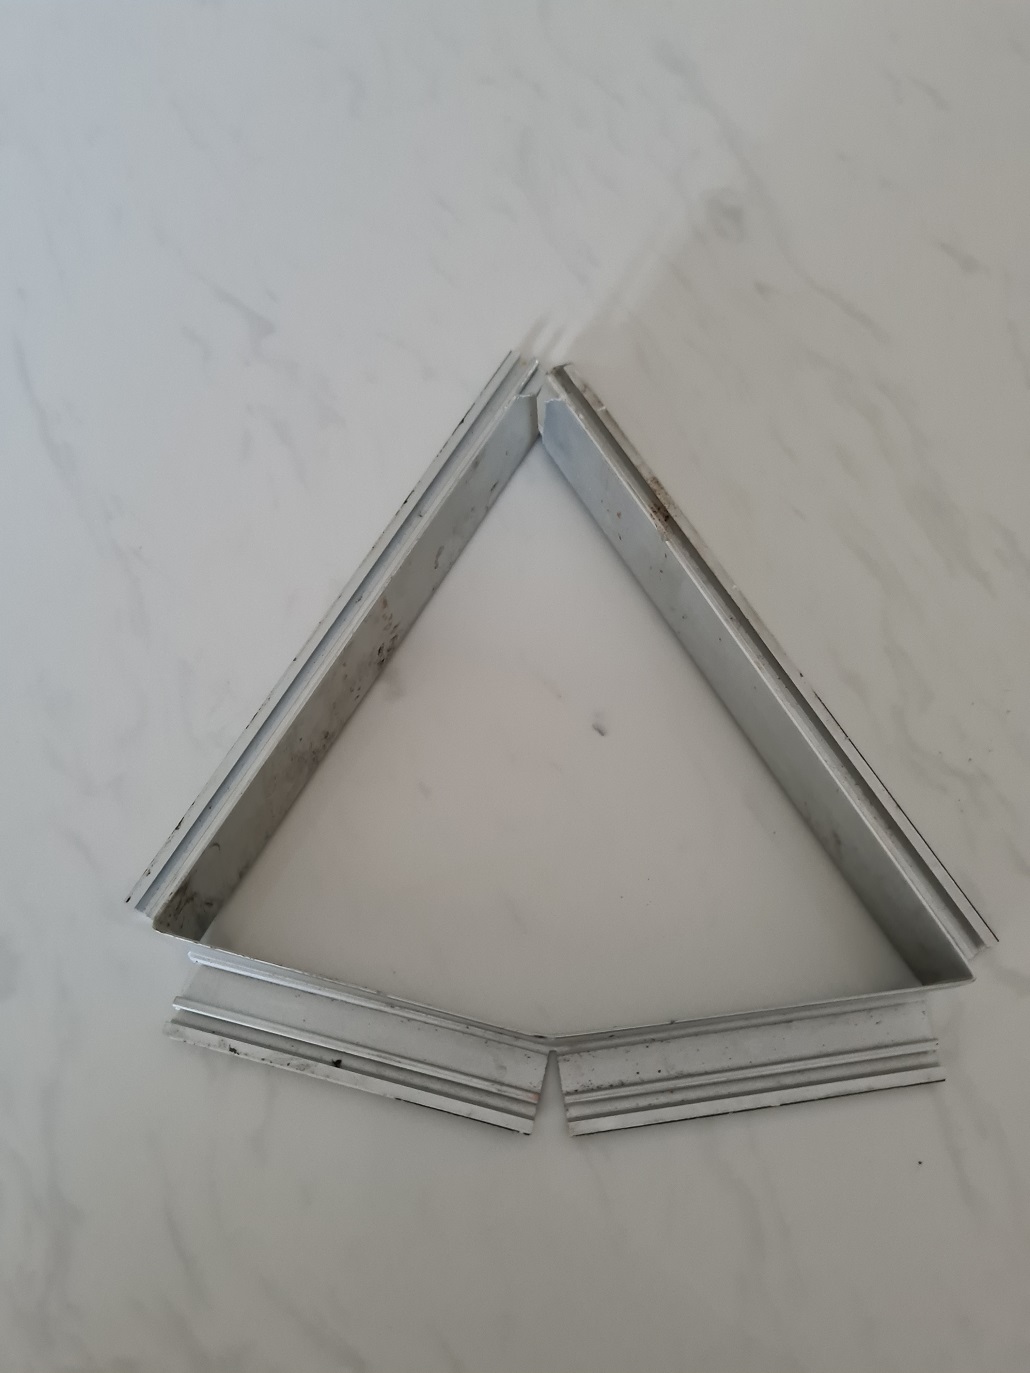
And the grooves fit nicely around the panel itself.
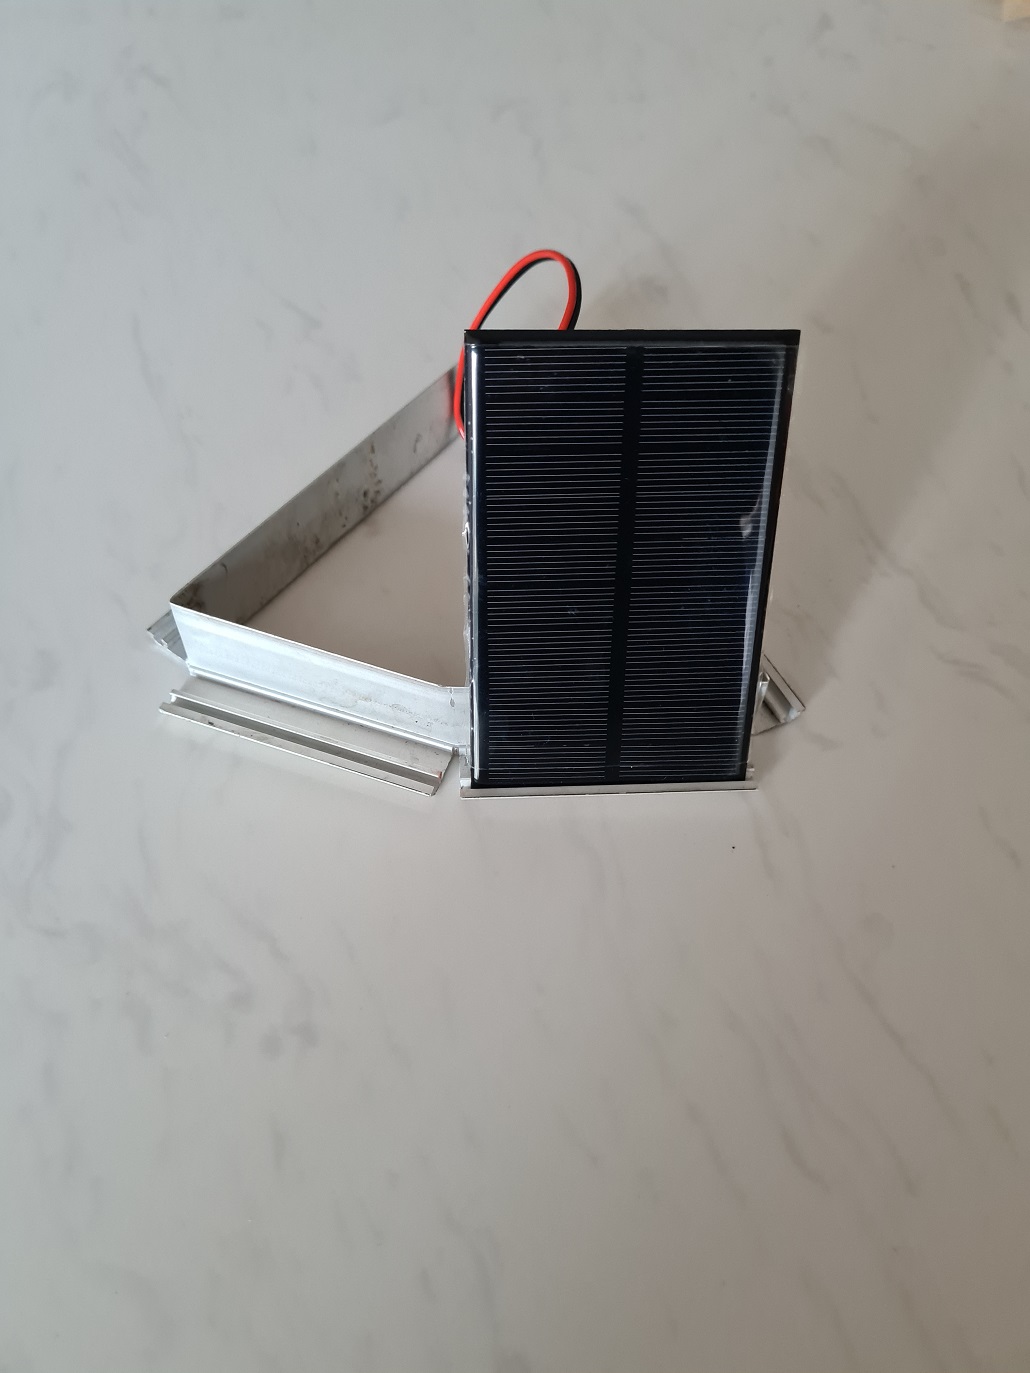
Out of curiosity I test the voltage from a panel in weak spring sunshine.

As a side bonus from this testing I realised there is a clear plastic film over the solar panel which is probably not doing the output too many favours. And they were quite satisfactual to peel off. I also found the top of a fabric conditioner bottle that fits the deodorant cap nicely. I Dremel the frill off the top, and last weekend I had a bit of ceiling rose adhesive (which is basically like plaster of paris) left over from working on the house which I filled the cap up with to give it a bit of ballast and stability.
Overall I am pretty pleased with the result, I just need to let it run for a few weeks and see how many times the battery dies. I have the spare solar panel I can fit if it is on the edge, or increased the sleep time if that’s too much faff.

© El Cnutador 2023