A twelfth piece about a model railway – who’d have thought it.
Some progress this time on a number of stalled fronts, so happy with the work that has been done.
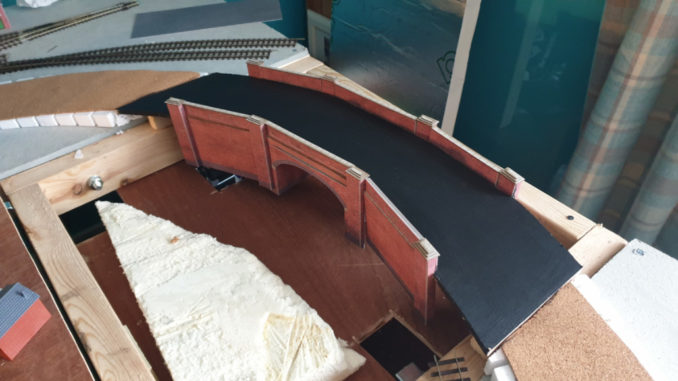
Last time saw the bridge built. This has now been fitted into place along with further fixing of the inclines on both sides – using PVA for the bridge and No more nails for the polystyrene and cork of the inclines. Once weighed down to set I have noticed that one side isn’t quite in line – so will need to build up the cork to remove a 1/4in high lip.
© Sweaty Dave, Going Postal 2021.
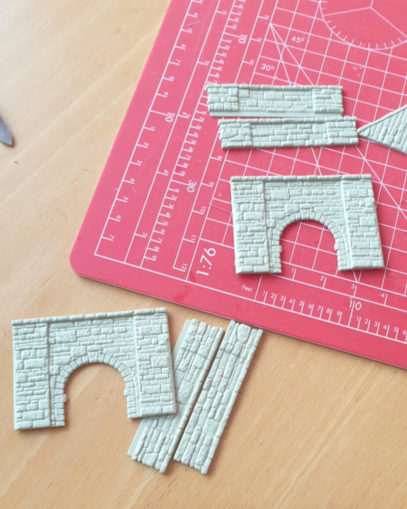
To give it a reason for being there, I’ve picked up a couple of culvert arches – so will place one each side of the lower board and run ‘water’ between them.
© Sweaty Dave, Going Postal 2021.
The bridge is now fixed, the bridge deck painted and ready for some track and ballast.
Talking of ballast, I had a go at setting up the trackbed for that complicated three way point – an initial undercoat of brown, followed by a grey coat on the narrower track bed and sprinkled a mixture of ballast on there and spray glued it in place. This was a trial as I didn’t want to add too much ballast after fixing the track, as it could gum up the mechanisms, but wanted to avoid having completely bare patches under the movements. In the end leaning on that area means you come away with ballast stuck to you so it hasn’t set too well.
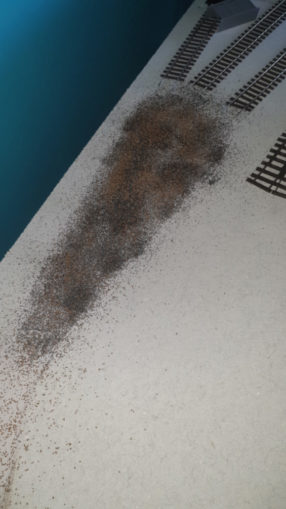
© Sweaty Dave, Going Postal 2021.
The point itself has three wires to feed through the board to power the various ‘frogs’ – those small bits of track that need to switch polarity depending upon which way it is set, and another two holes are needed for the point motor to switch them.
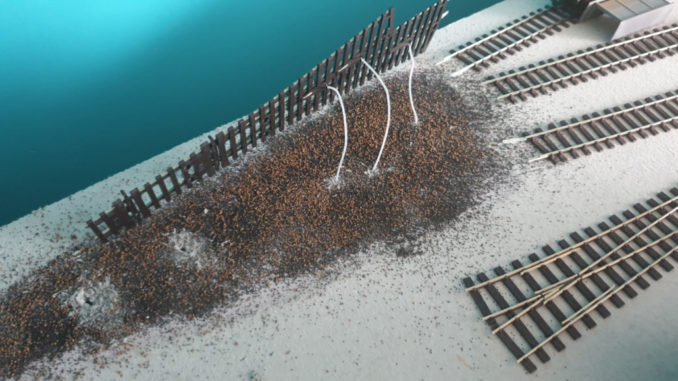
© Sweaty Dave, Going Postal 2021.
Having worked out all the wiring on the workbench, I made all the necessary holes, checking there was enough play for the mechanisms by poking a 1mm drill through the relevant places, ensuring all could move, then glued down with PVA (once again avoiding the mechanisms). To be honest, and I’m sure those more experienced on here will attest, it is better to glue down the track before adding any of the ballast or you do not get a decent purchase.
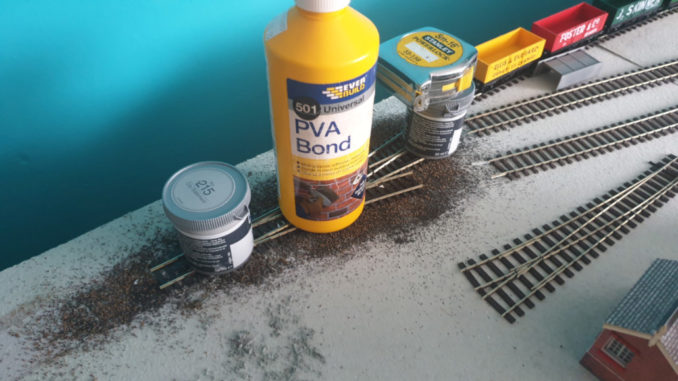
© Sweaty Dave, Going Postal 2021.
After drying I began the process of fixing the point motors under the board. It quickly became apparent that this was going to be a problem – the brass screws that hold the motors in place were not finding enough to fix into the soft baseboard – it was like trying to screw them into a sponge. I opted to mount the points onto pieces of plywood, which gave a solid fix, then stuck/glue the plywood wedge to the board. Brass screws are very soft, way too soft for that marine plywood, so pre-drilled holes were essential. The 1mm bit lasted until halfway through the second solenoid before snapping, halting proceedings. At least one of the two is now in place!
With that on pause until more drills arrive, I finally tackled the power setup. The idea was that this layout can be broken down and stored with minimal fuss, with a series of audio 5 pin din plugs passing power between each board. I wired the power controller into the board with that three way point on it, as much of the electrics is now in place there. Getting power to the track is through powered fishplates – always the red one to the outer track.
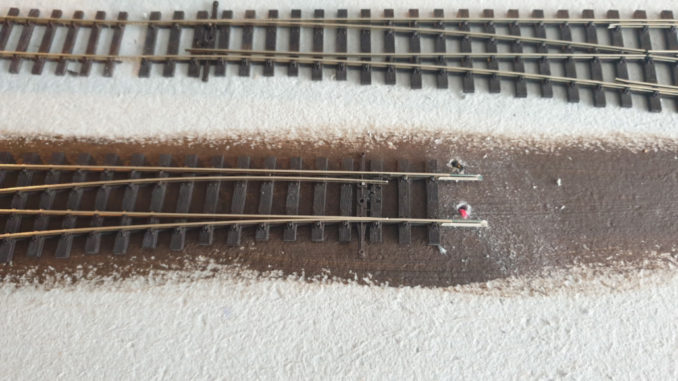
© Sweaty Dave, Going Postal 2021.
Two of those feed the threeway point and run into the mine. I set up the junction for that line on the neighbouring board with the necessary power fishplates. After tracking down one broken join, was very pleased to see the power indicator show all was well, so we now have two of the four main boards wired and ready for track.
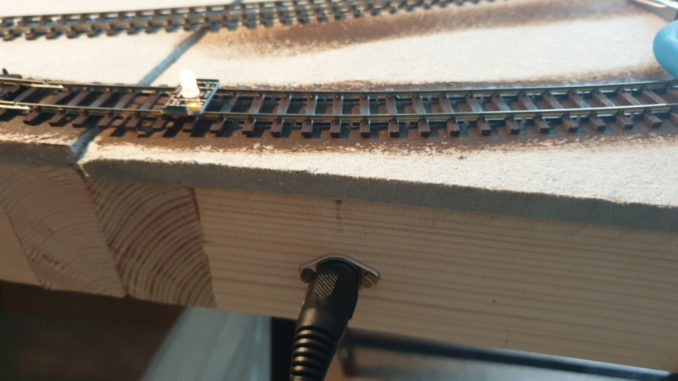
© Sweaty Dave, Going Postal 2021.
Buildings:
This week has been mostly about terrace backs. Last time I mentioned that we had some low relief shop fronts and terrace houses. I finally managed to track down a couple of matching kits that give the back to a pair of those buildings.
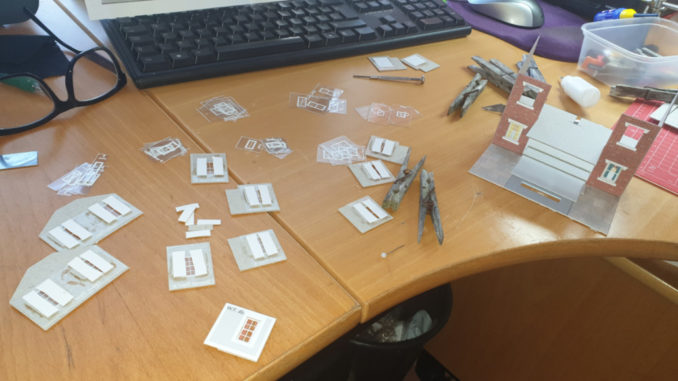
© Sweaty Dave, Going Postal 2021.
As usual it involves lots of curtains, windows and a lovely kit to make up to while away the hours during those working from home meetings. I’ve managed to get the construction time down to one kit per day. A couple of backs now made – that’s enough for four buildings.
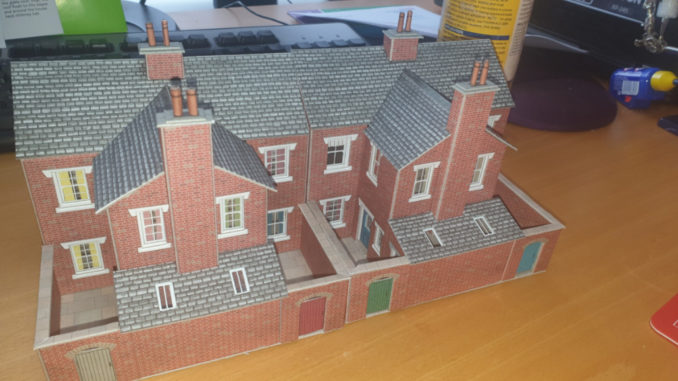
© Sweaty Dave, Going Postal 2021.
I also tracked down a kit for a chapel. It is one of those small plastic kits made by Peco, which is pretty enough itself, but all their kits seem to be the size of a single garage – so more of a wayside shrine that a full chapel. It needs some paint, but is built now, along with another garage.
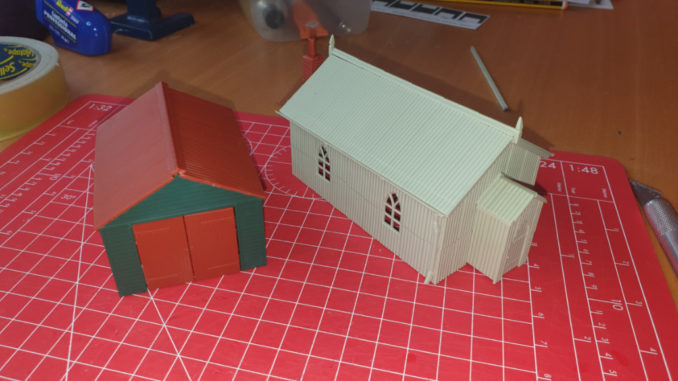
© Sweaty Dave, Going Postal 2021.
I must move on to painting stuff – I’ve ordered and received an airbrush and compressor but getting people to ship actual paint is less common as shipping liquids involves a lot more regulations, so makes it expensive for small pots. I’d need thinners too, so may have to wait until the ‘non-essential’ shops reopen. I know my local model shop has a wide range in stock but doesn’t put them on his website for shipping.
I have done a bit of painting, when doing the trackbase for the bridge, I also started some painting for the village main street. Once that is dry and the terraces lined up, I’ll know how much more paving is needed as plenty has ben supplied with the kits already made. I added some bus parking outside the mine – a printoff that eats your printer ink from Smart Models.
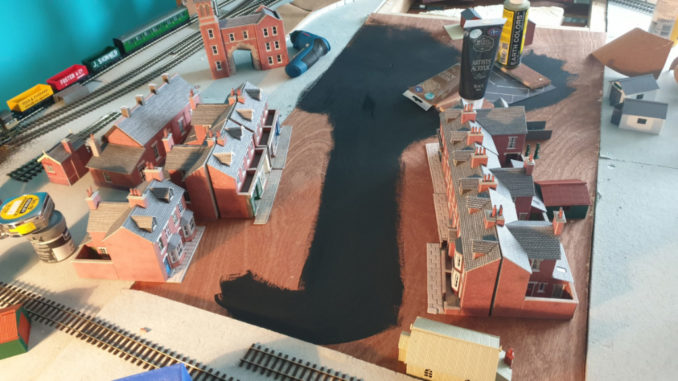
Note bus stops under weights.
© Sweaty Dave, Going Postal 2021.
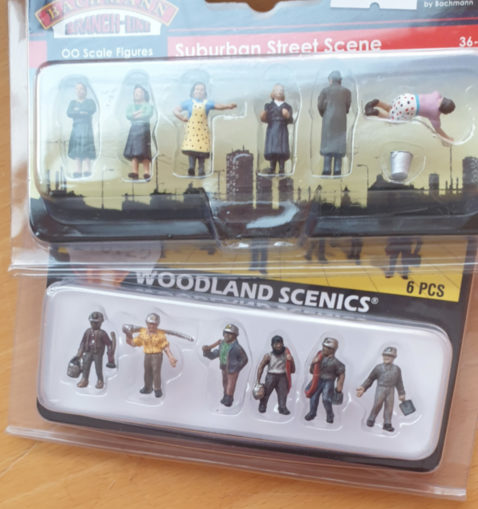
Purchases this week also included the first people – some miners for the mine – they are slightly smaller scale of HO, but being in the background means it helps to make it look a little more distant, and some people for the town, in 50s clothing, all stored away for when the place is ready.
© Sweaty Dave, Going Postal 2021.
I have now run out of kits to build so will have to make an urgent purchase of more! Most here suggested a pub, so I’ll have to see what types are available – the mock Tudor type being relatively uncommon in villages such as this. The miners will have to do with Bob’s bottle shop until something suitable is found, cheers!
© Sweaty Dave 2021
The Goodnight Vienna Audio file
Audio Player

