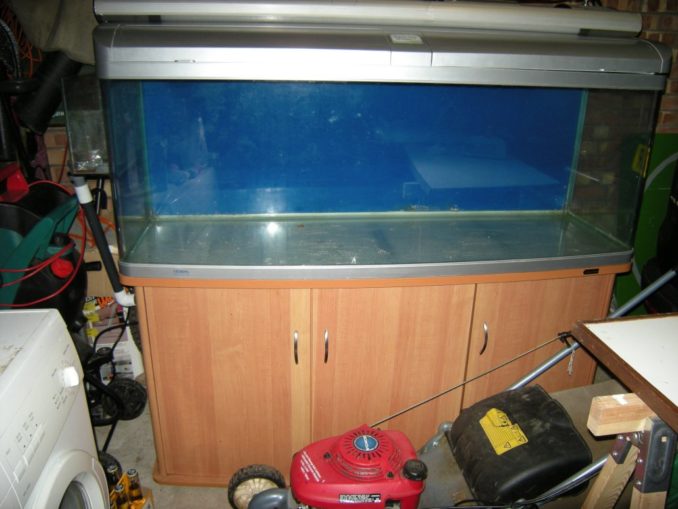
In the last piece I got to the point of having bought a fishtank. Bloody massive thing, weighing in at about 150kg when empty (it took four blokes to lift it out of the house in the end). Fill it with 120 gallons of water and that’s around half a ton – a serious structural challenge in the average house.
To recap, the project aims to build a good quality home for marine tropical fish and soft corals. It is to look professional, be as quiet as possible and no protruding wires or pipes.
I had to find a location that was strong enough to hold it without causing problems – so in a normal wood beamed house it had to be on the ground floor. It also had to be away from draughts, from busy traffic areas, out of the sun and away from radiators – and have plenty of electricity points. In the end I picked a north corner of the lounge, which had been set up by the previous owner as the TV/Hifi corner, so had four sockets. Each of these could then power a multiblock of four or more items, sited within the cabinet.
With the weight involved I was concerned about the floor, so took up the carpet and a couple of floorboards, setting up a couple of small towers of bricks to help support the key joists where the cabinet was going to sit – it is dry down there all through the year, so no worry about rising damp.
The aquarium needed a number of things done to it. I wanted to have the pipework and electricals hidden from view. It also had to be upgraded to cater for corals. To do this meant drilling a number of 2.5 inch diameter holes in the tank itself. For safety everything is duplicated in case something untoward happens or a pipe gets blocked. There is not a lot of room in the cabinet and it is rather flimsy – with some strengthening done by the previous owner. I had to find a way to place a myriad of equipment and pipework into the thing without taking out all the bulkheads or weakening it.
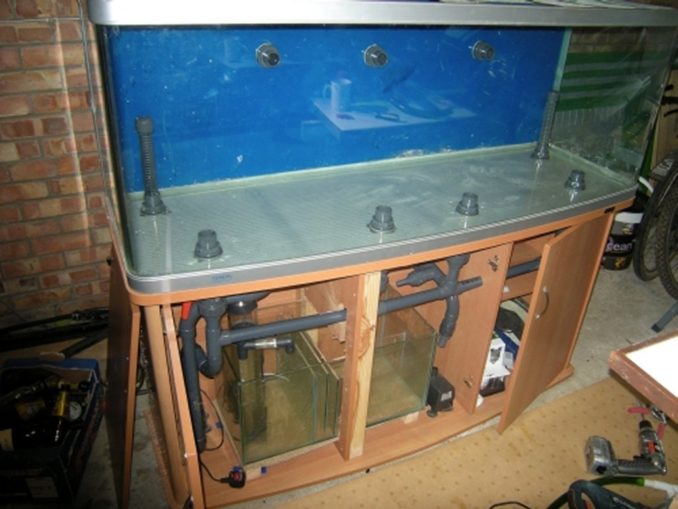
Once a plan had been worked out, the first challenge was firstly to remove some of the stuff the previous owner had used – a side tank and pipework (visible on the left hand side of the tank). This was fortunately only siliconed to the main tank, so easy to cut away. The other pipes into the base were similarly discarded.
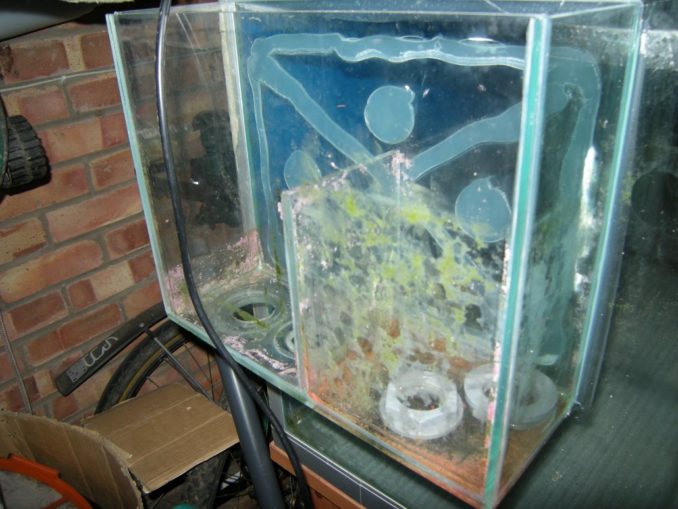
The next tast is one I did not want to carry out on my own – drilling the holes needed for various pipework into the tank. It was made up of three pieces of glass, one curved piece for front and sides, one for the back, one for the base, and around 0.75cm thick. Any cracking when drilling and the whole thing would have to be thrown away. Better to get someone a bit more experienced at this than myself, so took the tank to a local dealer who cut the necessary holes – 9 of them in total!
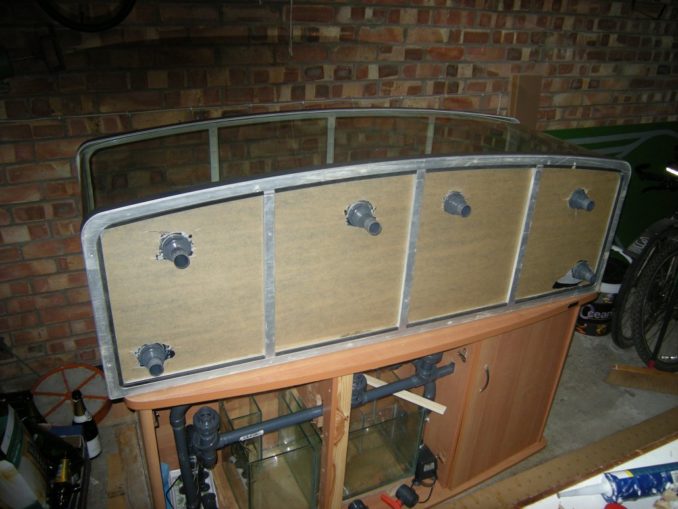
I made the equivalent holes in the cabinet and fitted specially designed plastic fittings with thick rubber washers and silicone. The tank can then be placed upon the cabinet.
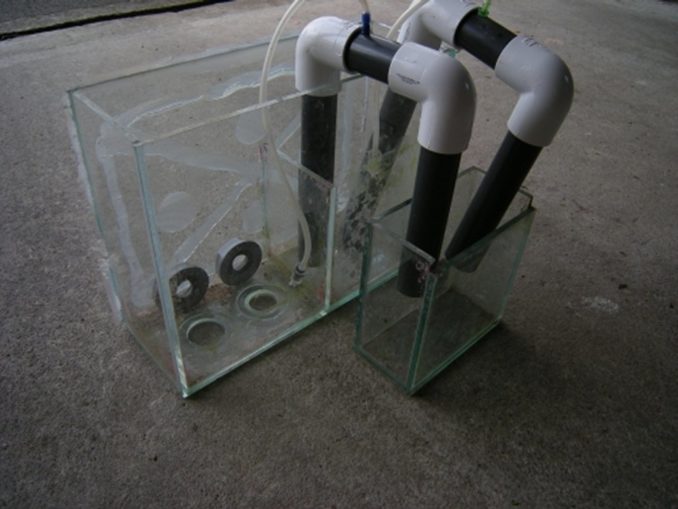
At this point I wanted to get all the different elements working and all pipework in place and fully tested to be leak free before moving it into the house. The pipes, valves and fittings had to be food grade plastic, each join carefully cut, chamfered and fitted with plastic cement to deal with the pressure and corrosive nature of salt water. No metal fittings could be used where there would be contact with the water to avoid corrosion and pollution. Where not in the water a universal clip can work fine.
Why so many? There are two systems in play, the second I’ll cover in the next episode, the first is:
Water movement – As this is a marine tank with corals, the water circulation needs to be hugely increased – as you are mimicking the sort of currents seen on a reef near the shore caused by waves – it has to be in constant turmoil. Whereas the previous tank had a few stirrers to move the water around say once an hour, this needed the water to be completely sloshed around 20 times an hour. To do this needed two exit points at the rear of the base of the tank, leading to a pump that could push 3000 litres per hour to four jets at the front base. The duplication of two intakes in case one gets blocked by some errant snail, starfish or other item, and it spreads out the outflow – 3000 litres per hour through one small pipe would suck out the water like a drain. The pump is connected to the rigid plastic piping by a short run of flexible pipe, to help reduce vibration and therefore noise. It is also mounted on a sheet of expanded polystyrene.
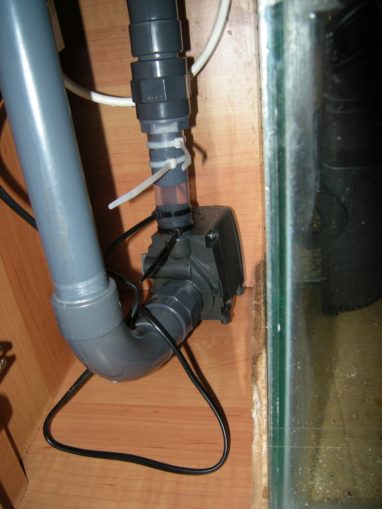
Each entry point to the tank has a shut off valve just in case, to allow pump cleaning and the jets could be increase or reduced in power to fit the nearby corals. This sort of setup is called a closed loop – it is all constantly full of water, with no opening to the air. Stopping the pump simply stops the circulation. Any leak could drain the entire tank onto the floor so the pipework has to be perfect. If a leak occurs on the pressured side, after the pump, it will drain the entire tank in a matter of three or four minutes! At this point the pump was placed in a gap at the left hand end of the cabinet.

Next time – the sump – its function, operation and why the water has to be so clean.
© Text & images Sweaty Dave 2018
Audio file