
Photography has always been a hobby of mine and as I became more interested in it I joined a local camera club. This led me to be exposed to a whole new world of photography techniques and styles. One evening a long standing member of the club showed us some images taken on Infrared film. The pictures had an ethereal quality about them and I was hooked. Over the years I have used Ektachrome colour infrared transparency film, Kodak HIE monochrome film and now digitally converted cameras. I still love the effect and digital Infrared opens new possibilities.
Light
Visible light comprises a narrow band of electromagnetic radiation with a wavalength between 400 and 700-800nm (.4 to .8 microns). Below 400nm we have ultraviolet and high energy radiation such as X rays and gamma rays. Above 700nm we have infrared. That extends to a wavelength of about 1mm (1000 microns). Beyond that is microwave and radio wave energy. Infrared film and digitally converted cameras have a sensitivity up to about 1000nm in the Near Infrared NIR. Longer wavelengths require specialised thermographic cameras.
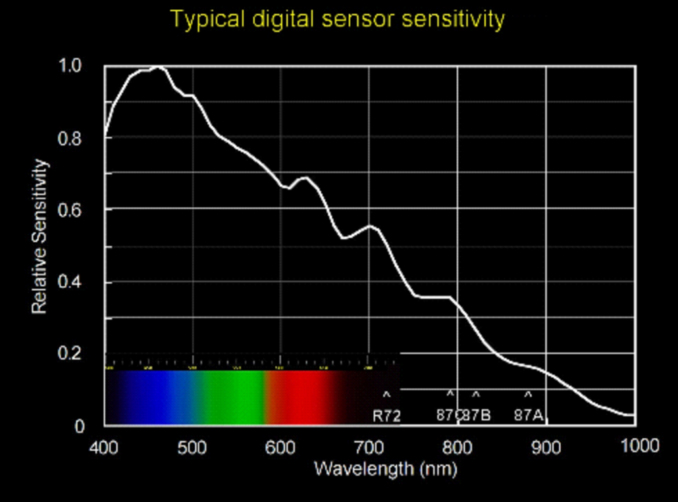
The numbers with the up arrows correspond to various filters that can be used. R72 is a 720nm cut off filter and is the commonest filter used for Infrared. 87 denotes an 870nm cut off and gives a more extreme effect. The A,B & C refer to different slopes of cut off, the 87C having a shallower cut off thus letting more short wavelength light through.
Infrared options – Film
Back in the 1980’s the main options for Infrared photography were Kodak Infrared Ektachrome transparency film and Kodak HIE monochrome film. The Ektachrome gave a false colour infrared effect with infrared mapped to red, green to blue and yellow to green. This gives garish images and was used by the military to differentiate between camouflage and foliage in aerial shots. The monochrome negative film was difficult to process as it had to be loaded on the spiral in total darkness. You could not use a red safe light to do this. I eventually found a way of reverse processing this which was even more fun and involved exposing the developed film to light and used Potassium dichromate in the processing. The final image had a nice glow to the highlights due to the lack of an anti halation layer on the film. This was a layer at the back of the film that absorbed any light reaching it. Without this the light was scattered when it hit the film base leading to a smearing of the highlights and the characteristic look of the film.

Digital Infrared
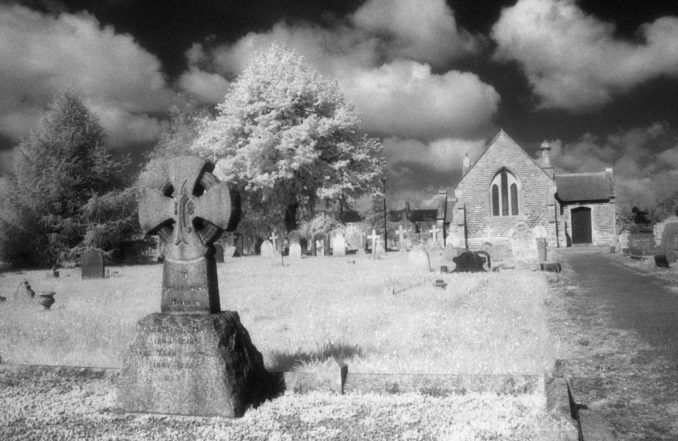
With the advent of digital cameras with a decent pixel count it became possible to use these for infrared photography. Early compact cameras were quite sensitive to infrared and could be used just by putting a filter to block visible light in front of the lens. This image is from a Minolta S304 with a 720nm filter.
Later digital cameras had more effective “Hot mirrors” which block infrared and unmodified cameras could still be used, but exposures were long (several seconds) even in sunlight. I did modify an old compact myself by removing the hot mirror. This does have problems. The camera would not focus so I had to find a thin piece of clear glass to replace the hot mirror. This worked OK until I upgraded my Digital SLR. This left me with a spare Canon 10D so I had that converted professionally. That is not cheap, but it gives you a digital camera that you can take infrared shots with at sensible shutter speeds. Since then I have upgraded again and my main infrared camera is a Canon 5D.

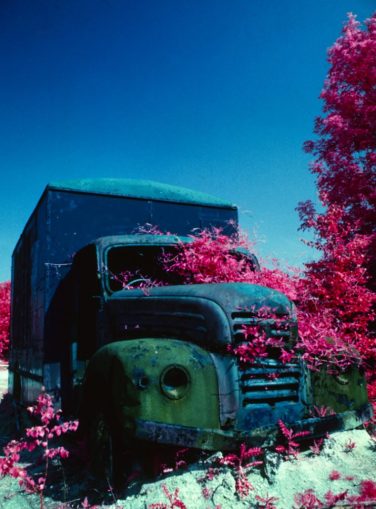
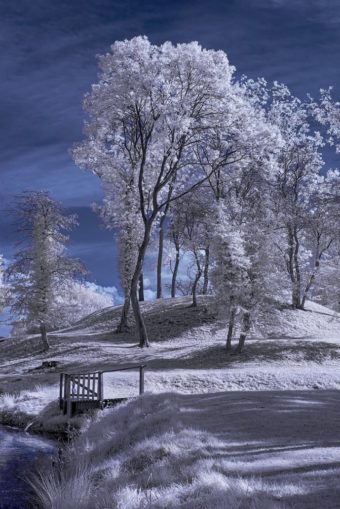
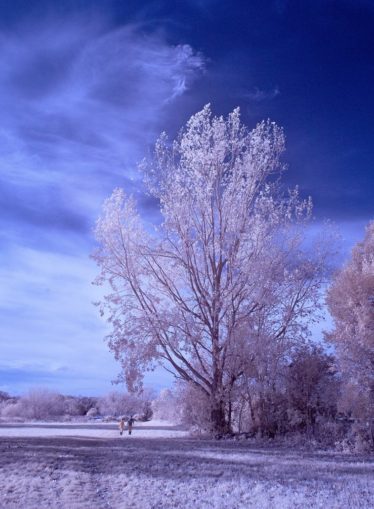
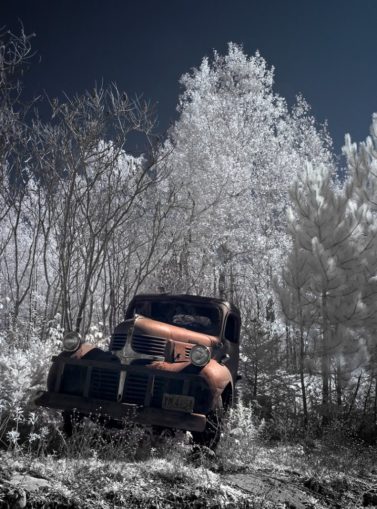
The converted camera actually records in colour and the raw image from the camera is usually a red brown colour. This gives the option to swap the red and blue channels in Photoshop to give a blue sky and white vegetation.
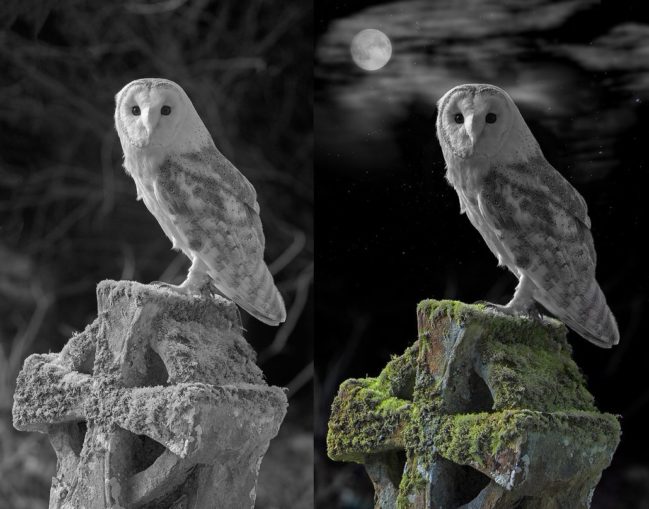
There are other ways of presenting infrared images. They can be hand coloured like standard Monochrome images using Photoshop or other digital image processors.

Using an infrared image as the lightness channel in a colour image taken from the same spot can give some interesting results.
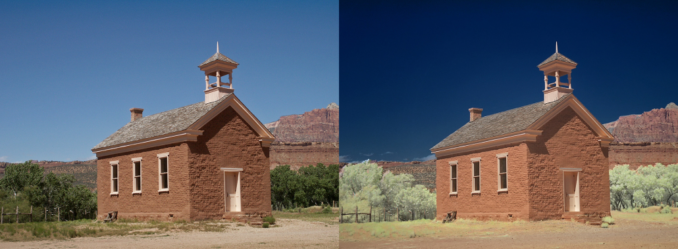
Depending on the wavelength of the filter used you can get some interesting colours in foliage after channel swapping.
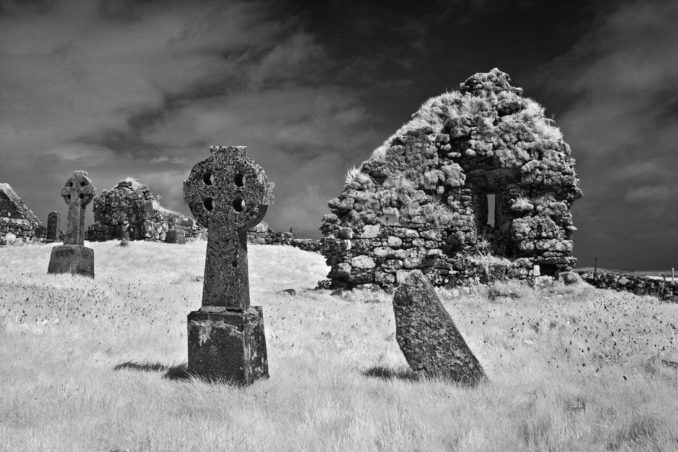
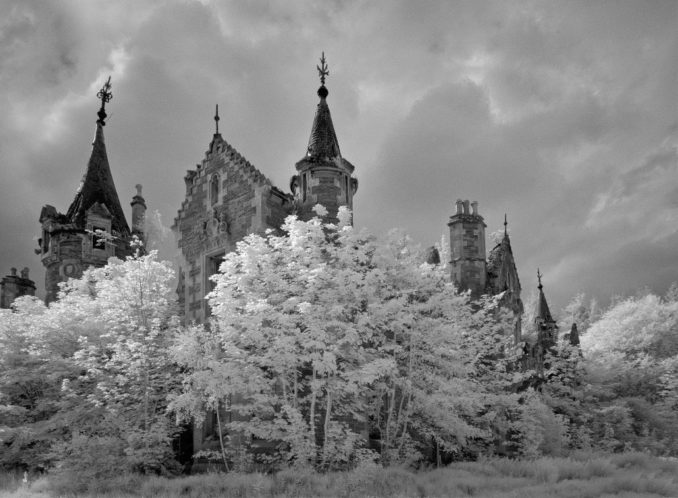
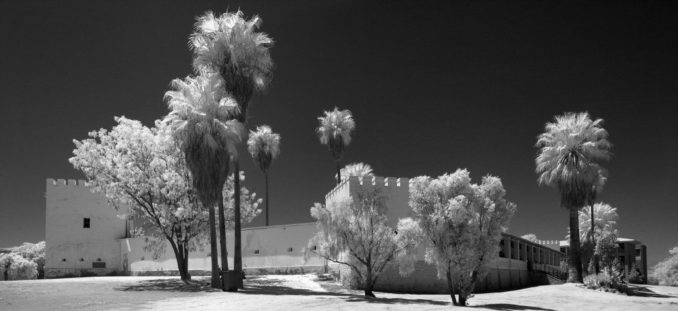
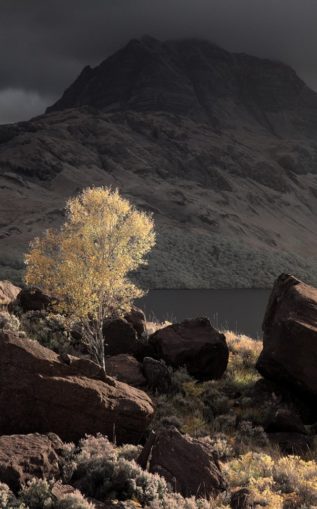
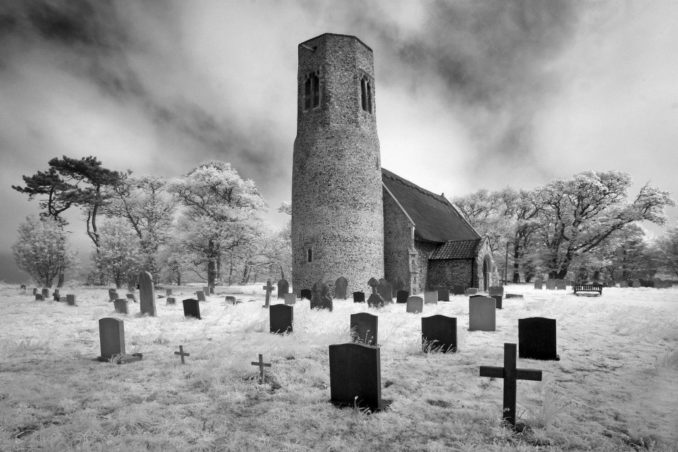
Finally a couple of random images that I just happen to like.
© Text & images Neil 2.1 2022