With spring just around the corner, allegedly, this winter project should be coming to a close, but so far there is little sign of that. The return of the eldest son from Uni meant decamping from my temporary sanctuary in his room, for a fortnight causing some disruption, alongside time distracted on DIY.
Despite that, some progress has been made. After the successful prototype of the last piece it was time to start on the scenery.
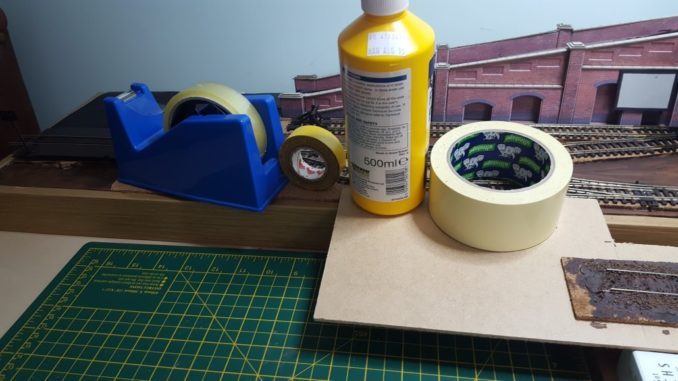
I’ve decided to have two different areas, the left side with most of the track being under cobbles as you’d find in docks, harbour areas or in this case, factory yards. The right will be more of a semi-derelict siding in the traditional style. In both cases this involves the use of modelling clay, just in slightly different ways.
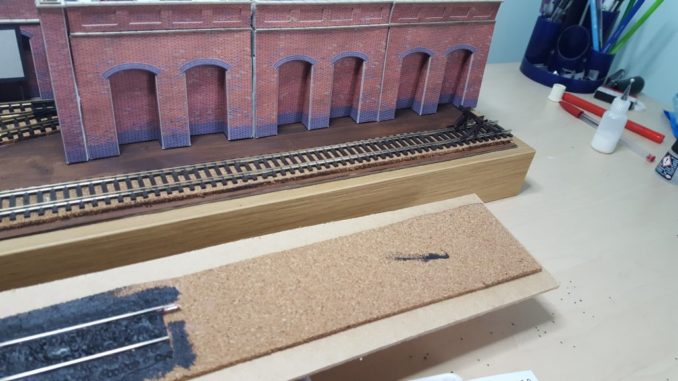
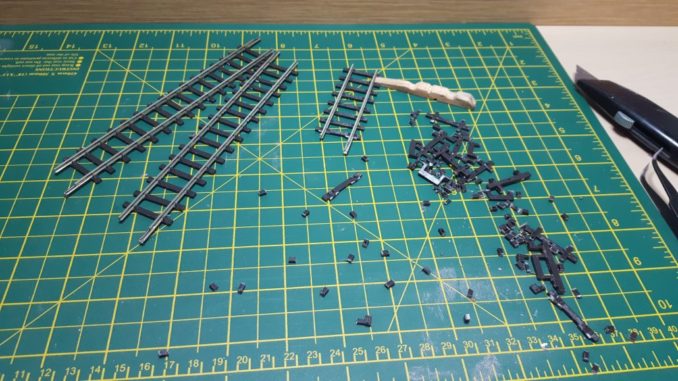
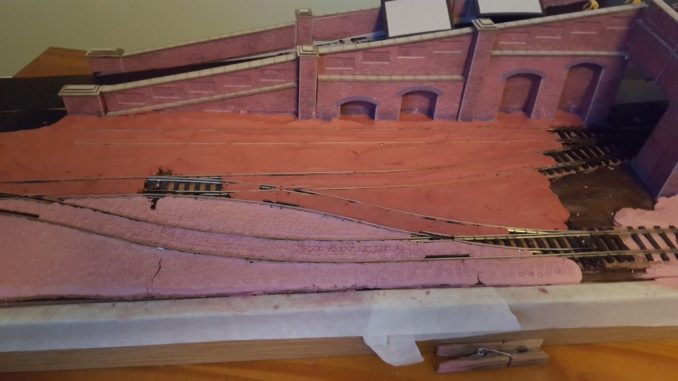
I started with the right hand, semi-derelict siding. For this the sleepers are to be visible and as mentioned last time, I wanted to have them spaced out a little more to have a shabby realism. I know the purists may scoff, as the sleepers modelled are really smaller than they should be, but at least widening gaps to 6mm gives a better view. Cutting the track is a slow and laborious task, removing around 1/5th of the sleepers and spacing the rest.
Once this was done I was expecting to put the track down then mush clay into the gaps, but this usually means the sleepers just about disappear or are completely covered by clay, whereas I was looking to have them sinking into the mud rather than submerged.
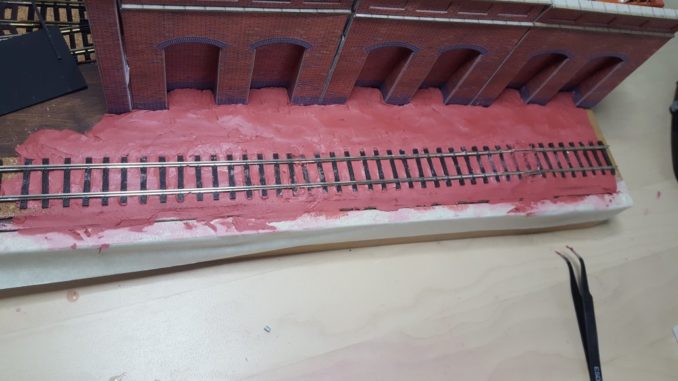
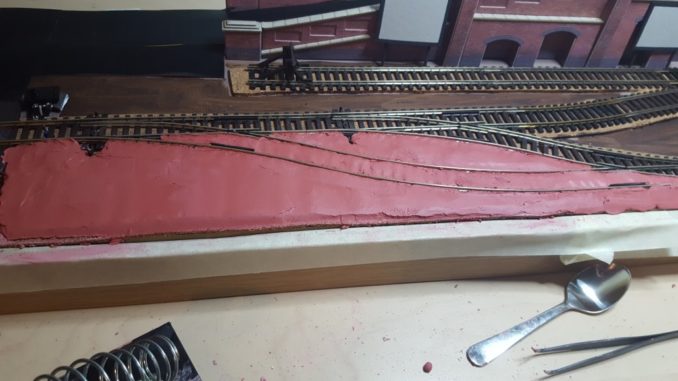
To get this effect, I laid a smooth bed of clay and wet it a little to soften it off, then pushed the track into the clay to the required depth – a lot easier in the end! The ground alongside the track is meant to be rough so I dabbed pieces of clay the size of small marbles into the area and did some smoothing to give a bit of a wasteland contour. I wish I’d run a model car along to make some rough tracks – only thinking of it once it was dry.
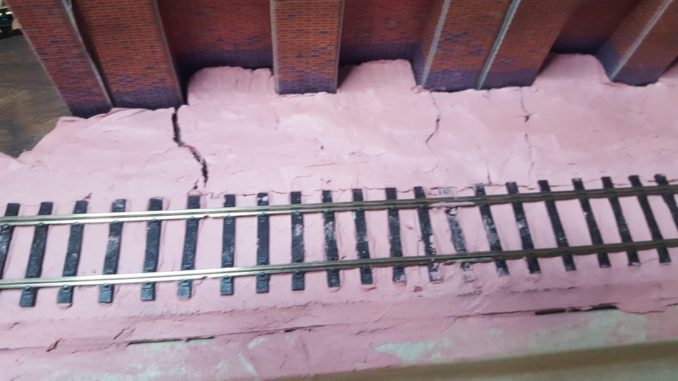
Once dry something of an issue – earthquake! Well actually just cracks as the deeper clay dried and shrunk. Filling them and resmoothing not being a problem
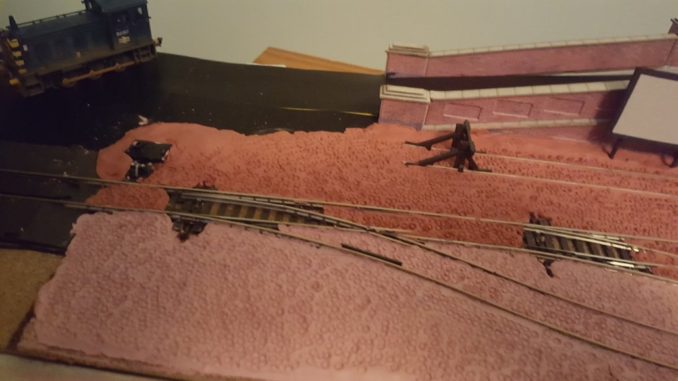
The left hand side of the layout is a cobbled area, so both trains and other items can use it rather than just be exclusively for trucks/engines. This means it can be dressed with more interesting elements and the sleepers hidden. I do need to keep the clay out of the point mechanisms, they will remain uncovered as they are in many real life scenarios (see the current documentary of the North Yorks Railway and their engine sheds for examples – the tracks there are covered in gravel with the exception of the points).
Cobbles are a fairly easy thing to do. To avoid cracking I aimed to keep the clay in a fairly thin layer – around 5mm depth max. To do this I filled the gaps between tracks with a cork mat to level the area, brushing it with weak PVA to give the clay some grip. As it is rolled up, it takes some weighting to hold flat while the glue dries.
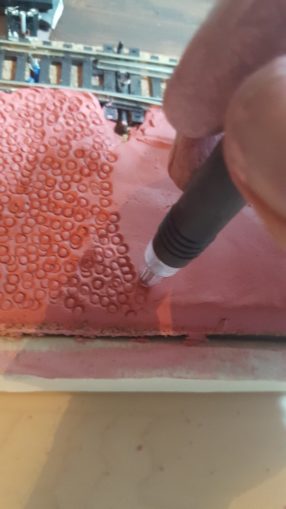
Once that had dried, the clay was applied, pushed into all gaps and smoothed off. The first part was the front part to see it all went ok. After smoothing the cobbles are added by dotting with a retracted ballpoint pen – hundreds of times. If ever you want a case of repetitive strain injury, make some cobbles.
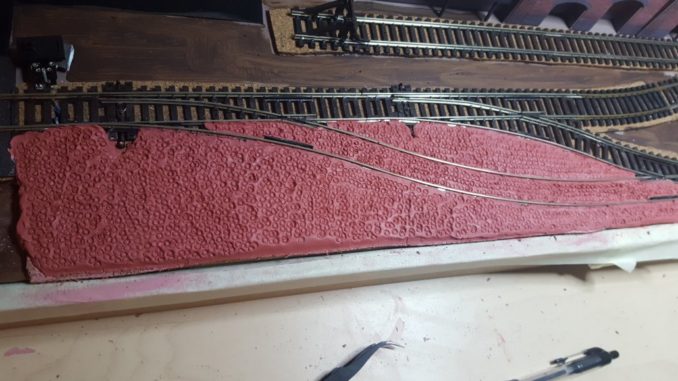
Once dried, looking good! The larger area was tackled, dot and dabbed, with a quick run over by a truck to ensure the rails are still useable.
Bring on the paint!
© Sweaty Dave 2018